Here is an easy watercolor art for beginners. This cute avocado will have you coming back for more!
Disclaimer: THIS POST MAY CONTAIN AFFILIATE LINKS, MEANING I GET A COMMISSION IF YOU DECIDE TO MAKE A PURCHASE THROUGH MY LINKS, AT NO COST TO YOU. AS AN AMAZON AFFILIATE I EARN FROM QUALIFYING PURCHASES.
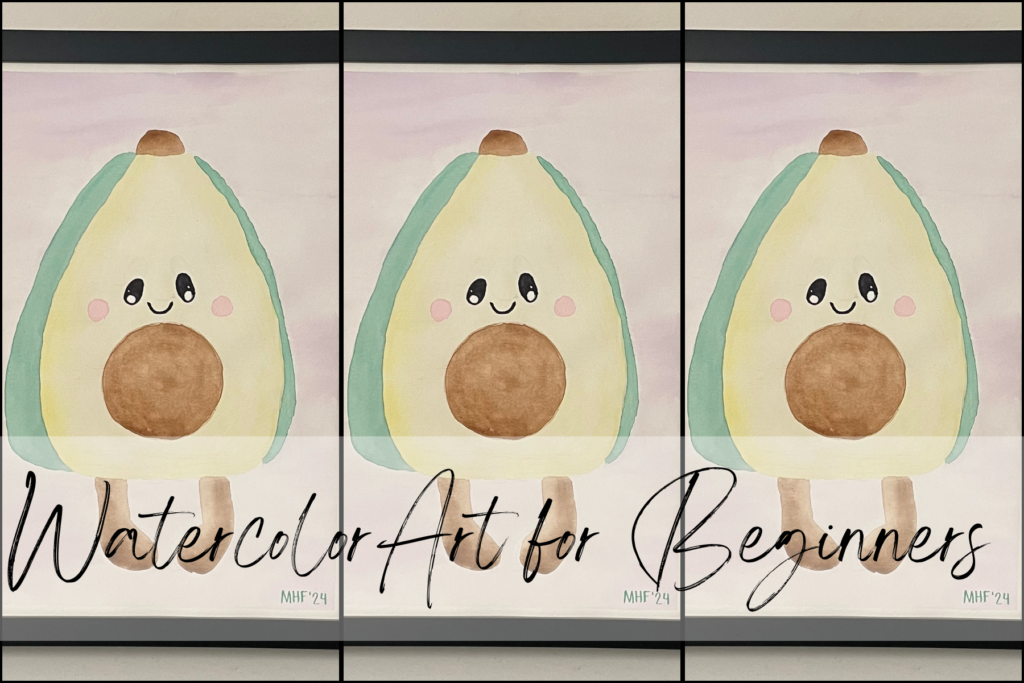
Are you looking for watercolor art for beginners? Look no further! Here is a step-by-step approach to how I painted a cute avocado so you can paint it too. It is a fun and low-pressure painting that will make you feel more confident in your watercolor skills by the end.
You will learn about setting up a watercolor workstation, sketching, watercolor techniques, and finishing the avocado painting.
After this article, you will be able to paint your own adorable avocado.
This post is all about watercolor art for beginners.
Watercolor Art for Beginners – Cute and Easy Avocado Painting
Supplies needed:
- Watercolor Paper
- Watercolor Paint
- Watercolor Brush
- Tape
- Pencil and Eraser
- Paper Towel or Rag
Setting up a Watercolor Workstation
Gather your supplies and tape down your paper. I will be doing this on my drawing desk, but do it wherever is most comfortable for you. This could even be taping it onto a clipboard and doing it while watching TV.
If you do not know how you like to set up your workstation then try a new way out every time you paint until you find one you like. For me, I like to do it in stages. I get the water out only when I need it because I have spilled it before and it was a mess 😅. So I do all of the prep with the painting beforehand.
Once I’m ready to start painting I will put my water, mixing palette, and paints on the left side. I hold the palette with my left hand; I have found this is the easiest way for me. The rag moves around while I paint. I always have a scratch piece of watercolor paper that I can experiment on. This helps me know if the color is right before putting it on the actual painting.
(I have also been told by an art teacher to place the colors on the left side -if you are right-handed- so that you have to frequently cross over the midline and this will activate both sides of the brain. I have not found any research to support this, but with my background knowledge of biology and the brain I could see how someone could make that argument.)
Avocado Painting
Here is the inspiration behind this watercolor project. His name is Gus and he is a very soft cuddly avocado.

After setting up your workstation you will want to sketch a general outline. This will help when you apply the paint for the background, you will know where you want the green to end and the yellow to start, where to put the cheeks, eyes, and smile, and where to put the pit, stem, and feet.
Have fun with the sketch! This is a watercolor art for beginners. It does not need to be “perfect”. The little guy is already a bit silly looking but that makes him even cuter. Remember that for yourself. Perfection does not necessarily mean better. It’s the imperfections that bring character and personality to ourselves and our paintings.
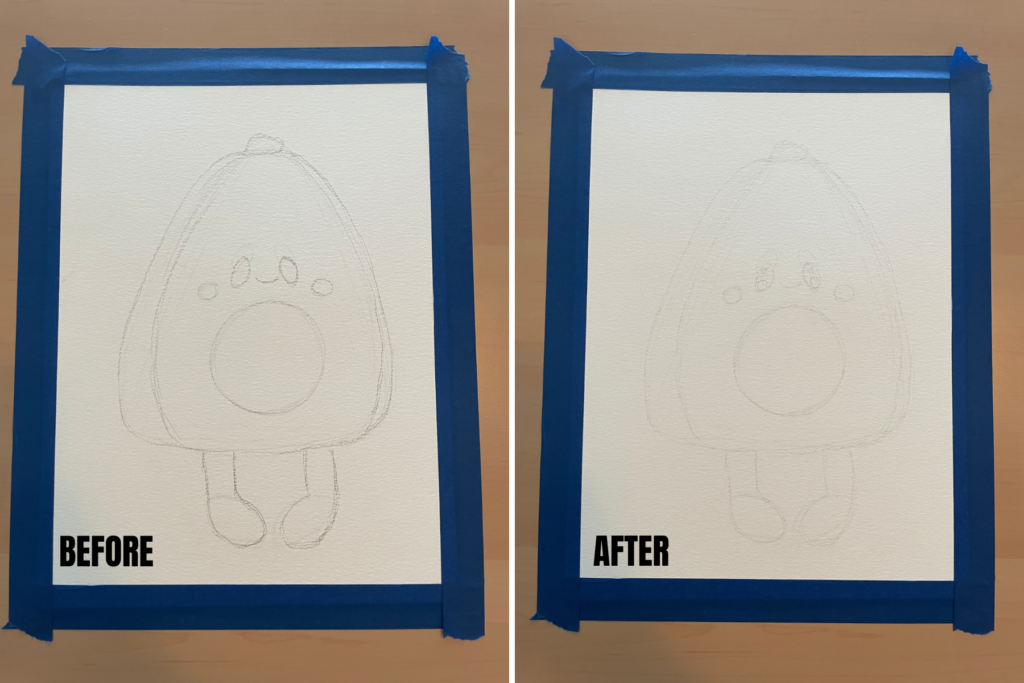
Sketch lightly so you will not be able to see the pencil marks through the finished painting. One way to get around this if you are not a light sketcher because I am really bad at that, is to do your sketch and then take a putty eraser to it. What I do is draw the sketch, still as lightly as I can, then tap the putty eraser on every line I have drawn until it is barely visible. With lines that aren’t needed erase them. Here is a before and after picture of this technique.
Watercolor Techniques
i. Background
For the background, we will be using the wet-on-wet technique. This means the paper will need to be wetted before adding watercolor paint. I paint in the same room that my husband works and he often has a space heater on so my environment tends to be very dry. This affects my painting because the water will evaporate quickly. Because of this, I wet my background in sections trying to keep the edges of the sections wet when I start my next section so that it looks uniform. Be careful to only put water where you want the background color to be so that the paint doesn’t get into the avocado.
Choose a color that won’t take away from the avocado painting. I chose to use purple and mixed a lot of water with it to make it lighter.
One benefit of the wet-on-wet technique is it produces a spontaneous spread of paint. Some areas will have a higher concentration of color whereas some will have less. Let the water and paint do its thing. It will not disappoint.

If you want to try more wet-on-wet techniques visit How to Paint a Watercolor Landscape in 5 Easy Steps:

The next layers of the painting are based on how dry the adjacent layer is. We didn’t want colors mixing, but I also did not want to sit around and wait for the layer to dry before I continued painting. My solution is to do the dark green shell, the feet, the shell, the stem, the cheeks, and the face, and then the yellow middle last.
ii. Outer Shell
Mix up a dark green color on your palette. I like using a palette because I can control the concentration of color, amount, and the actual color better than just swiping my brush in the color I want and going with it. When I mix up too much of the color, which 98% of the time I do, I can save it for another painting.
In this layer we will use the wet-on-wet technique again, but with less water so the color comes out darker. To do this add less water to the paper and less water to your brush when picking up the paint. This will make the color richer and darker.
iii. Feet, Pit, and Stem
By this time the paper should be a bit warped, even if you have it taped down. This is mostly because of the water added to paint the background. Do not fear though because this is going to help us with the next steps.
Make sure the background is completely dry before starting.
We will use the wet-on-wet technique for the feet, pit, and stem. Because the paper is already a bit warped when you add the water it will collect with gravity. When adding paint it too will collect with gravity. We are going to use this to our advantage to make some cool gradients.
Below you will see the combined effects of the wet-on-wet watercolor techniques and gravity. It adds a shadow effect to the painting. It may not be the “right” place for a shadow, but we aren’t worried about that now because this is a fun, low-stress painting.

During this process, you may need to add more color directly to areas where you want. For example, I wanted the gradient on the legs to be more defined so I added more color along the outer edges and water on a clean brush to the inner edges.
iv. Cheeks
For the cheeks, we will again use the wet-on-wet technique. Don’t use too much water though. It is such a small area that adding water and then adding watercolor paint can make the water ‘break free’ of the edges you placed it in.
v. Yellow Middle
Using the wet-on-wet technique we will do a combination of what we did with the background and the pit. Wet the paper, in sections if needed, then apply the yellow paint. Allow the color to follow gravity to pool up. Then add more paint where needed.

vi. Face
With the face, we will be using different watercolor techniques. This one is called wet-on-dry. I like to use this when I am painting fine details. The little bubbles in the eyes are easier to outline when the paper is dry versus wet. You can use a thin small brush for this or watercolor brush pens. I like using watercolor pens when I do things like this because the tips are fine and precise. They do add a different texture. To get rid of that I will use a clean brush with a little bit of water and run it over the areas where I used the brush pens. This gives it a more watercolor texture.
Doing after the yellow middle. Then you do not have to worry about painting around it.

vii. Finish the Avocado Painting
Keep the paper taped down while it dries. This helps it straighten out. When it does dry, carefully pull off the tape.
Add any finishing touches that you want, then sign it!

Reflection
Use these questions to reflect on this most recent project:
i. What do you like most about it?
ii. What do you like least about it?
iii. What would you do differently next time?
iv. How have you improved since your last piece?
When you take the time to study your artwork you will discover ways to improve. Don’t skip over this step of the process. It is how you get better.
Thank you for letting me share with you this cute and fun watercolor art for beginners. I would love to see how your avocado painting turned out 😊
Similar posts you will enjoy:


Leave a Reply