Here is an easy way to make a wonderful oil painting background for beginners! Read on to learn how.
Disclaimer: THIS POST MAY CONTAIN AFFILIATE LINKS, MEANING I GET A COMMISSION IF YOU DECIDE TO MAKE A PURCHASE THROUGH MY LINKS, AT NO COST TO YOU. AS AN AMAZON AFFILIATE I EARN FROM QUALIFYING PURCHASES.

Want to know a fun and easy way to paint an oil painting background? This is a simple, low key process to paint a background that you will love.
You are going to learn all about an oil painting background from oil paint supplies, oil paint techniques, oil paint texture, brush strokes, oil painting flowers, and more.
After learning about this approach to oil painting you will be set to paint your own oil painting background.
This post is all about how to do an oil painting background.
Supplies needed:
- Oil Paint
- Gamsol Solvent
- Canvas
- Paint Palette and Paint Saver (nice if you are going to work on it for more than a day)
- Brushes
- Palette Knives
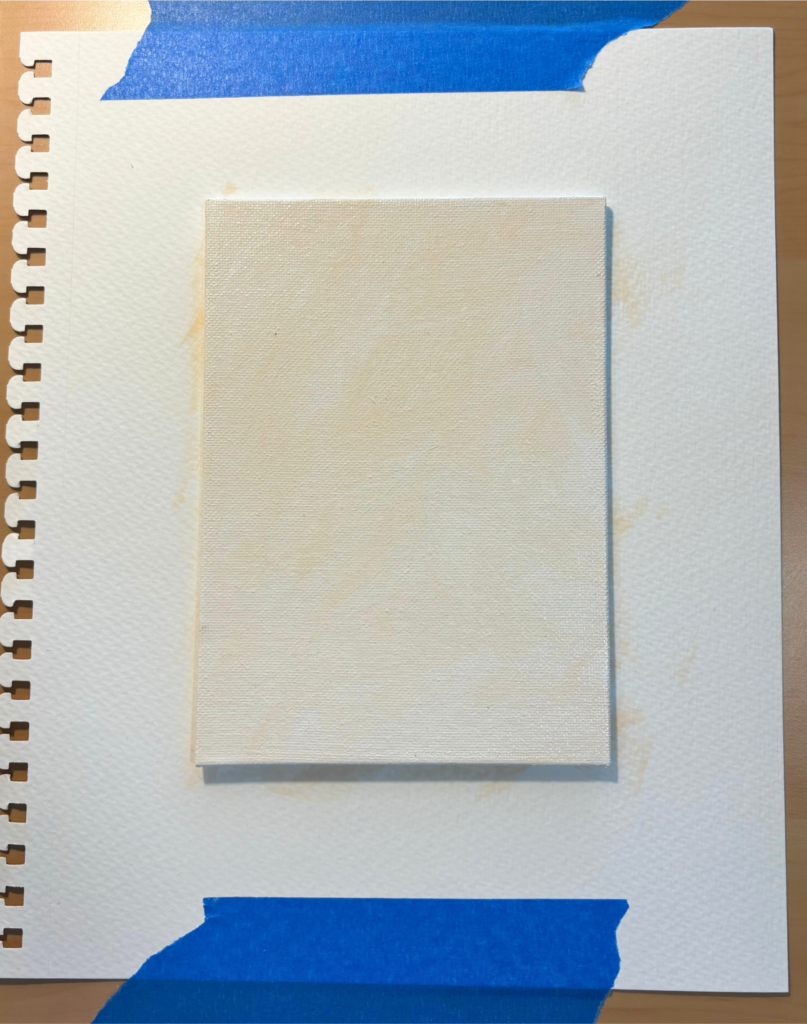
Setup
Layout your supplies to how you like them. I set the colors, gamsol solvent, and palette on my left side then taped my canvas onto a piece of paper (to prevent me from painting on my table) that I taped onto the elevated table I use for art.

Oil Painting Background
I find it easiest to cover the entire canvas with paint to begin. I wanted a light color that wouldn’t disrupt any colors that I chose to layer on top. So I used the Light Orange paint color and thinned it out with the Gamsol, from the oil paint supplies listed above.

At this point in the painting, I added a little bit of Violet, Scarlet, Crimson, Titanium White, and Olive Green.
If you like the look of all the different colors, the trick to not mixing colors is that fewer brush strokes are better. The more you move the paint around the more it will mix into one color.
I really liked this background, but I got caught up in the fun of watching the paint mix on the canvas. It is quite satisfying.
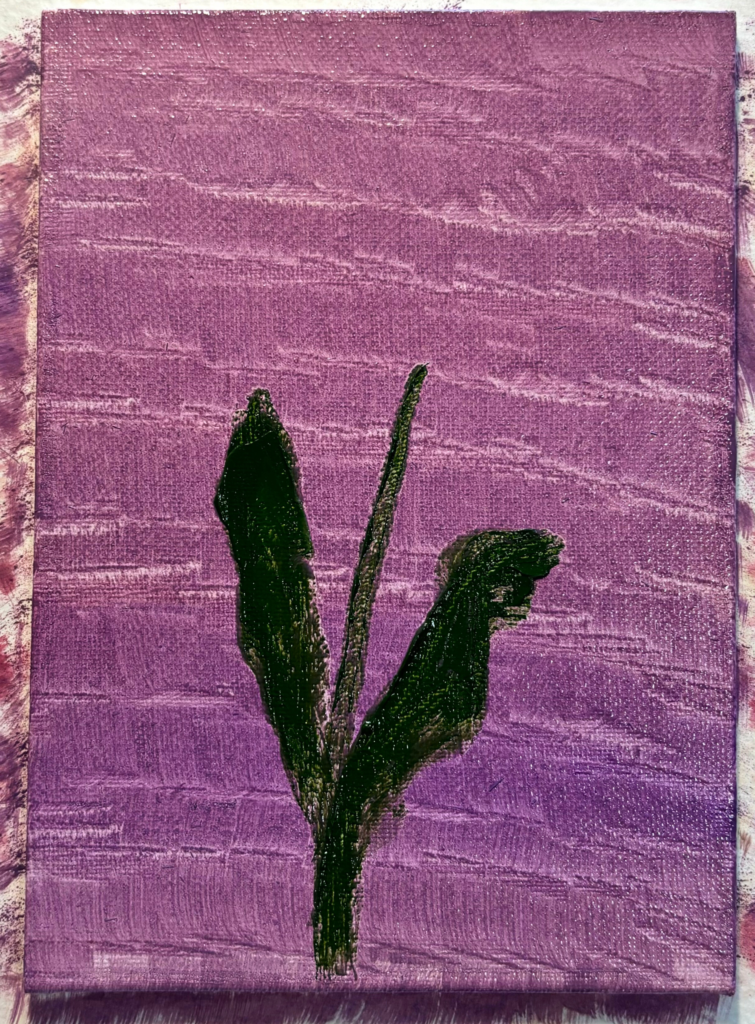
Once I got it one main color I wanted to add some oil paint texture to the background. I did this by doing short downward strokes with my brush. The tip of the brush removes some of the paint where it touches the canvas, thus producing the lines in the background.
Oil Painting Flowers
I wanted something more than just the background and I’ve been on a flower kick because I am ready for Spring to come. So I decided to paint a red flower.
I used Olive Green for the base color of the stem and leaves. Sap Green was used for the highlights on the leaves.
I did a mixture of brush strokes and palette knife painting for both the leaves/stem.
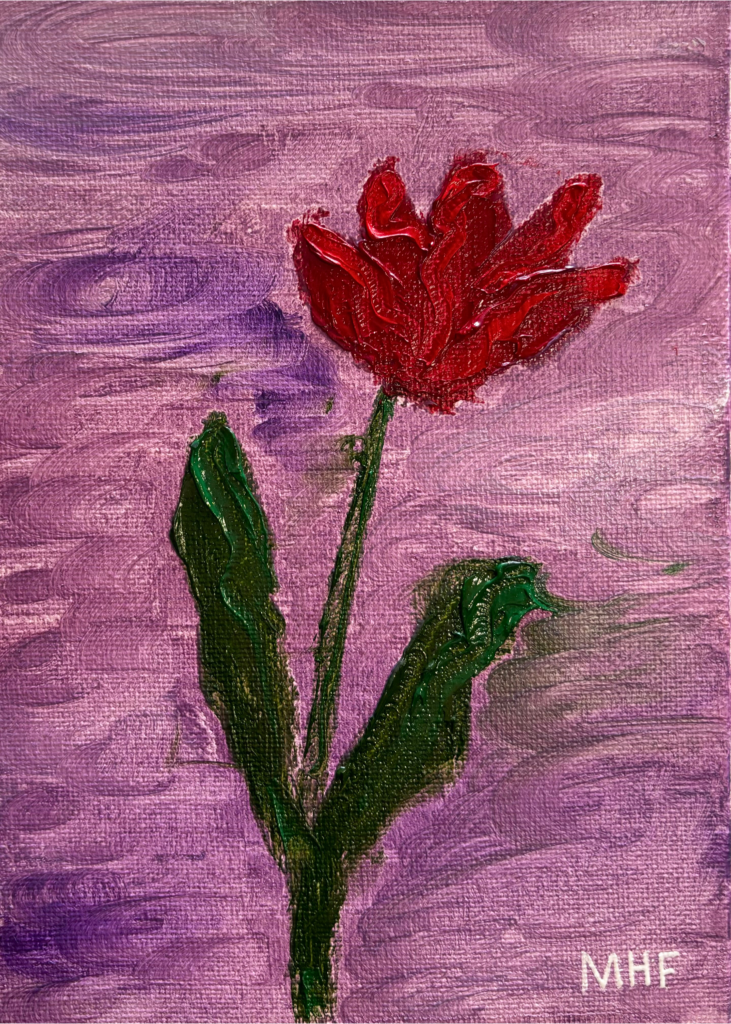
Oil Paint Techniques
For the base color of the petals I used Crimson, and for the highlights I used Scarlet. I used only a palette knife to create the petals. With the Crimson red I got the shape that I wanted by smooching the paint onto the canvas. With the Scarlet paint I wanted to get more defined petal shapes so as I placed the paint I squiggled the palette knife and didn’t push so hard so the paint was thicker.

Once I was done with the flower I decided I wanted the background lighter. I attempted to add Titanium white to try to make loose clouds, but didn’t like that. Instead, I swooshed the brush strokes in a circular motion. I added more Titanium White and Violet to the background.
Not only did this help lighten the background, but it made it so it wasn’t one color which I liked a lot.
The problem with changing the background once the flower is painted is you have to be careful to not touch the wet paint with your brush or it will be pulled into the background.
There are two things that you can do to prevent this from happening:
- Get the background perfect before adding the flower.
- Wait until the flower dries completely before changing the background.
The third option is to be super careful and do it anyway, but I have never had this way work. I always pull in the wet paint.

Reflection
Whenever I finish a painting I like to take the time to reflect on what I did and how I can learn from it. I encourage you to do the same thing. If you do you will see progress in your painting skills.
Use the questions below as a guide on how to reflect.
i. What is your favorite part of this oil painting background?
For me, I like the texture of the flower petals. That was something new I did and I really enjoyed it.
I also had a lot of fun playing with the paints to make the background.
ii. What is your least favorite part?
I don’t like how I pulled the green into the background.
iii. What will you do differently with your next oil painting?
Next time I want to have the background perfect before I start painting the focus item so I don’t make the mistake of mixing colors that I don’t want mixed.
iv. How have you improved since your last piece?
I have improved my ability to use different colors to add highlights and shadows.
Share your masterpiece and reflection answers with me. I would love to hear what you have learned.
Thank you for taking the time to read this post! It was all about oil painting background.
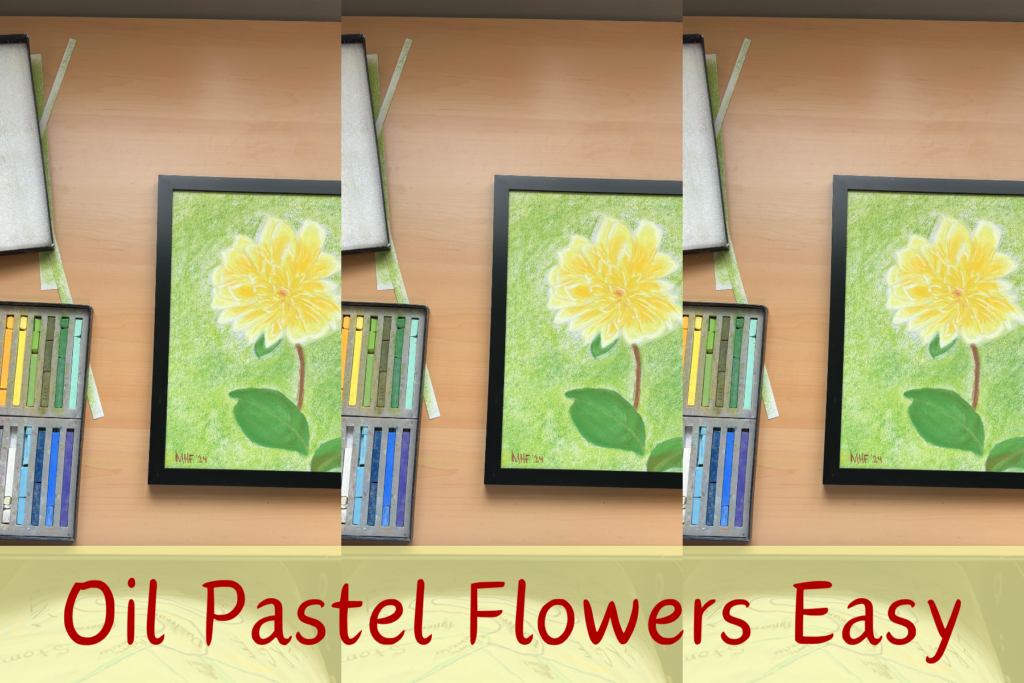
If you like painting flowers learn how to create an oil pastel yellow rose here:


Leave a Reply