You’re interested in creating a watercolor river painting, but you’re not sure how to make it look realistic. Well, buckle up, my friend, because I’ve got a quick read that’ll teach you all you need to know!
Disclaimer: THIS POST MAY CONTAIN AFFILIATE LINKS, MEANING I GET A COMMISSION IF YOU DECIDE TO MAKE A PURCHASE THROUGH MY LINKS, AT NO COST TO YOU. AS AN AMAZON AFFILIATE I EARN FROM QUALIFYING PURCHASES AT NO EXTRA COST TO YOU.
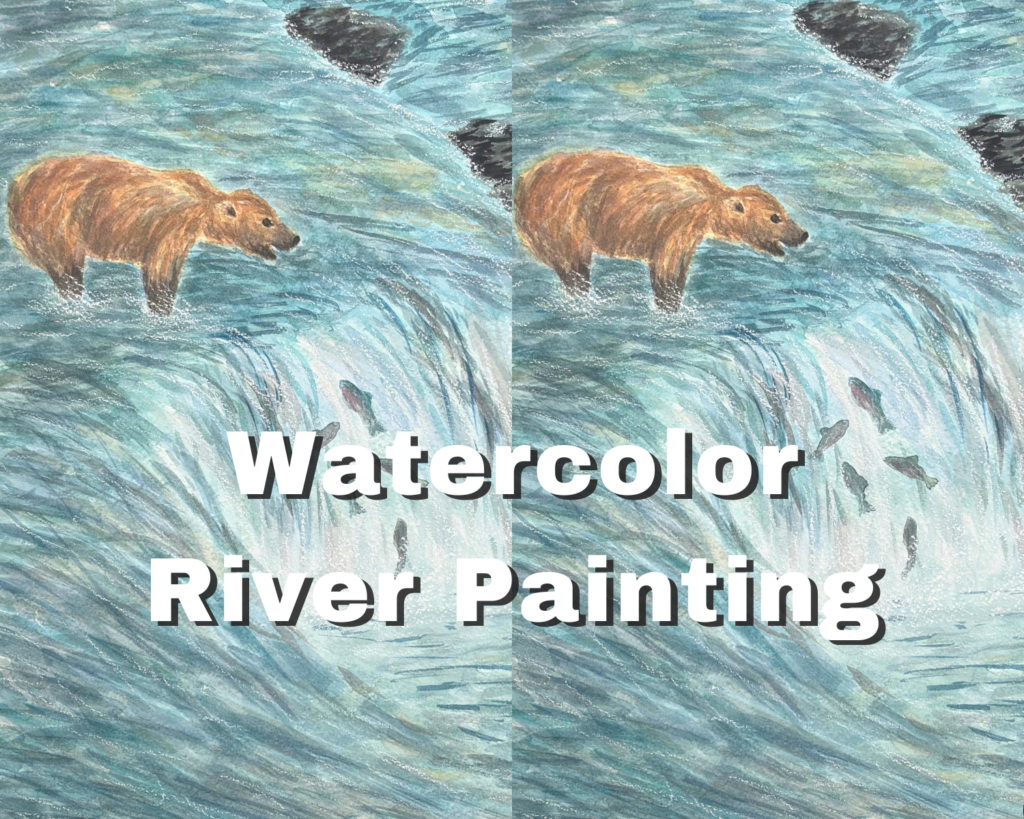
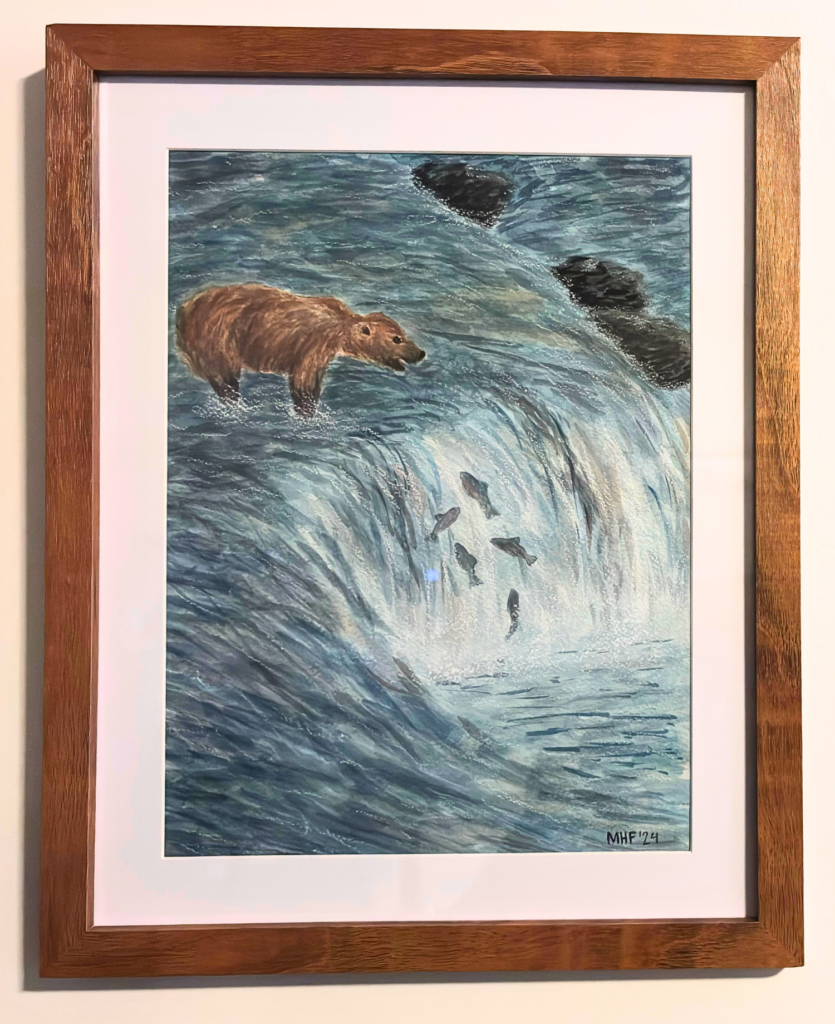
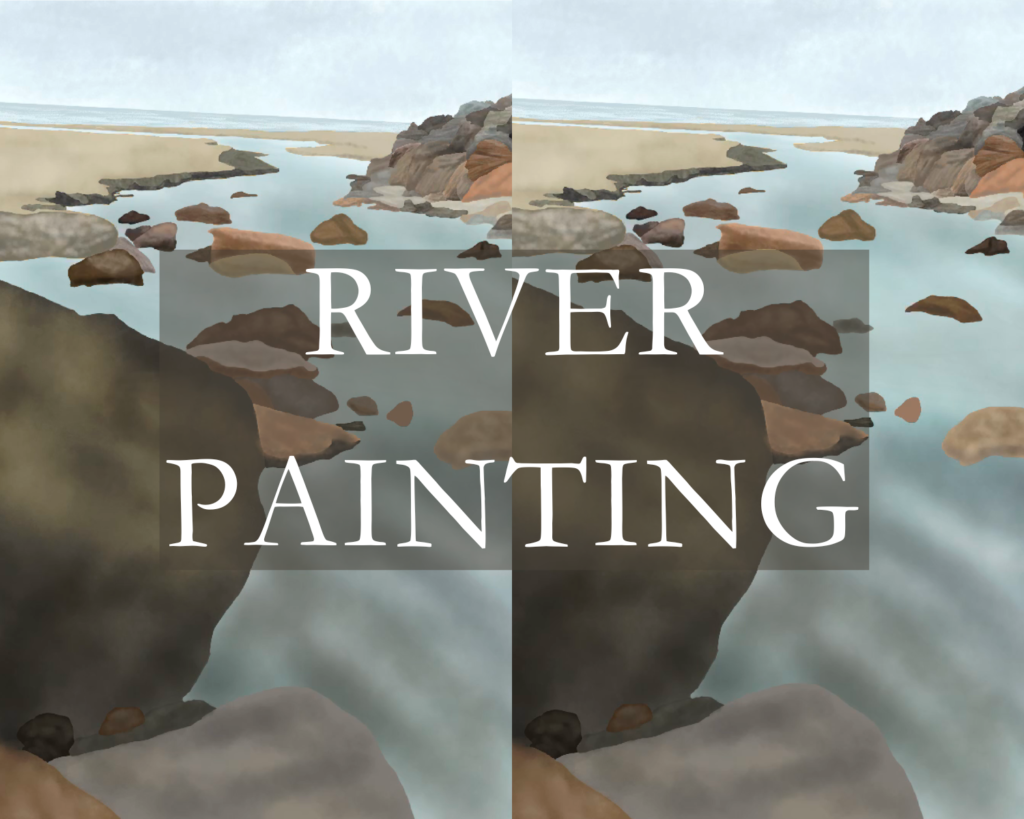
Painting a realistic watercolor can be tricky, but a river scene with a waterfall and animals is even more challenging! Here’s what I learned from my art instructors while trying to create this watercolor river painting.
You will learn how to paint a watercolor river painting, waterfall painting, river scenes, bear watercolor painting, fish watercolor painting, mixed media painting, and more!
After going through this quick guide, you will know how to do a watercolor river painting!
Supplies Used
Arches Watercolor Paper

Arches watercolor paper is the brand that I currently use. The paper is 100% cotton and works amazingly. The only this is the glue around the sides tends to come undone if you take more than a couple sessions to complete your painting.
Watercolor Round 12 Brush

This watercolor round 12 brush is the only brush used for this painting.
Pelikan Watercolor Paints
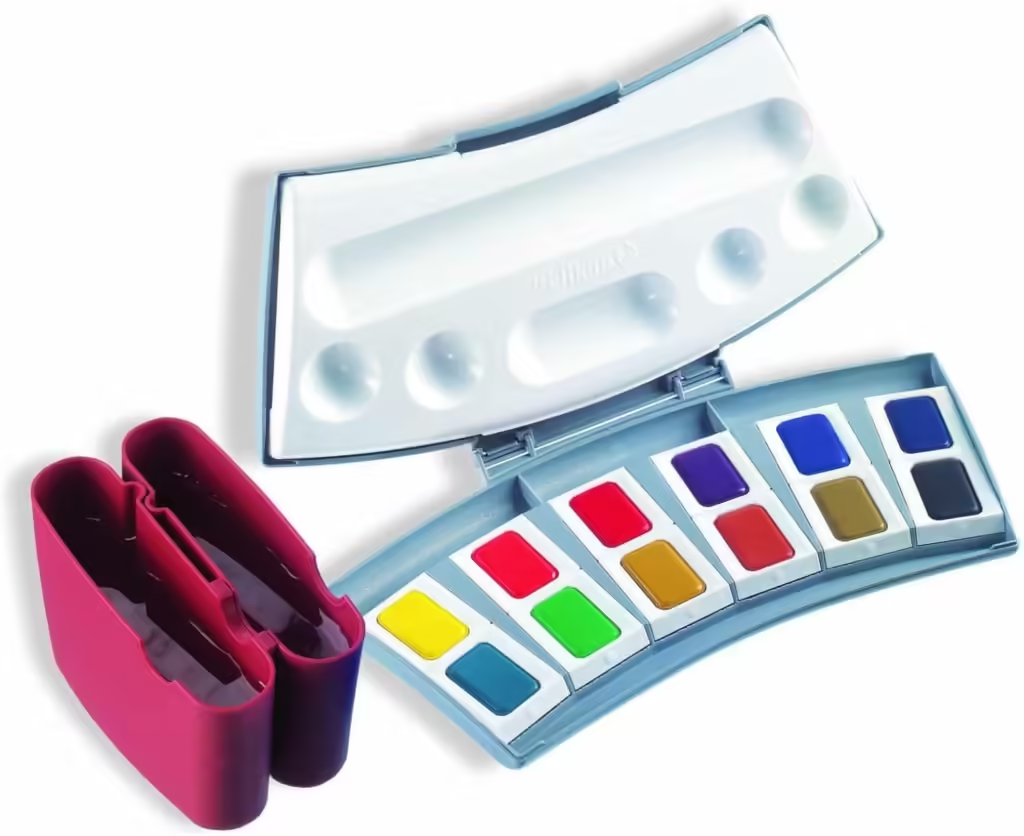
Pelikan watercolors are my favorite brand and the ones that I currently use for my watercolor paintings. They work great and mix well. You can also use any brand of watercolors that you have on hand.
Prismacolor Oil Pastels
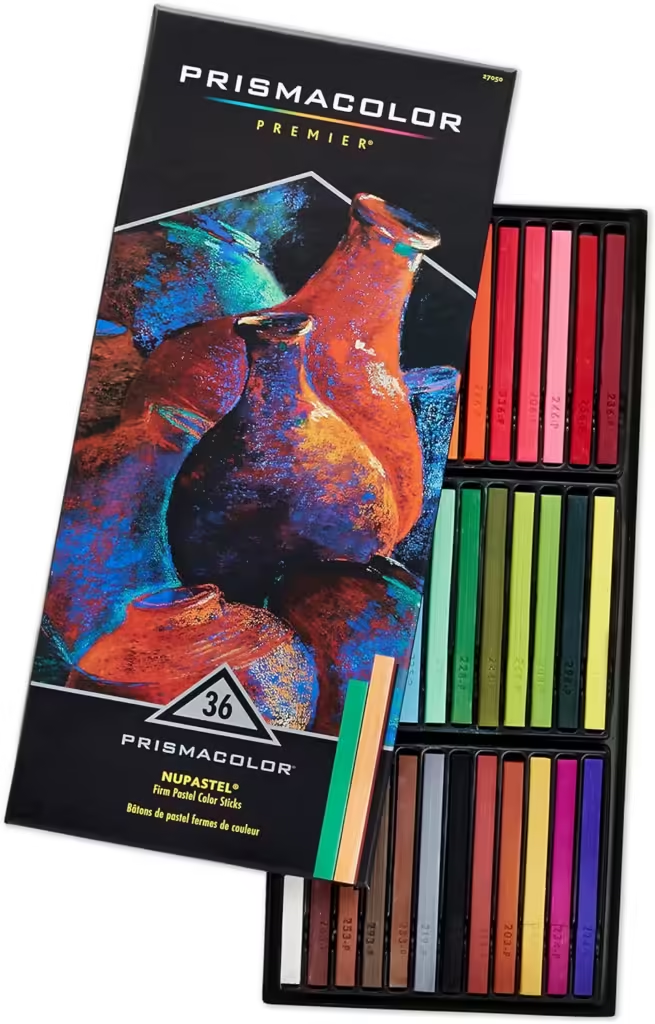
The white pastel stick is the only one needed for this river painting. You could try substituting it with sidewalk chalk (I personally haven’t tried it) to get the same effect if you don’t have oil pastels handy. If you don’t want to try either, a white gel pen or watered-down white acrylic paint could be used.
Artists Tape
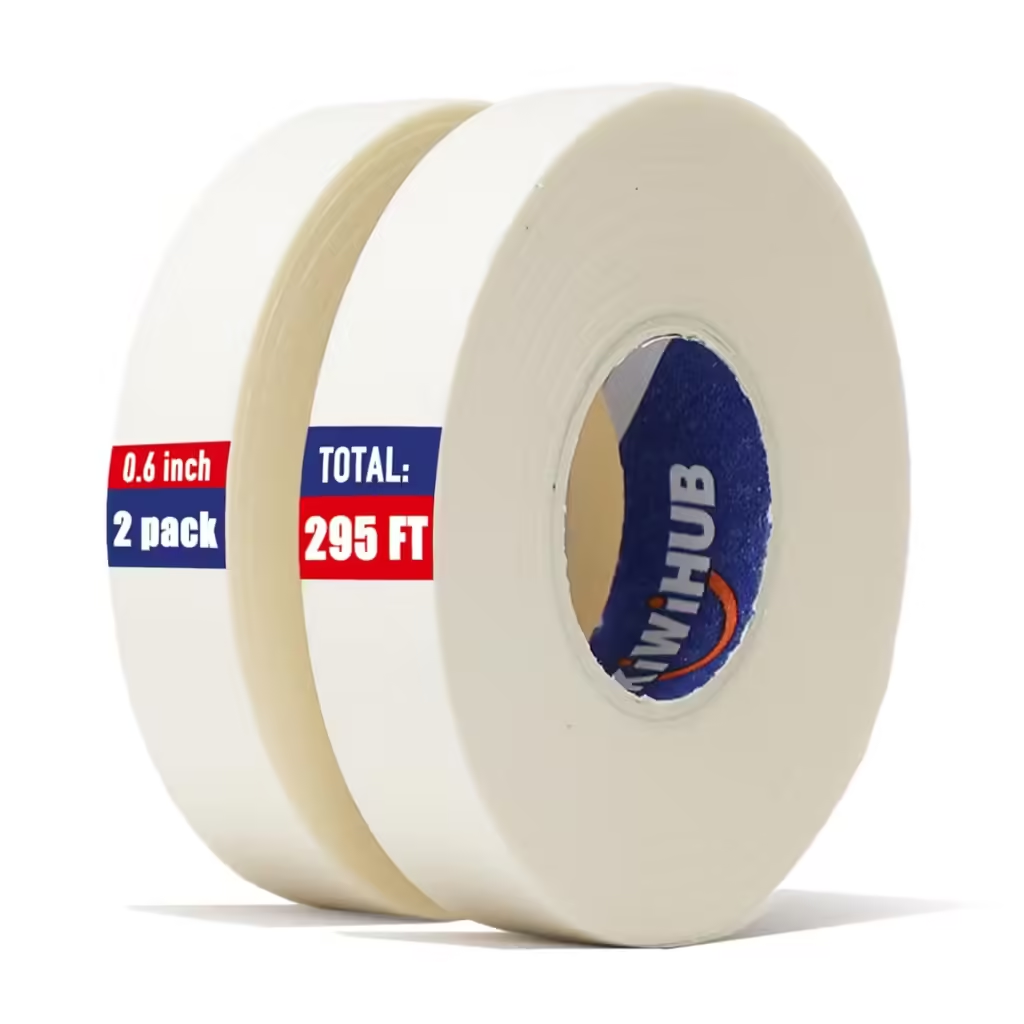
Tape is needed to tape your watercolor paper down to prevent it from getting warped. I needed to use it about 3/4 of the way through my painting because the glue on the Arches pad wasn’t holding the paper in place.
11×14 Matted Wooden Frame
Framing your watercolor paintings will make them look more professional and impressive. This 11×14-inch matted frame worked wonderfully with the 9×12-inch paper I used.
Follow the steps in Everything You Need to Know About a Simple Bear Drawing to get the sketch in place before adding paint.
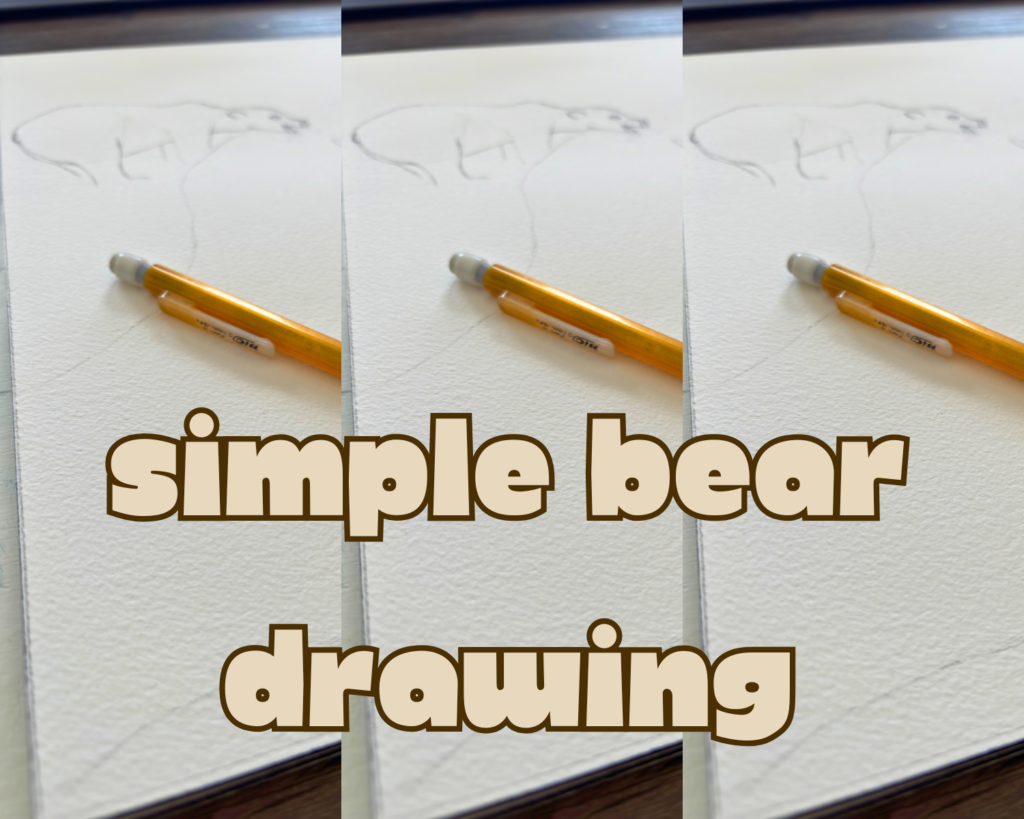
Table of Contents
How to Make Your Watercolor River Painting Look More Realistic
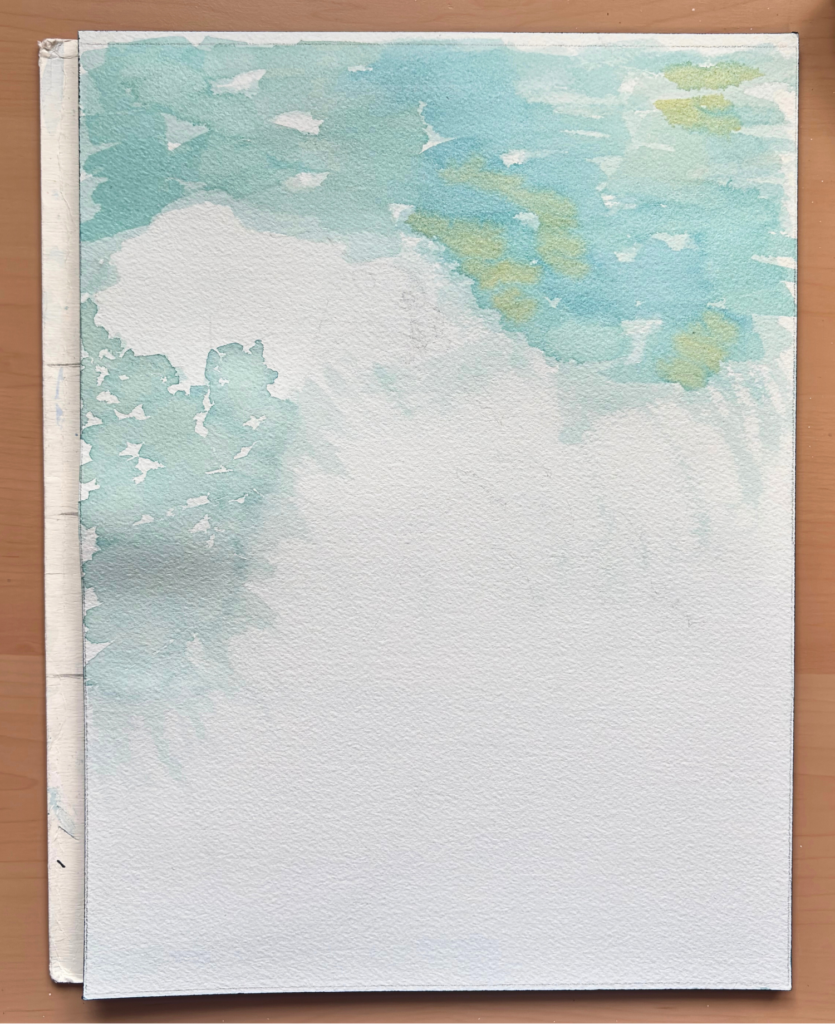
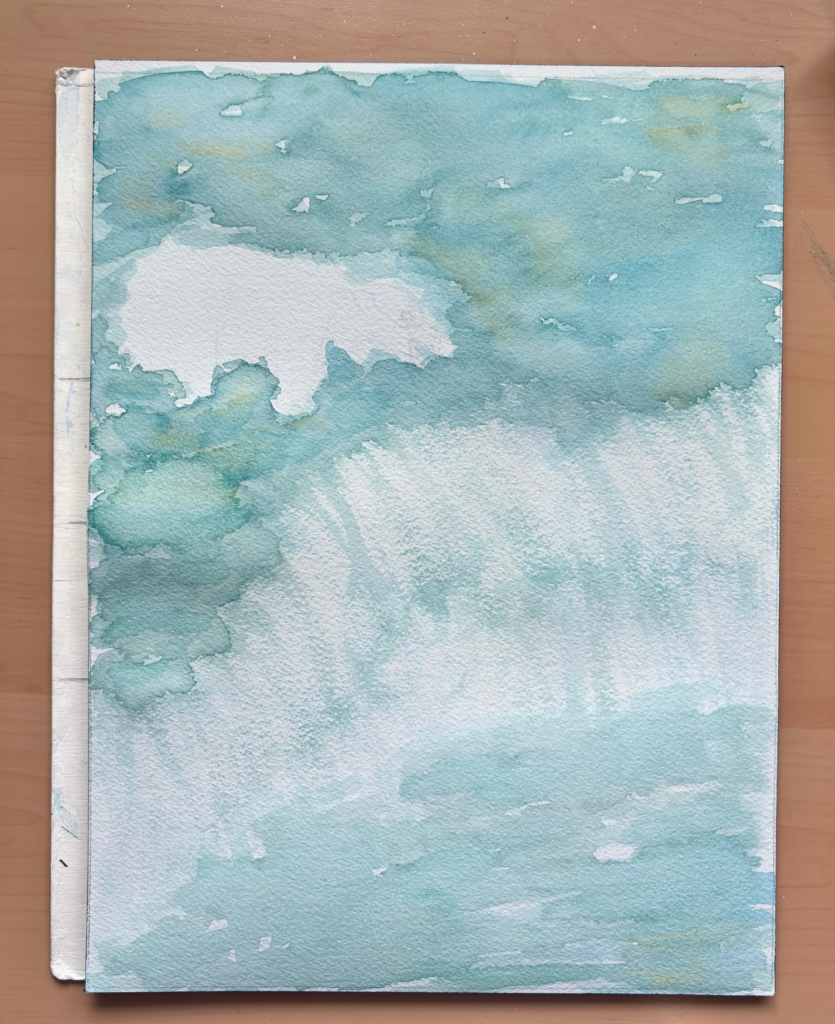
The first step in any watercolor is doing a flat wash. In this case, a nice blue-green color that is watered down. You may think that doing this ruins the white effect, but it doesn’t. The flat wash is lightly pigmented, which helps soften the white areas.
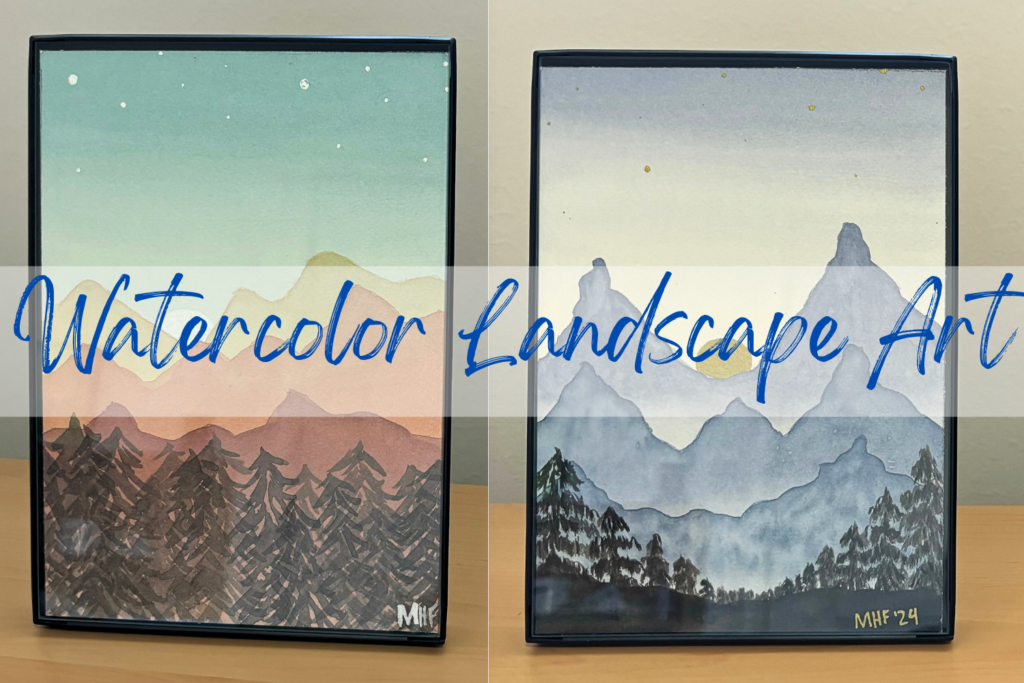
Don’t know what a flat wash is or how to do it? Learn about different washes in Amazingly Easy Watercolor Landscape Art.
How to Paint a River Scene
Now have fun painting the river scene. Mix up blues, greens, and even some yellows and apply them to the top and bottom of the waterfall.
While the top waterfall paint is still damp, use the dry brush technique. This is when you get your watercolor brush as dry as you can then move the wet paint down the waterfall. This will be your first layers for the waterfall painting so it won’t look impressive until you start adding the detail layers. Just trust the process and it will turn out well.
Usually, it’s best to paint the background first, then the foreground. But in this painting, the water is both the background and the foreground. So, you need to paint the water at the same time to make it look seamless.
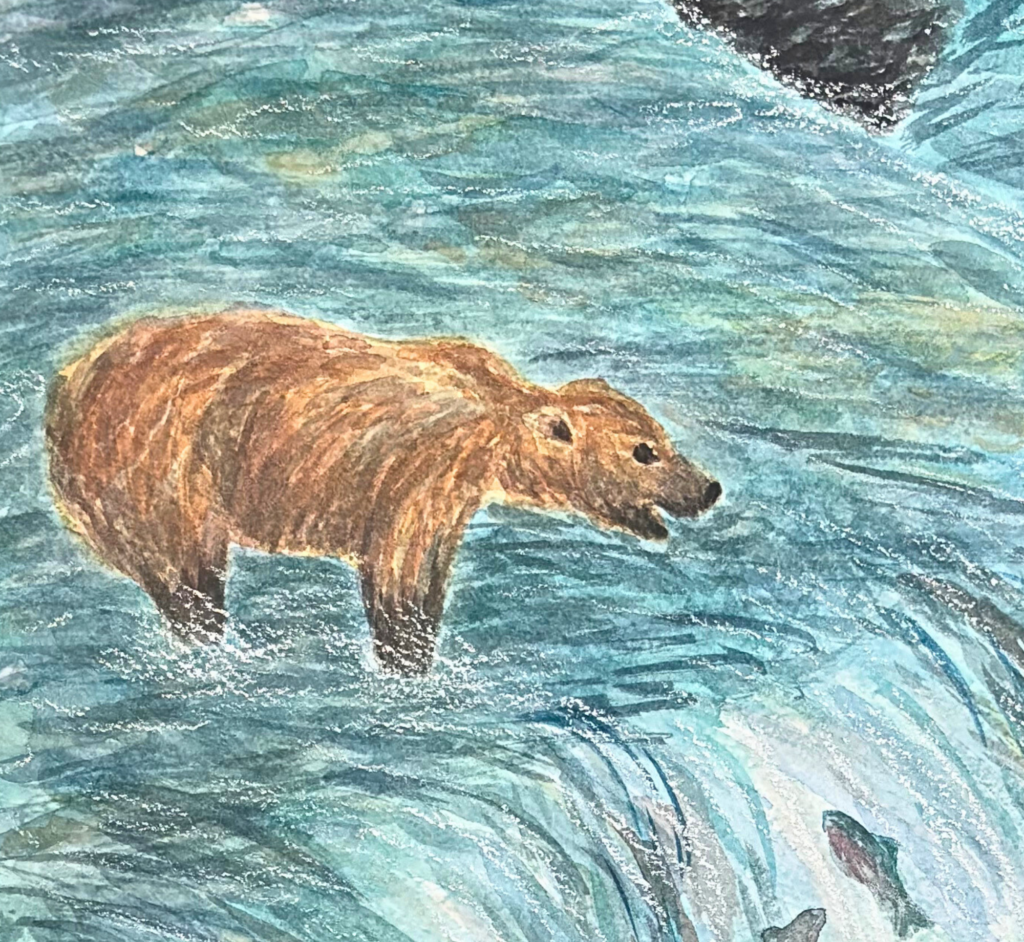
I had to paint the bear first to make the water look right around it. If you’re really skilled, you might be able to paint the river to outline the bear without painting the bear itself. But it’s not easy!
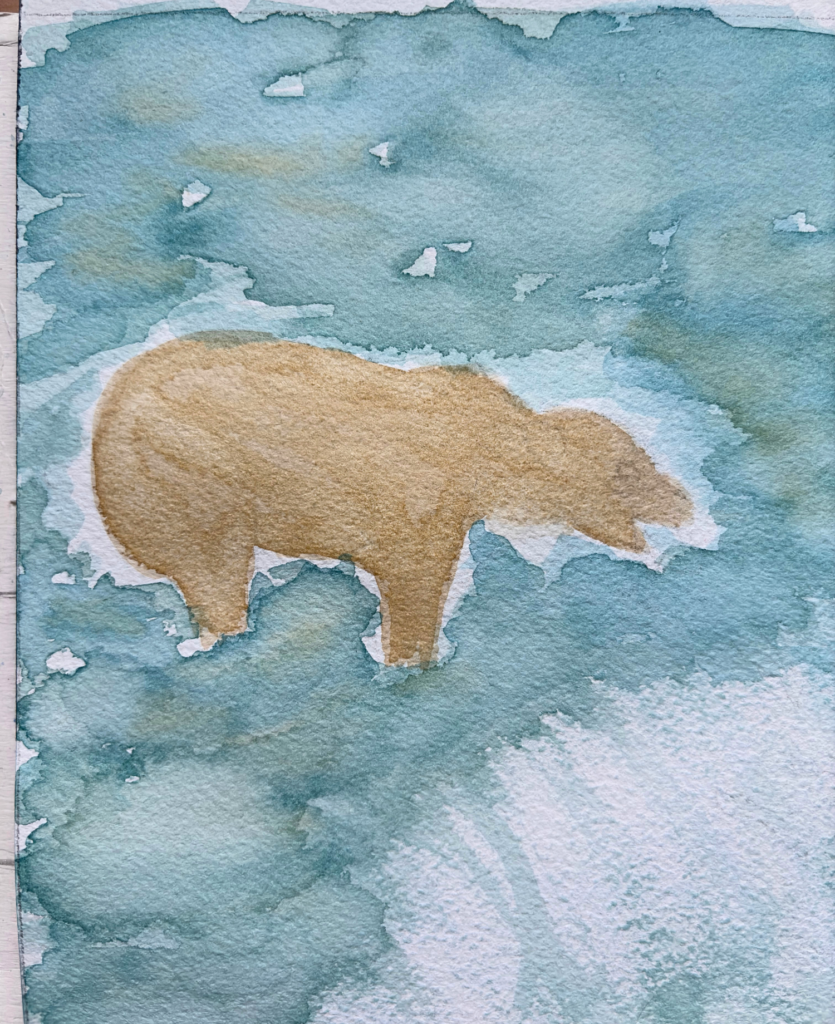
The rule of thumb when painting water is that it is composed of 75% hard edges and 25% soft edges.
I wanted to stylize this bear watercolor painting, so I used thick strokes with my round watercolor brush.
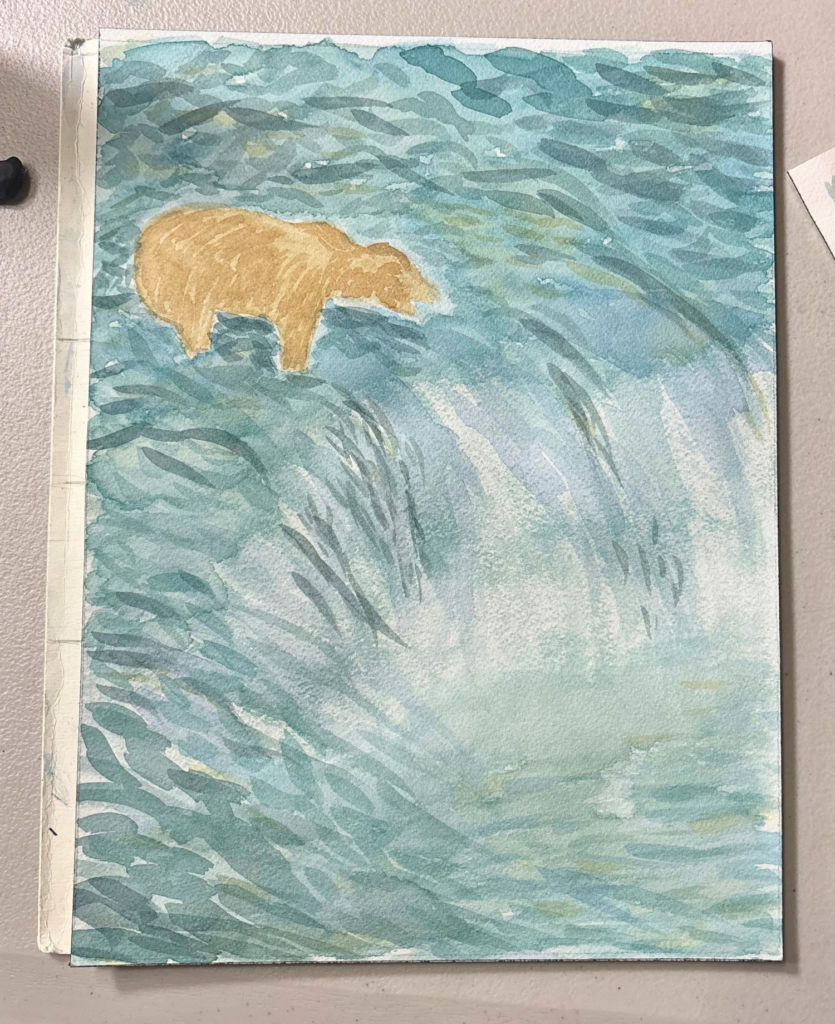
Waterfall Painting Tips
There are some important things to remember to make the waterfall painting look realistic.
- Know where the water should be the darkest. The dark areas will pull the viewer’s eye around the page so the bottom left corner and under the bear need to be darker than the rest of the painting.
- Know where the water should be the lightest. The base of the waterfall will have the most white, followed by the waterfall itself.
- Even though there are dark and light areas, you will want some dark strokes in the light areas and vice versa. This will give your painting depth and a realistic look.
- Add rocks to the river to help direct the painting. I didn’t do this until near the end of my painting, but I would suggest that you go into your painting with the rocks in your sketch. The rocks were very important in adding variety to the water above and made the painting look a lot better (use the same process for painting the rocks as you do for painting the bear. See below).
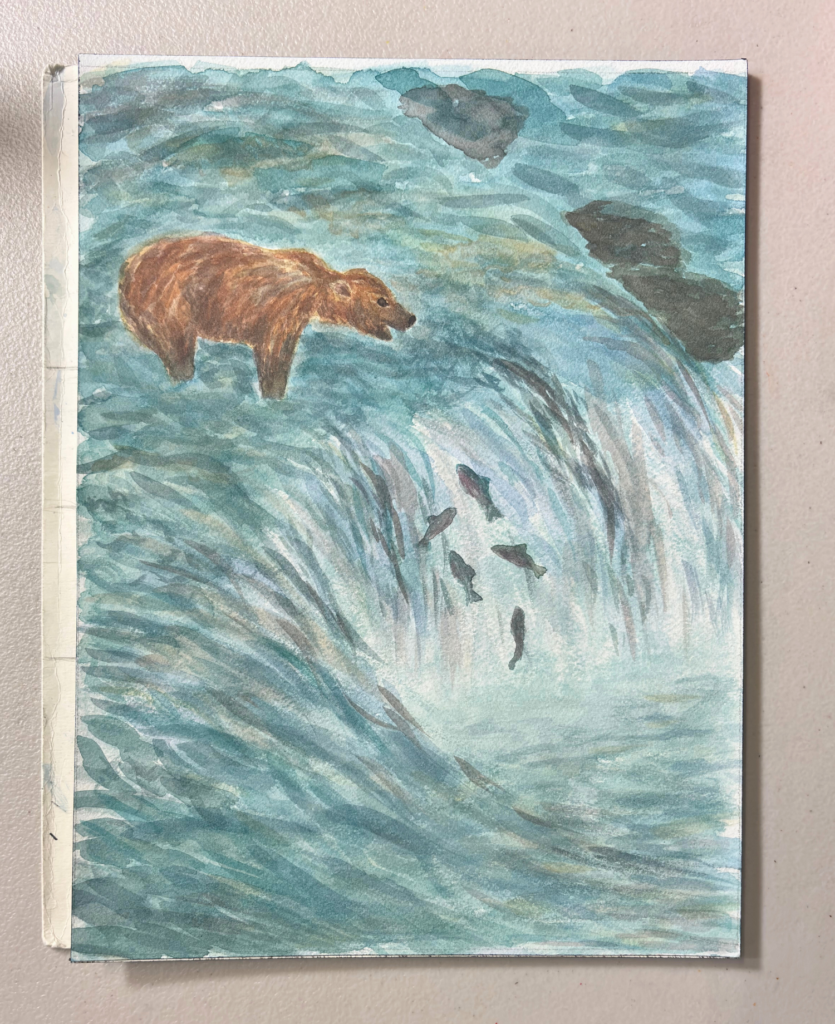
The bear is a lot of fun to paint. But it requires patience because there are a lot of layers involved.
If I had to guess, I’d say this bear has at least 10 layers of paint, if not more. And I would be lying if I said that I didn’t want to give up on it a few times and call it a lost cause.
Bear Watercolor Painting Tips
So here are the tips on creating a realistic bear watercolor painting.
- Start with the lightest layers first. Begin with a solid base layer and paint the entire bear. As you move on to the next layer, it’ll be a bit darker and cover less area than the previous one.
- Know where the light areas should be. The outline of the ear, the curve of the back and legs.
- Know where the darkest areas of the bear need to be. The outline of where the legs connect to the body, the snout is more gray than brown but still dark, the inside of the ear, the butt, the hump of the grizzly bear, and the darkest part will be where the fur is wet on the legs from being in the water.
- After the bear is pretty much done use a dry on dry technique to add a black mixture to the snout and eyes.
Dive into the fascinating world of watercolor techniques, including the dry on dry method, in The Do’s and Don’ts of a Desert Watercolor Painting.
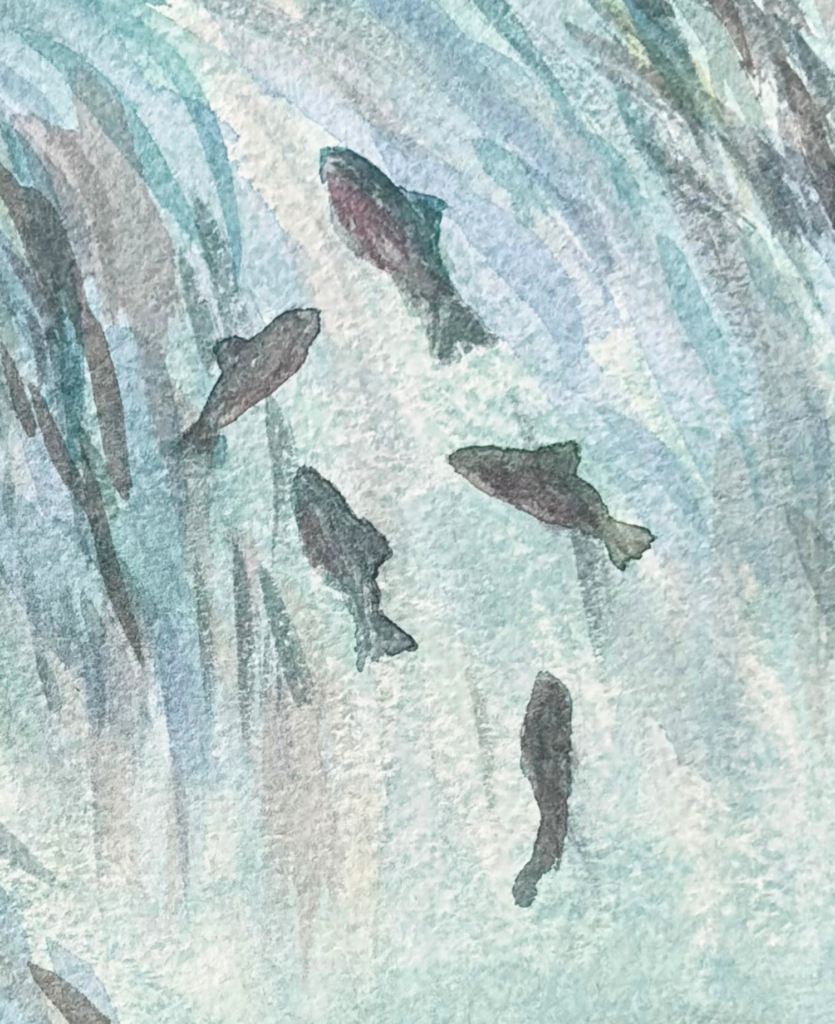
Fish Watercolor Painting Tips
Things to note for the fish watercolor painting.
- They are composed of three shapes: an oval (body) and two triangles (dorsal/top fin and tail).
- Fish have bellies that are light and backs that are dark. A pink-red color works great because these are supposed to be salmon. The back is a gray-blue color.
- A dry on wet technique works really well with the bellies being wet and the backs being dry.
- The fish are not the focus of the painting so they don’t need to be detailed. In fact, they shouldn’t be because you don’t want them to pull away from the bear or waterfall. You can add as many or as few as you want but I wouldn’t do more than five fish.
The very last thing to do for this painting is to add pure white. There are a number of ways you can do this: white gel pen, watered-down white acrylic paint, but the secret to this realistic waterfall painting is white oil pastel chalk. I got the idea of adding oil pastel from an art instructor that I have.
And it works amazingly! It created the misty effect of the water so perfectly that I will undoubtedly use this technique again. With white pens, it’s hard to get a natural look and with acrylic it looks muddy. But with the oil pastel you get an organic look. The chalk on the rough watercolor paper made it so the white was randomly applied in a controlled fashion.
Where are you adding the white pastel? The majority of it will be at the base of the waterfall, then the waterfall itself. You will want to add some splashes along the legs of the bear and around the rocks. To top it off add a few strokes of white throughout the water.
To protect the chalk and prevent it from rubbing off give a couple of sprays of Sennelier Fixative or a smooth spraying hairspray.
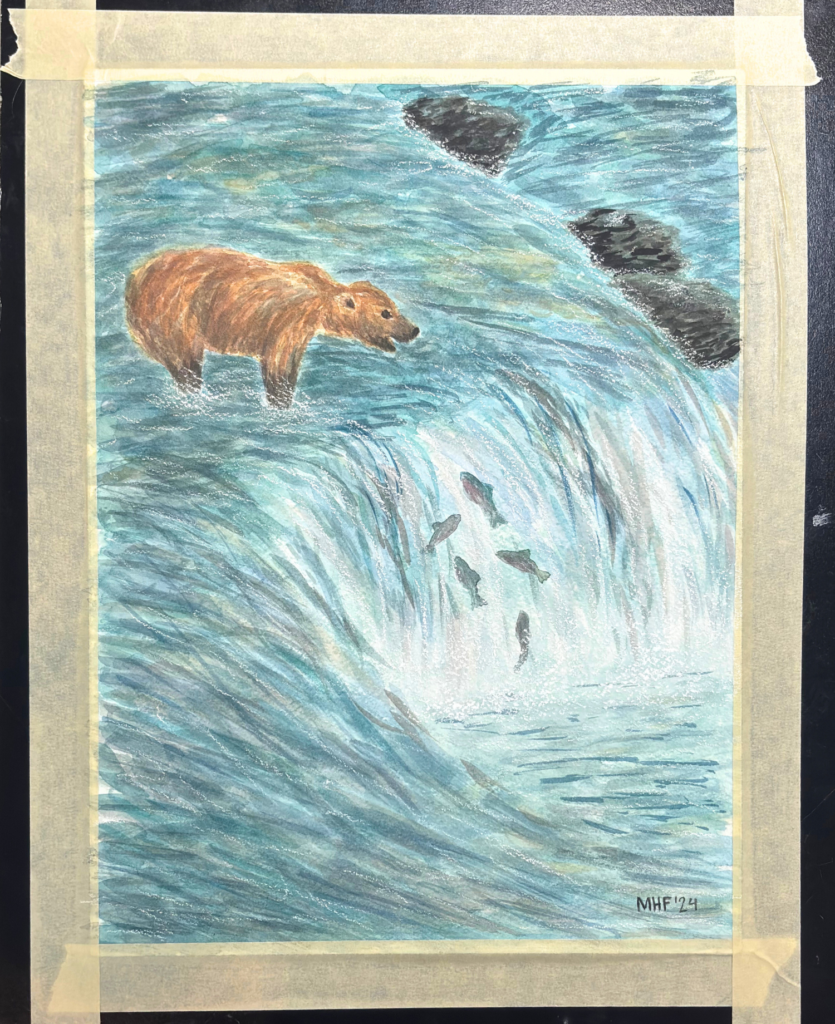
Sign your name and then frame that beautiful watercolor river painting masterpiece!
This post was all about creating a watercolor river painting masterpiece!
Other posts you will enjoy:
How to do a River Painting with Procreate that Feels like doing Coloring Books for Adults
25 Best Gifts for Artists Who Paint

3 Easy Steps for a Shark Painting


Leave a Reply