Do you want to increase your watercolor skills while also creating a Christmas painting? Learn how to do both in this salt watercolor ornament painting tutorial!
Disclaimer: THIS POST MAY CONTAIN AFFILIATE LINKS, MEANING I GET A COMMISSION IF YOU DECIDE TO MAKE A PURCHASE THROUGH MY LINKS, AT NO COST TO YOU. AS AN AMAZON AFFILIATE I EARN FROM QUALIFYING PURCHASES AT NO EXTRA COST TO YOU.
Christmas time can be such a magical time full of laughter, joy, helping, and remembering. I wanted to do a salt watercolor ornament painting for you to learn how salt on watercolor can add some extra pizzazz to your artwork.
You will learn about how to paint a watercolor ornament painting, a simple Santa sleigh silhouette, Christmas ornament painting ideas, salt watercolor, salt on watercolor, and more watercolor techniques!
After going through this salt watercolor ornament painting tutorial you will have created a masterpiece.
Supplies Used:
Arches Watercolor Paper

Kalour Drawing Set

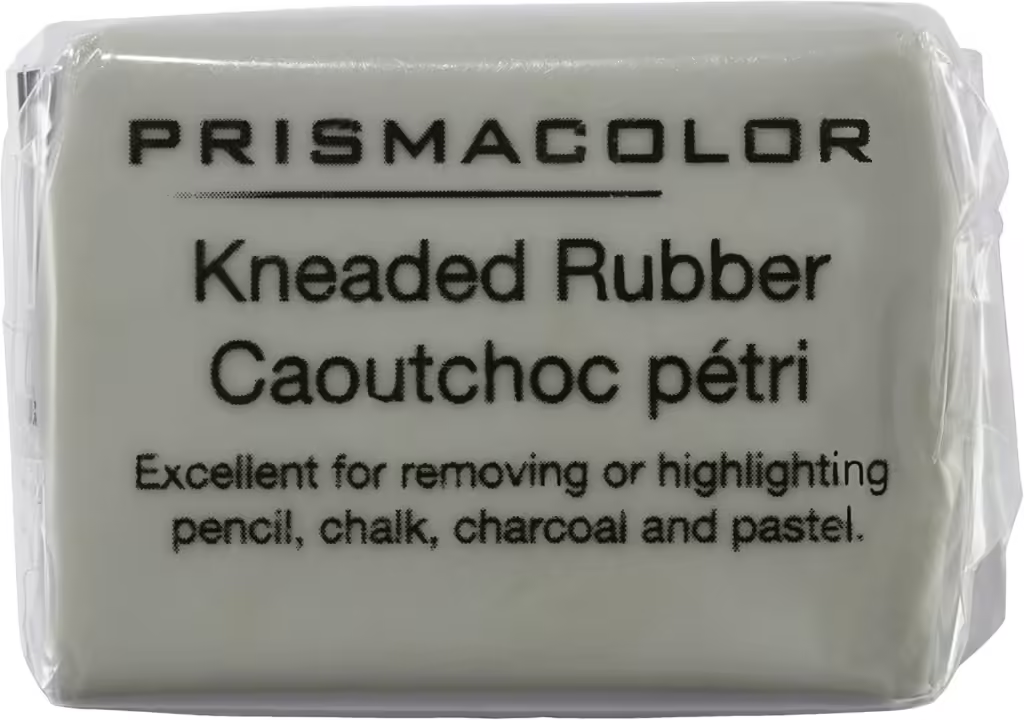
Prismacolor Kneaded Eraser
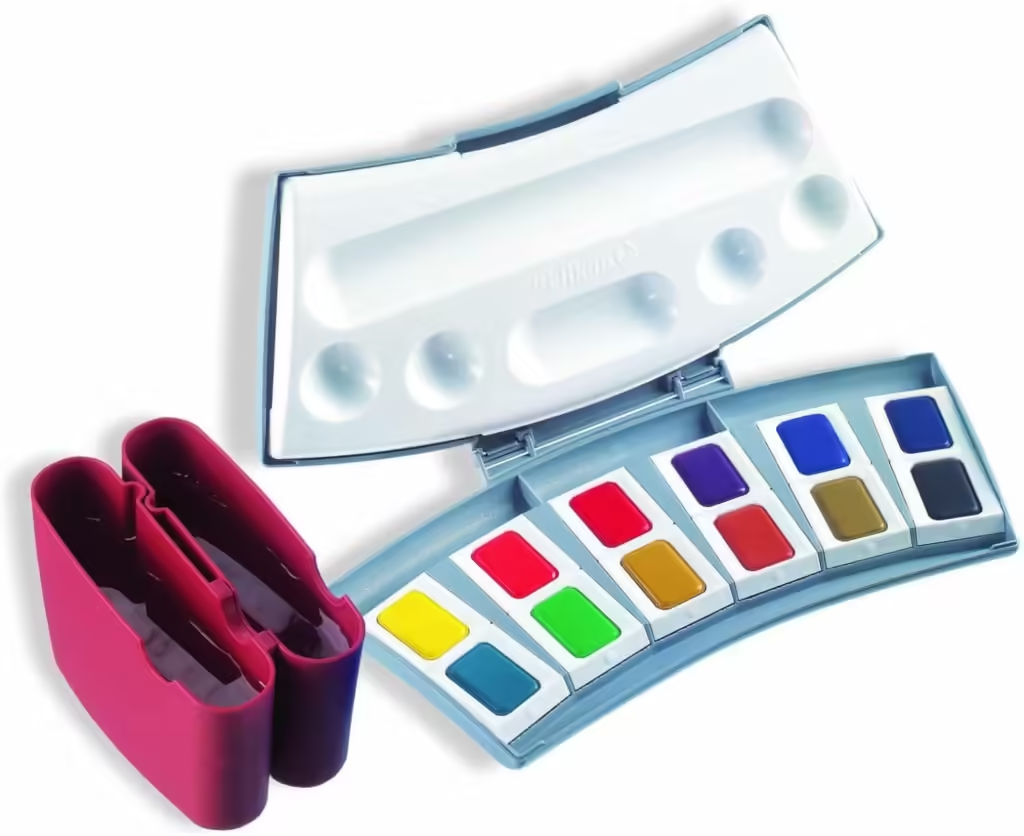
Pelikan Watercolor Paints
Watercolor Brush Round Size 12

Coarse Salt

*This is the salt I used because it is what I had in the kitchen. Any salt will work. Coarse salt will create larger salt watercolor effects than fine salt. Both types create great results.
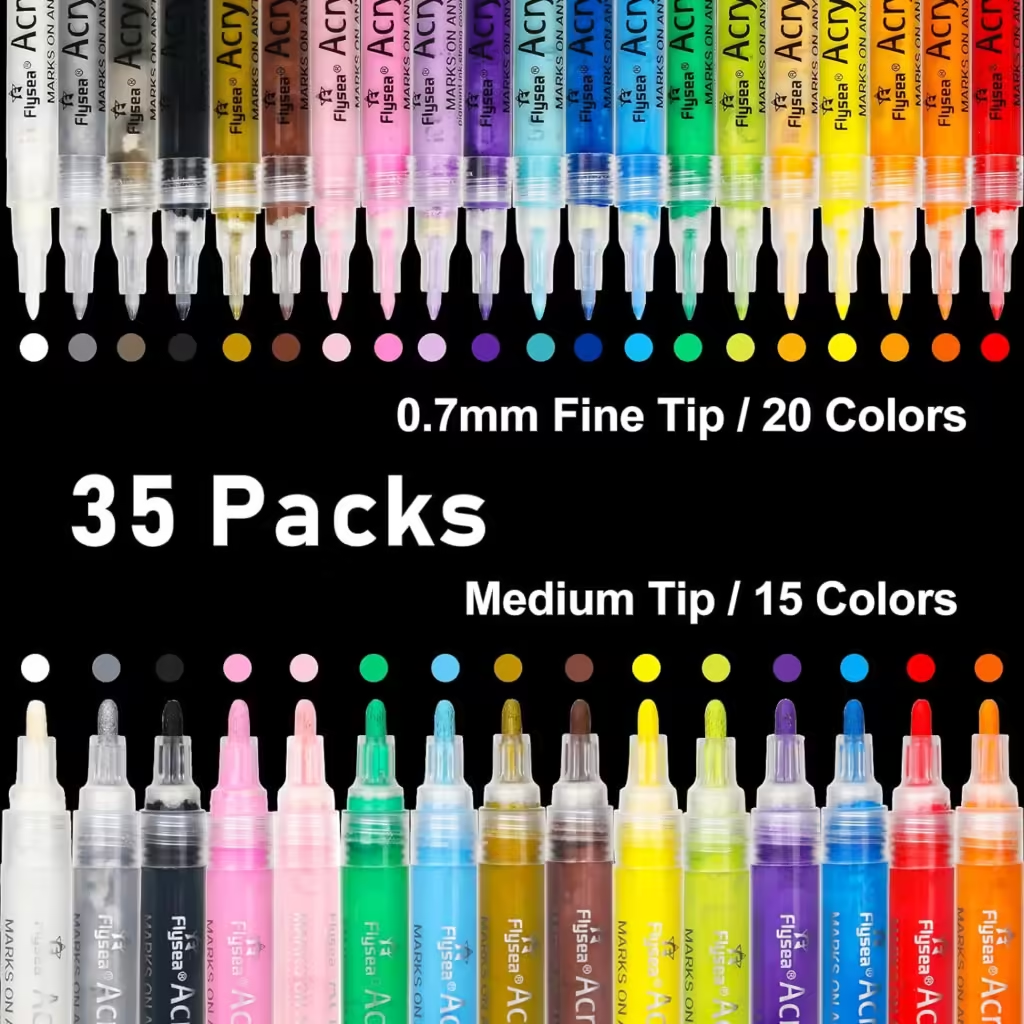
Premium Acrylic Paint Marker Pens
How to Rock a Salt Watercolor Ornament Painting Tutorial
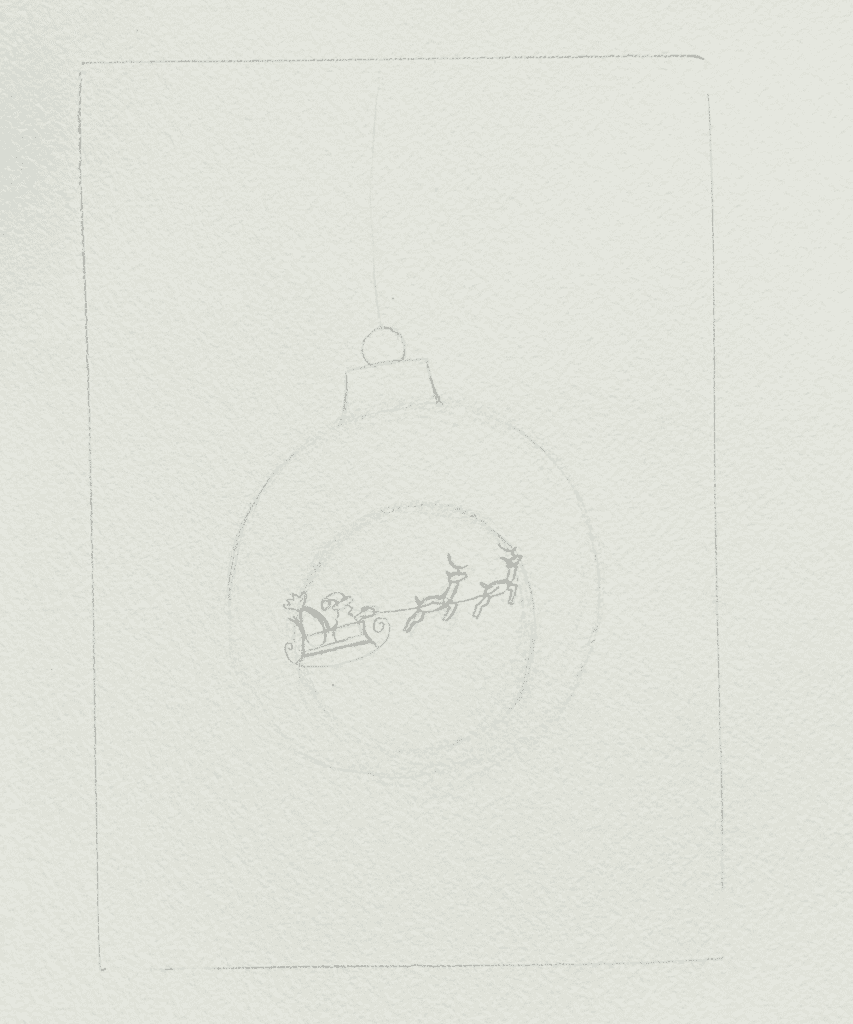
Step One: Sketch a Simple Santa Sleigh Silhouette
With a sketch for watercolor, you want to keep it as light as possible because it can show through the paint and you aren’t able to erase it once the paint is applied. To help keep pencil marks light I like to use a 5H pencil and then when I am finished with the sketch go over everything with the kneaded eraser.
The actual ornament is pretty simple to sketch with three circles and a rectangle.
An easy way to get circles is to simply trace them using an object the size you want, like a cup or water bottle.
If you want to challenge yourself and freehand it, know that you will be doing A LOT of erasing. I freehanded this entire salt watercolor sketch. For the circles, I make probably around 50 continuous circles and then go back and erase the lines I don’t want. That is the best way that I have found to create good-looking circles.
After you are finished sketching the ornament with the moon it is time to sketch the simple Santa sleigh silhouette.
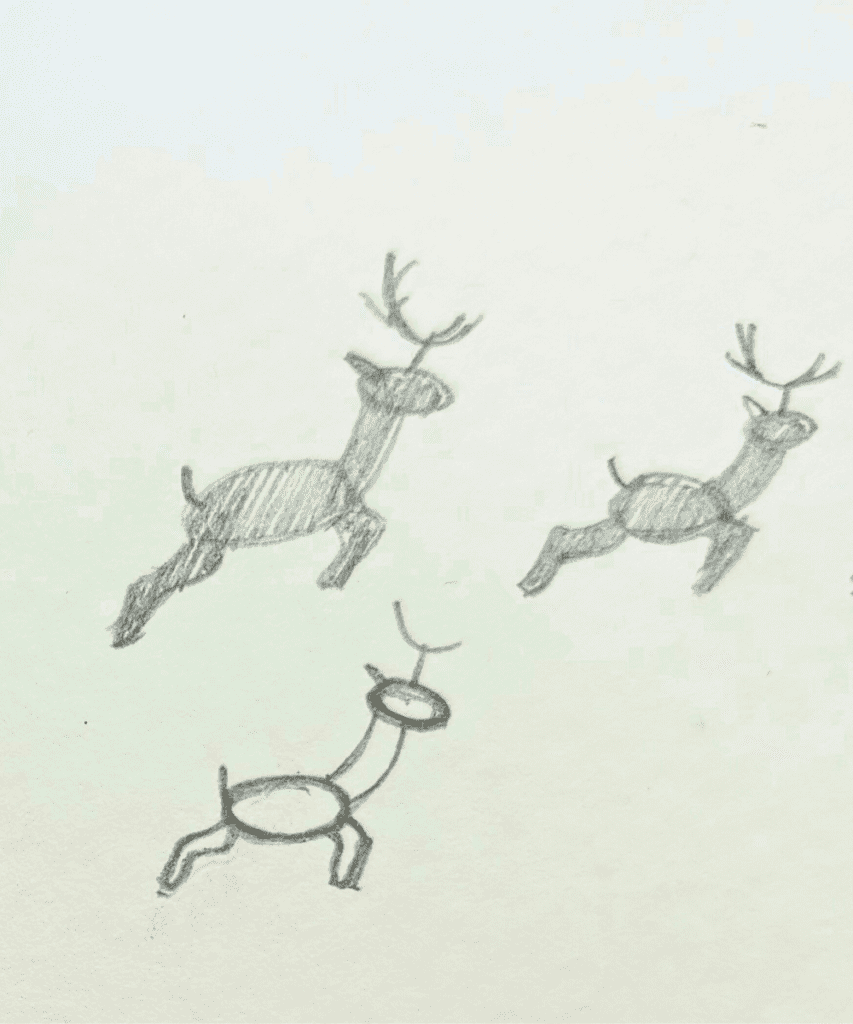
The keyword here is SIMPLE. Your sleigh doesn’t need to be fancy, don’t add details to your reindeer because everything will end up being black.
Here is a close-up example of the reindeer. I wanted to practice them on a separate piece of paper to see how they would look. This is a good practice for any painting.
Step Two: Salt on Watercolor
*I want to warn you that using salt on paintings will damage your watercolor brush. If you have an old brush I recommend committing that one to salt watercolor projects. If you don’t you can still use your usual brush it will just wear it out quicker.
Step two is when you will start painting the background with your Pelikan watercolors.
I wanted the background to be a green-blue color and the ornament to be blue so I their first watercolor wash separately.
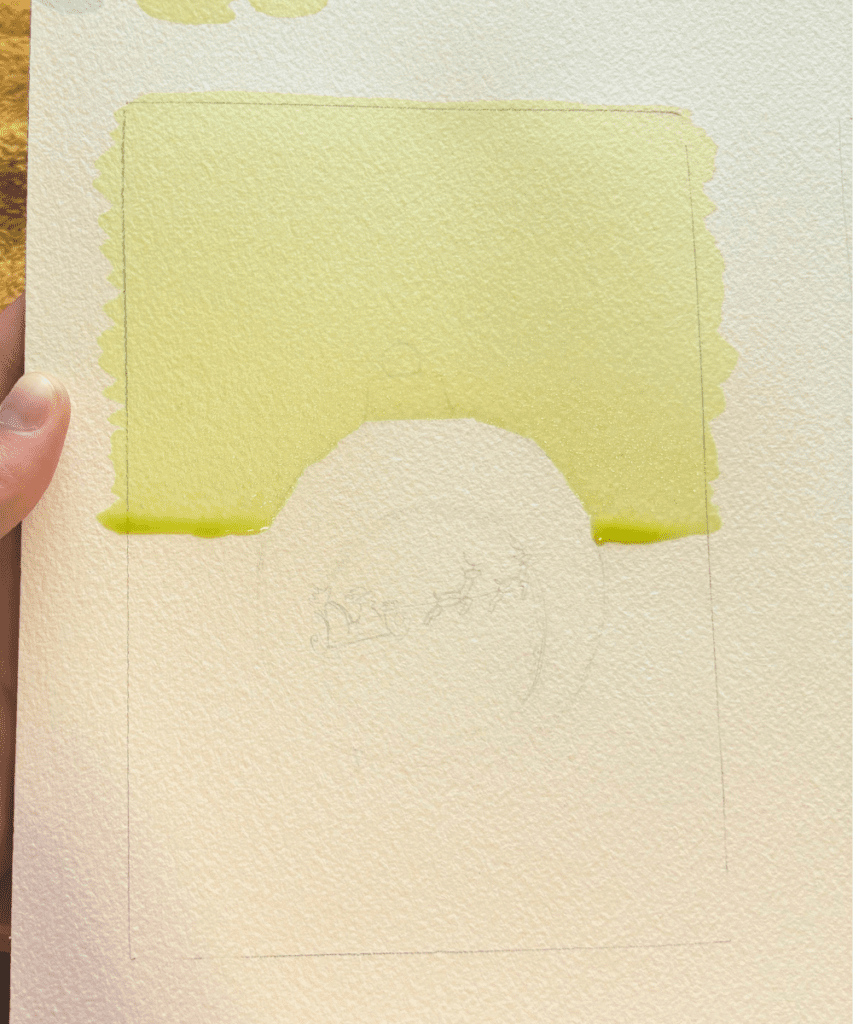
For the first wash I mixed yellow (Echtgelb) and light green (Gelbgrun) in lots of water so it wasn’t too bright.
To get a flat wash you will use your mixed watercolor on the entire page (minus the ornament area) while maintaining the drip.
Learn more about how to do watercolor washes and the drip in Amazingly Easy Watercolor Landscape Art.
You won’t use salt on this first wash.
While your first layer is drying mix up a green-blue color.
I like to mix my own green rather than use the set ones in the watercolor palette. For a lighter green I use the yellow (Echtgelb) and the lighter blue (Ultramarinblau). Try it out on a tester paper or the outskirts of your painting until you get a color you like.
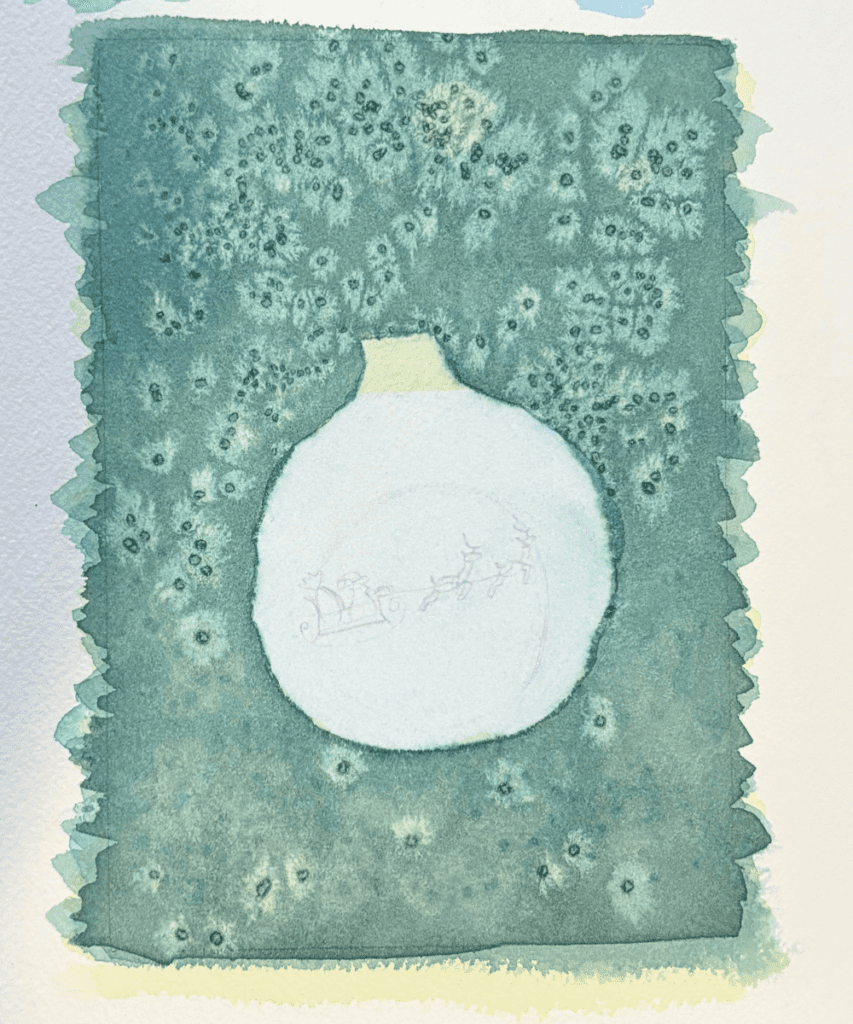
Do another flat wash with this color and immediately apply the salt on watercolor while it is wet.
Let your paper dry completely before brushing off the salt.
You can reuse the salt so don’t throw it away.
Repeat this process two or three more times until you are happy with the background.
Check out this post for other things you can add to watercolor paintings to make them cool: Easy Mixed Media Art: A Guide for Beginners.
Step Three: Christmas Ornament Painting Ideas
Now it is time to start painting the Christmas ornament.
Start with a flat wash of light blue. You want it the color of the moon, since that is the lightest part of your ornament.
I used the light blue (Ultramarinblau) in lots of water.
While the first watercolor was is drying mix up a darker blue.
In the blue I already had I added the dark blue (PreusBischblau) and a little bit of orange (Zinnoberrot).
Once the first wash is dry you can start adding your dark blue to the circumference of your ornament. Then rinse your brush and dry it until its only a little bit wet. Take it and move the watercolor that is on the page inwards in a circular motion until you get to the middle of the ornament.
Rinse and dry your brush again. Now starting from the middle of where the moon is go in outward circles to remove the paint to make the moon.
You can repeat this process again if you want the sky darker.
I wanted to add a more whimsical look to my watercolor ornament painting so I added some whisps of color using a dry on dry watercolor technique.
A dry on dry technique means that your watercolor brush has very little water in it and you pick up wet paint (paint not mixed in water) then you apply it to your watercolor painting.
The colors that I used for this technique is the dark blue (PreuBischblau) and black (Lampenschwarz).
Are you enjoying this holiday painting? Check out more Christmas painting ideas in 15 Best Watercolor Christmas Cards Ideas.
Using the same dry on dry watercolor technique paint the silhouette of Santa’s sleigh and reindeer.
The last part of this ornament to paint is the top part that holds the hook.
I don’t currently have gold metallic watercolor paint (which you can get on Amazon) so instead I use acrylic paint markers. Just make sure the paper is 100% dry or they don’t work well.
Step Four: Sign and Frame
Now all you need to do is add your signature and frame it to display it this Christmas season!
This post is all about a salt watercolor ornament painting.
Other posts you will enjoy:









Leave a Reply