Are you having trouble figuring out how to do a watercolor flowers painting? These are the tried and true secrets to help!
Disclaimer: THIS POST MAY CONTAIN AFFILIATE LINKS, MEANING I GET A COMMISSION IF YOU DECIDE TO MAKE A PURCHASE THROUGH MY LINKS, AT NO COST TO YOU. AS AN AMAZON AFFILIATE I EARN FROM QUALIFYING PURCHASES.
So you want to do a watercolor flowers painting but don’t know where to start. Let me help you out by giving you 5 tips that helped me while painting these flowers as a gift to my grandma.
You will learn about doing a cute flower sketch, painting a watercolor background, finishing a watercolor flowers painting, and more!
After reading this blog post you will be able to paint watercolor flowers. Remember the more you practice the better you will get!
This post is all about watercolor flowers painting.
Supplies needed:
- Watercolor Paper
- Watercolor Paint
- Watercolor Brush
- Tape
- Pencil and Eraser
- Paper Towel or Rag
SECRET ONE
Create a cute flower sketch of what you want.
Honestly, this may be the most important secret of all. With a sketch, it sets you up for success. You won’t have to guess where to place the flower or petal or leaf, you will know exactly where it goes because you have prepared it beforehand.
Sorry the picture is difficult to see, but that is because when you sketch to prepare for a watercolor painting you want to do it as lightly as possible. This is so the pencil doesn’t show through the paint at the end.
If you are new to sketching draw the big overall shapes first. I did this in the left-hand picture with the larger flowers. When you draw the overall shape of the flower as a circle first it is easier to place the petals to look good. If you are having a hard time with the buds or leaves try drawing a triangle and then draw a curved line between points.
You can even mark out where you want to place the darker and lighter colors.
Before you start painting erase any extra or unneeded pencil lines.
At the very end when the paint is dry, you will want to gently take an eraser to it to get any excess pencil marks off. For the most part, it works really well, but some paints allow you to erase pencil marks better than others.
I can’t say it is an absolute must. Of course, you could have a pretty watercolor flowers painting without sketching it before painting. However, whenever I don’t do a sketch the placement of my items never comes out the way I want them to. But find out what your style is by trying out both ways. Maybe you are more of an ‘eye-ball it’ painter, and kudos to you. If you aren’t though, take the time to do the sketch.
SECRET TWO
Tape down your paper.
Okay maybe this isn’t a “secret” but it is super important. When I started watercolor painting years ago I thought that taping was just a suggestion, not a must if I was painting just as a hobby.
Here are some reasons why taping your paper is important:
- When the paper starts to dry it won’t shrink
- You can add layers upon layers without worrying too much about the paper warping or buckling
- It creates crisp lines – you may like this or you may not. If you don’t like the crisp edges, tape it closer to the edge of the watercolor paper, and don’t paint your background up next to the tape
- It is harder to accidentally flick the paper and cause the water to move places you didn’t want it to
If one of the reasons you aren’t taping is because you don’t like to be constricted to a table when you paint try getting a clipboard and tape down your paper on that. Before you go out and buy one specifically for this, think about what size of watercolor paper you’ll be using. You need the clipboard to be bigger than the paper.
SECRET THREE
When painting your watercolor background think ahead of what color you want your flowers. To have your flowers pop, you need to have your background lighter.
You can never go wrong with a light blue. In nature, nearly everything is against a blue background (the sky). Even if you are painting blue flowers you can do a blue background if you change the tint and tones of the colors.
To create a nice watercolor background that looks like it’s the sky, maybe with some clouds in it, differ the paint concentration on the page. With watercolor, this happens naturally to an extent. But if you want even more variation have a little more paint-to-water ratio in some places and more water-to-paint ratio in others.
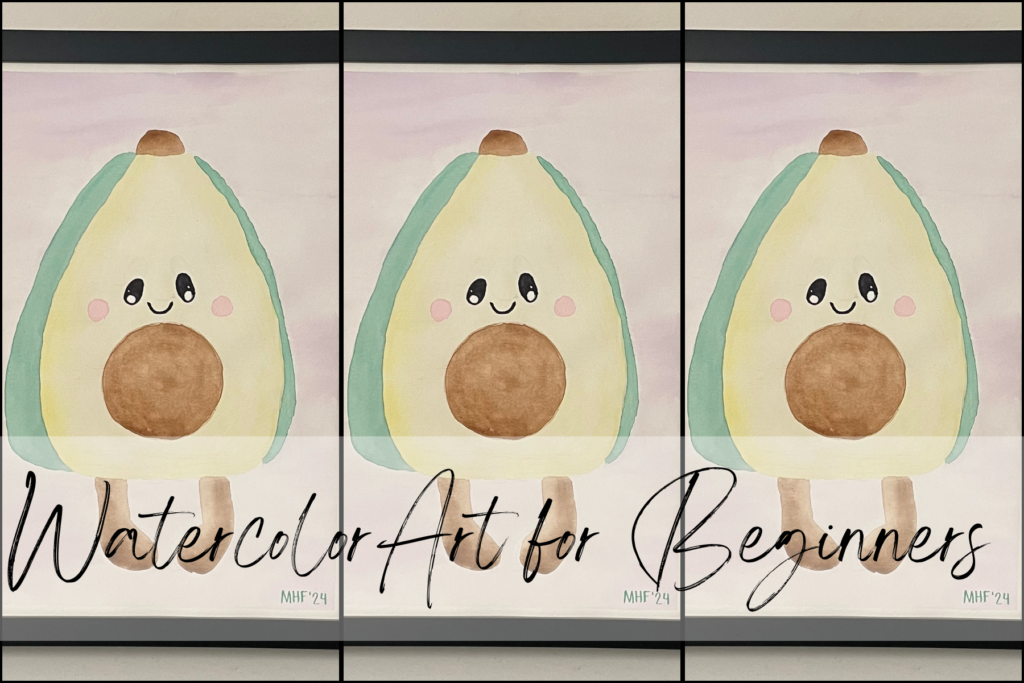
Go to step iii. Feet, Pit, and Stem in Watercolor Art for Beginners to learn more about this technique.
Other techniques to try with watercolor background:
- Add salt while wet
- Splatter the paint
- Drop water on while the paint is semi-dry
SECRET FOUR
When painting the flowers you always want to start with the lightest shade of paint first.
A challenge with watercolor is that you have to paint lightest to darkest colors. In other words, you can’t put a light color on a dark color. (If you use masking fluid it gets around this challenge).
This is trickier than you would think so you need to plan this out. But don’t worry because we did that with the cute flower sketch.
The secret within this secret is layering. In the picture below every flower and bud has 2-5 layers. With each consecutive layer, you will want to get darker than the last, with your very last layer being the darkest.
To create a definition between petals you’ll want to have the paper dry before painting the adjacent petal. When you are okay that there is less definition start painting the next petal while the paper is semi-wet or glossy.
Use that same approach to layers. If you want a stark contrast between the lights and darks have the paper dry completely before adding another layer. However, to create a layer the paper needs to be drier than wet or the colors will bleed into each other without you having any control over them.
For the darkest colors of your flowers try adding different colors to the original color instead of painting with less water with the same color. For the picture above I added blue to the purple-ish color I had. That created a deeper purple and more depth to the flower.
I didn’t want the center of the flower to mix with the petals so I painted that part very last.
SECRET FIVE
Don’t overwork it.
There is this thing called overworking a painting. This is when the painter isn’t happy with something and tries to fix it by adding more and more paint to it. No matter how much they add it doesn’t improve the painting.
When adding layers, there is a risk that this will happen to you. I fell prey to the temptation to overwork it with the leaves. I’m still not happy with them because I added too much paint to them.
What can you do when you notice that you are overworking your painting?
- Step away and take a break. This is possibly the best thing you can do. Whether the break is 5 minutes or 5 days it will help your painting.
- Stop trying to fix it and look at it from a different angle. Take a picture of it on your phone, look at it from across the room, and have someone else look at it for you. See if the “problem” you were trying to fix is the thing that needs to be changed. Sometimes it’s something else entirely. Once you fix that everything falls into place.
- Eat a snack, drink some water, and maybe even go to the bathroom. When I’m hangry I don’t think straight and eating something fixes everything.
Reflection
Use these questions to reflect on this most recent watercolor flowers painting:
i. What is your favorite part of this painting?
This could be how the colors turned out, the reaction you get when you show it to others, how the background looks, etc.
ii. What is your least favorite part?
Do you wish you took it slower with the leaves adding more detail to them or are you not happy with the overall composition of the painting?
iii. What will you do differently with your next watercolor flowers painting?
If you don’t like the composition next time take more time sketching out the piece. If you really liked how the colors turned out try the same painting again but use different colors to challenge yourself.
iv. How have you improved since your last piece?
Take the time to look at your last watercolor art and think about how that experience differed from this one. Or if you need a bigger confidence boost compare this painting to your very first watercolor painting. Look how much you have improved and be proud of yourself! Sure you will always have things you need to work on but that doesn’t mean you can’t celebrate the progress you have made.
This post was all about watercolor flowers painting.
If you need practice sketching read this post:


Leave a Reply