Want to create artwork on your iPad but don’t know where to start? This beginner’s guide to types of digital art is the perfect place for you to find out.
Disclaimer: THIS POST MAY CONTAIN AFFILIATE LINKS, MEANING I GET A COMMISSION IF YOU DECIDE TO MAKE A PURCHASE THROUGH MY LINKS, AT NO COST TO YOU. AS AN AMAZON AFFILIATE I EARN FROM QUALIFYING PURCHASES.

Creating art digitally is exciting and convenient, but like all mediums, it has its pros and cons. You will learn about five types of digital art forms below. With these mediums, you will learn the differences between their digital form and their physical form. Digital art may not be my favorite medium to work with, but I can’t deny the convenience it brings. I can paint anywhere I have my iPad, you don’t have to worry about creating digital versions of them, there are only two ‘supplies’, and it is very easy to clean up.
In this beginner’s guide to digital art, you will learn about textured digital brushes, oil painting digital art, digital oil pastel art, digital art drawing, watercolor digital art, and more.
This post is all about types of digital art.
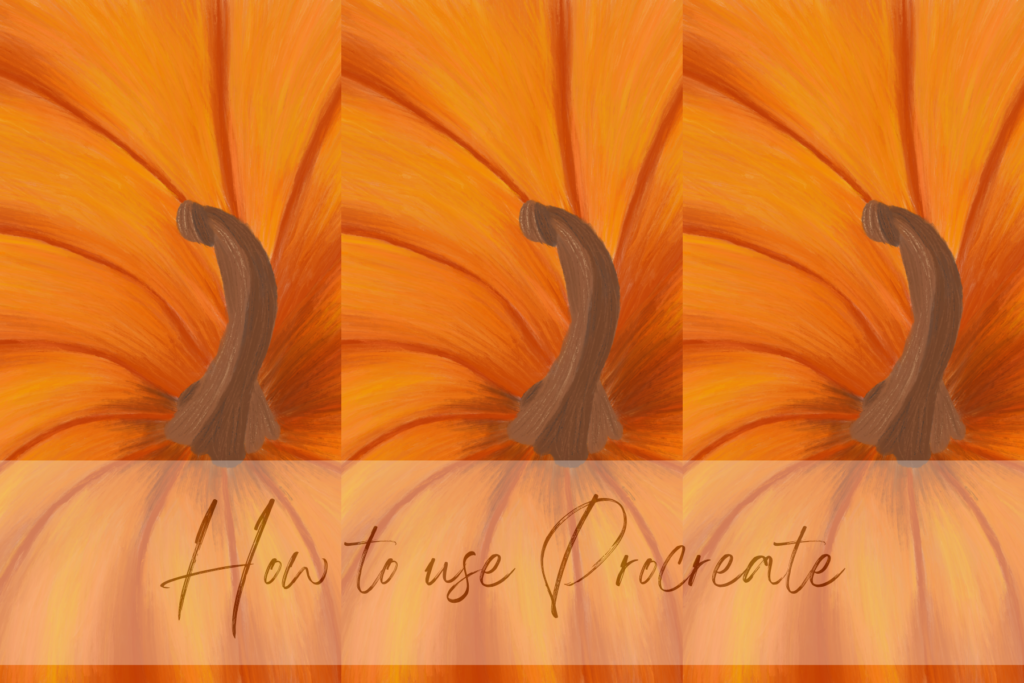
Supplies needed are an electronic device, a stylus, and an app to create artwork. I use an iPad Pro with an Apple pencil and the Procreate app.
5 Types of Digital Art – A Beginner’s Guide
i. Textured Digital Brushes

Spicule : Blackwood : Hexavector
In this section, I consider textured brushes as the brushes labeled textures, abstract, elements, materials, vintage, industrial, and organic. There are ways to add other brushes but that is a post for another time.
The best way to test out the textured brushes is to make backgrounds. I create these backgrounds for a fellow blogger who uses them to put book covers on. However, you could use them as backgrounds for other things like a screensaver for your laptop. Make the title of the project the name of the brush so it is easy to remember exactly which one you used.
Play with each brush to see what it does. Use different colors, varying pressures, and change to brush size to get a feel for it. It’s amazing how different the texture looks when it’s large versus small.
All of these brushes can be an incredible tool to create textures within your other paintings. It takes practice, but when you have a tree, table, or building experiment, add one of these textured brushes.
Need more ideas? Check out the best digital art ideas for beginners:
ii. Oil Painting Digital Art
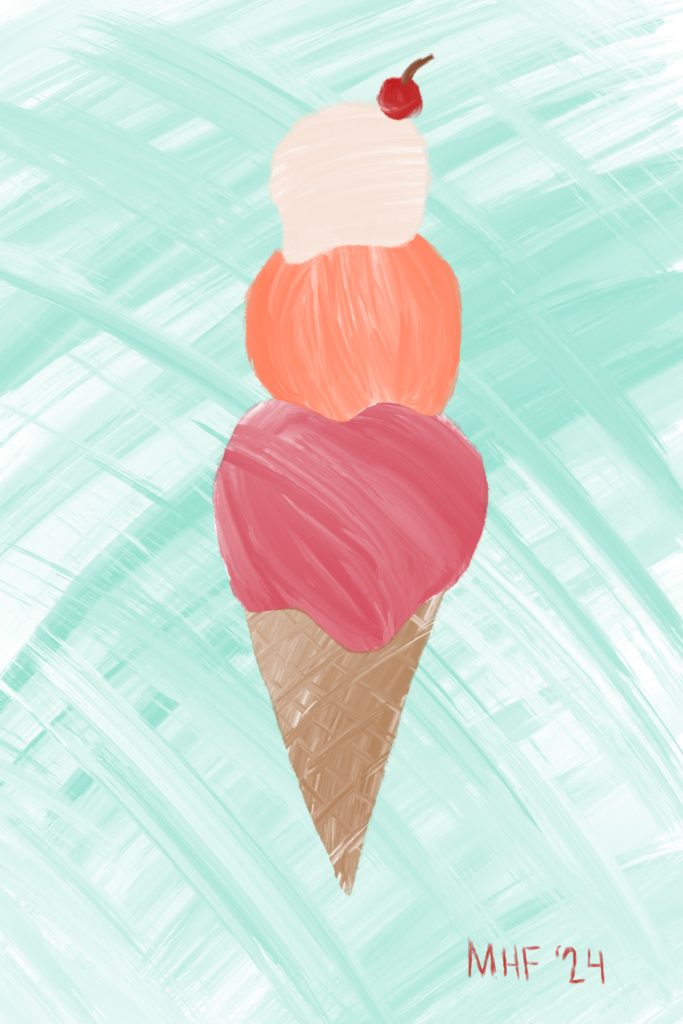
This cute ice cream cone is fun to paint; perfect for this beginner’s guide.
You will use one brush for this entire painting: Oil Paint in Painting. When you use it you will see that it is not like other brushes. It spreads the paint around and makes some spots darker while others are lighter. This is okay. Not all types of digital need to be a solid color or look the same. Your brush stroke will matter a lot more than other brushes so take your time and do each layer a few times to get the hang of it.
You should end up with 7 different layers: the sketch, the cone, the big scoop of ice cream, the medium scoop, the small scoop, the cherry, and the background. The original sketch is an outline for you when painting, but when you are done you can uncheck this layer so it won’t show.
Have fun with the brush strokes and remember less is more. Don’t overwork the painting.
Modify the brush to be smaller to paint the texture on the ice cream cone and for the cherry. For the background, you will want to make the brush size larger to cover more surface area.
Once you are happy with your oil painting digital art ice cream cone sign it!
One of the differences between digital oil painting and oil painting is how it feels. When digitally oil painting I feel like I have less control of where the paint is going and how the brush strokes look. Digital oil painting you also don’t get the 3D texture that you would with an oil painting on a canvas.
iii. Digital Oil Pastel Art
Creating digital oil pastel art is my favorite types of digital art. The things you can create with the smudge tool are remarkable.
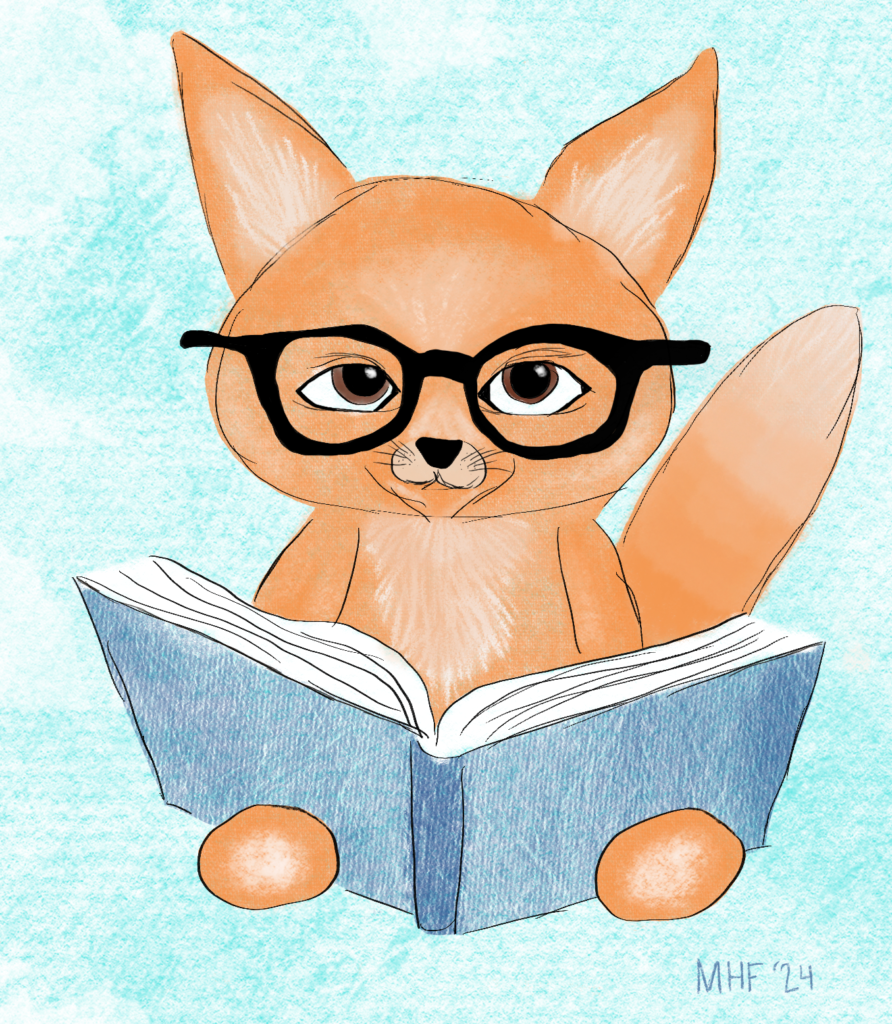
This little guy will challenge your skills in a good way. The angle of the book, the eyes, the glasses, the snout, and the fur all have their own intricacies, however, once you get it right it is very satisfying and fulfilling.
You can use the clipping mask tool if you do the fox in a solid color and then add a layer on top to do the smudging/blending. If you want to be able to blend the white and orange you will need them on the same layer.
If you don’t want to tackle the skill of layering and clip masking then you can erase where needed.
Have fun blending, it’s one of the best parts of oil pastels. When you are ready for the details of the fur and ears make the brush smaller and do individual strokes with no blending afterwards.
One thing that you will want to do for the eyes is to add the gleam to the pupil. It will make it look 10x better and it is very simple to do. Just add a small smudge of white and voilà you have two eye-catching eyeballs.
Digital oil pastel is the medium that I feel is most like its counterpart. The application of the paint, the smudging, and the artwork are very similar to oil pastel work on paper. The nice thing about doing it digitally is your hands don’t become messy and you don’t get paint caked under your fingernails.
If you want to see another example of digital oil pastel artwork check out this post:
iv. Digital Art Drawing
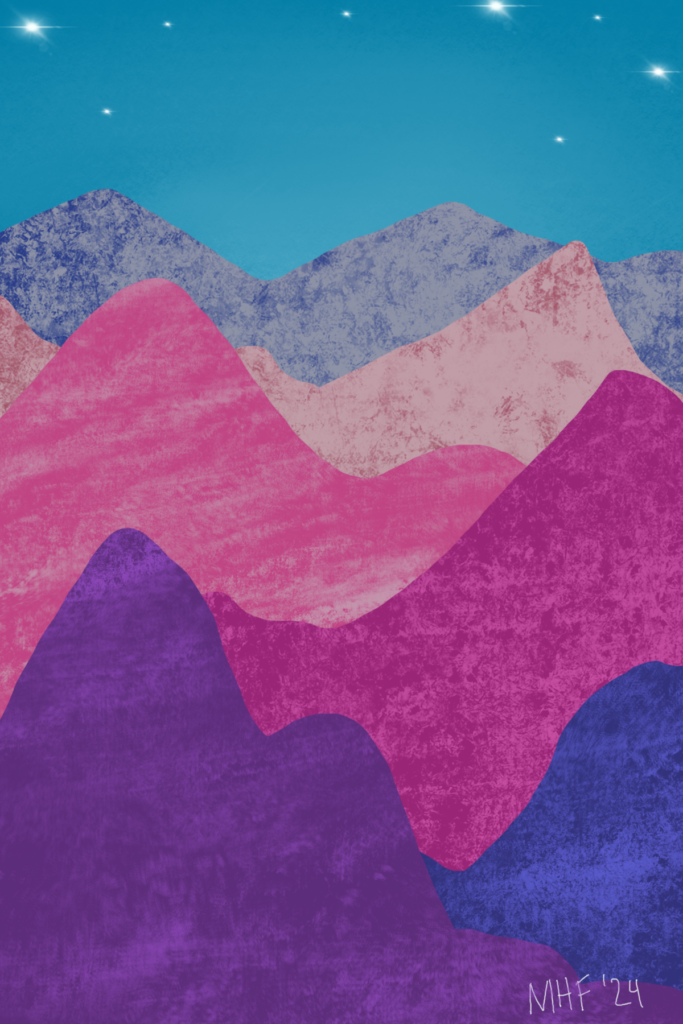
This is an easy yet bold digital art drawing. It utilizes many functions of Procreate such as layers, color drop, clipping mask, and Gaussian Blur.
When starting you will want to choose 5-6 colors that look good together, you will use them for the mountains and sky.
Draw an outline of the first mountain and then use the color drop feature to fill in the solid color. You will want to use a brush like the Studio Pen or Gel Pen in Inking because they create a solid line with no places for the color drop to leak out of.
Then create a new layer for the texture of the mountain. Use the same color but modify it so it is lighter or darker than the mountain. Use a different brush with texture like Oil Pastel in Sketching or Burnt Tree in Charcoals. Modify the size and transparency of the brush to your liking.
When you are done with the texture layer move it so it is above the mountain layer. Tap on the texture layer and click Clipping Mask. This will align the layers so that any paint outside of the mountain layer will disappear so you don’t have to worry about coloring inside the lines.
Repeat these steps for all of the mountain ranges you create.
In a new layer, you will paint the sky a solid color.
In a new layer, pick a white or off-white color and paint it at the center of the painting next to the furthest mountain range. To create the glowing effect, go into the special effects (magic wand) click on Gaussian Blur, and adjust it to how you like it.
You will add the stars in a new layer. There are a few different brushes that you can use. If you modify the Glimmer brush in Luminance to be large it will apply 3-6 stars with each touch of your stylus. Or you can make the Flare brush in Luminance small and add one star at a time. The painting above used the Flare brush.
Once you decide you like it sign it and you are done!
If you have a picture that you really want to draw, but it is too complicated for you to draw on your own, a great way to draw it is to trace it on Procreate. You upload the picture, add a new layer, and then choose one of the inking Procreate brushes to trace it.
You need a new layer over the photo or you will erase the photo with the messed up lines. Layers are an amazing tool that can be so helpful, but you need to use them to get their benefits.
Zooming in helps immensely when drawing the fine details. Put as many or as little detail in as you want.
I chose not to draw the individual flowers in the flowerbeds. I plan to fill them in with color for this drawing. I did outline each flowerbed so I know how big they are.
Find some more sketch ideas here:

v. Watercolor Digital Art
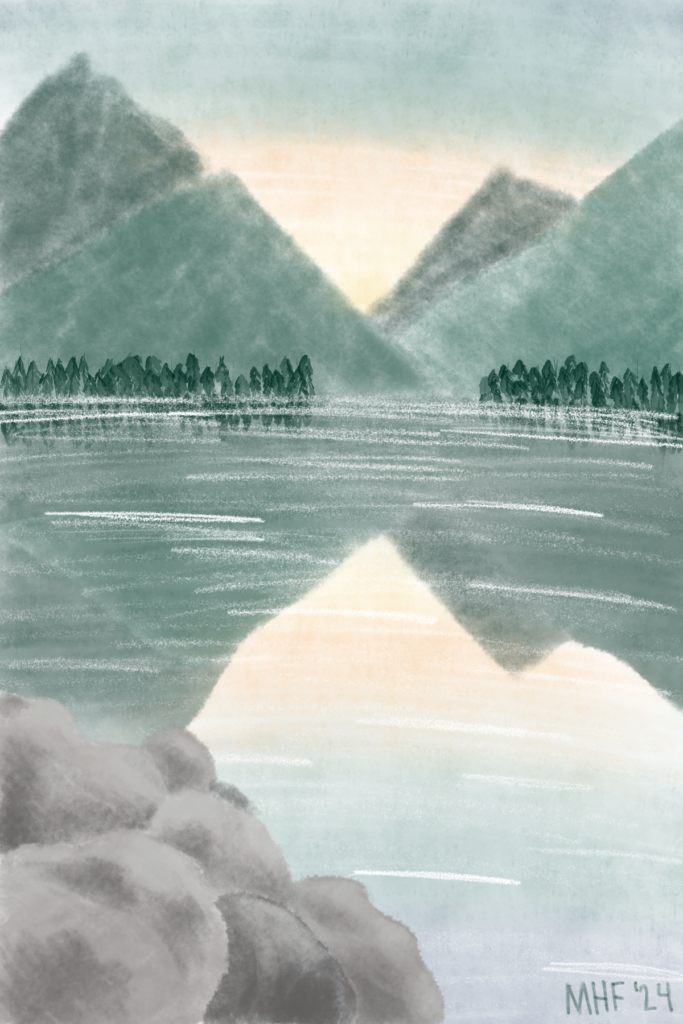
This watercolor digital artwork looks beautiful and is so easy to do.
You can download more watercolor brushes for free at Brushes for Procreate. They have more options than the standard brushes that come with Procreate.
Start by sketching a rough draft. Place the mountains and their reflections and the rocks in the corner.
On a new layer start painting the sunset and its reflection. The reflection of the sunset will end darker than the sky sunset because you can see more of it. Place the different colors and then blend them together. You will want to blend the water sunset more so it looks smoother like water.
You will then add a new layer to paint the mountains and trees with their reflections.
I used the Water Marker brush from Brushes for Procreate to paint the trees. I wanted cleaner lines than the other watercolor brushes provided.
For the water lines try out the Procreate Pencil in Sketching. It isn’t a smooth pencil and works wonderfully for water ripples. You will want the lines more condensed near the tree line and then spread out the closer you get to the bottom of the painting.
In a new layer, you will start painting the rocks. Paint a rock with a solid color of gray. You will want some a lighter color and others darker. On the lighter rocks use a darker gray to add shadows. On the darker rocks use a lighter gray for the highlights. Doing this will make your rocks look rough and textured.
The last step is to remove the layer with your sketch and sign it! Now you have an amazing watercolor digital art landscape with a sunset.

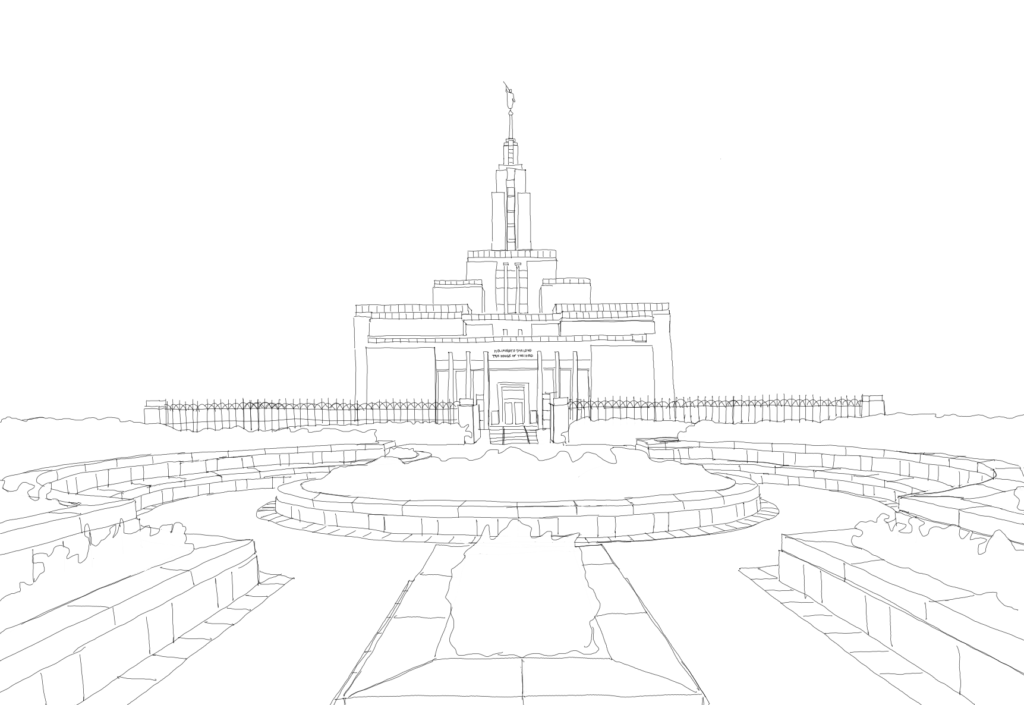
After outlining the temple you can start using the watercolor brushes to paint it.
If you want the same colors as the picture click the smudge brush then touch and hold what color you want. It will then choose that color for you to paint with.
To paint the clouds there are a few different options for you to choose from. You can continue to use the watercolor brushes or you can use Clouds in Elements or Cotton in Organic.
This watercolor digital art does take a long time to complete but it isn’t difficult. It’s similar to the adult coloring books where there are a lot of different areas to color and it’s perfect to do while watching TV.


Leave a Reply