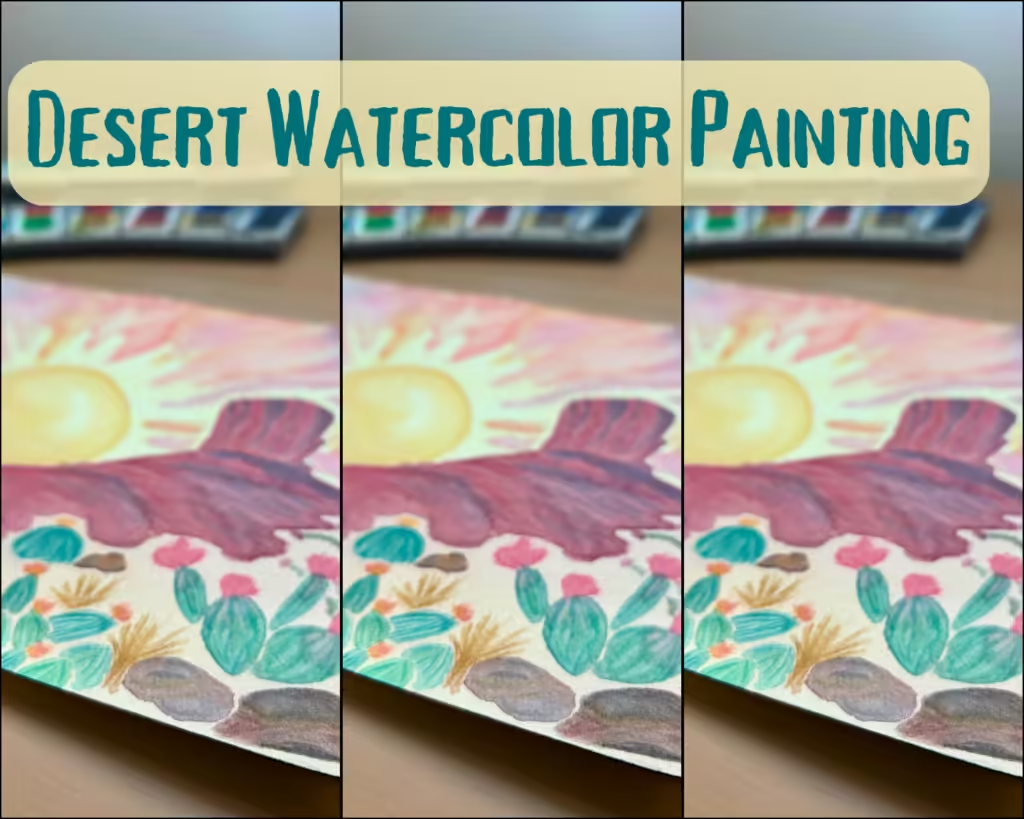
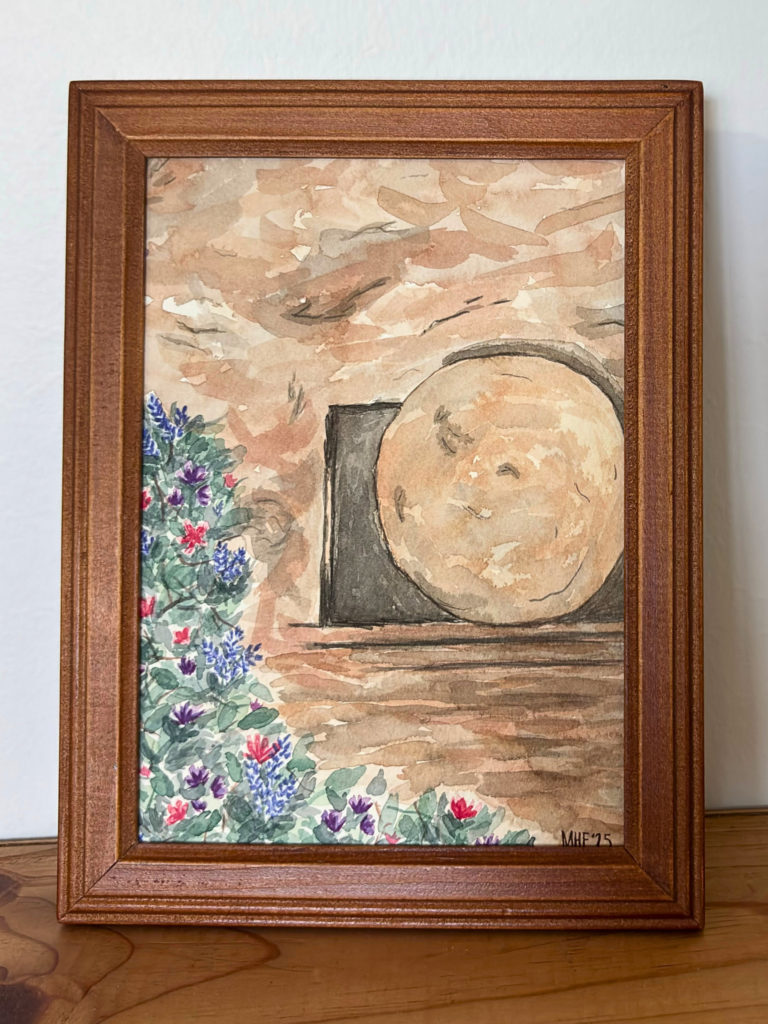
Celebrate Jesus Christ’s triumph this Easter season with a watercolor painting of the empty tomb. It is so easy anyone can do it!
Disclaimer: THIS POST MAY CONTAIN AFFILIATE LINKS, MEANING I GET A COMMISSION IF YOU DECIDE TO MAKE A PURCHASE THROUGH MY LINKS, AT NO COST TO YOU. AS AN AMAZON AFFILIATE I EARN FROM QUALIFYING PURCHASES AT NO EXTRA COST TO YOU.

Easter is such a wonderful time! The start of spring and warm weather and a time to celebrate the resurrection of Jesus Christ. If you are anything like me, I wanted to celebrate this year by painting the empty tomb. I want to share with you all of the watercolor techniques that I did for this Easter painting.
In this post, you will learn how to do an Easter painting, how to paint the empty tomb, easy watercolor flowers, easy watercolor paintings for beginners, watercolor techniques, and more!
After reading and watching how to paint the empty tomb you will have the knowledge to paint it yourself.
Table of Contents
The Empty Tomb: A guide to an easy yet meaningful Easter painting
Like and subscribe to MHF Paints Youtube
Supplies used
Arches Watercolor Paper

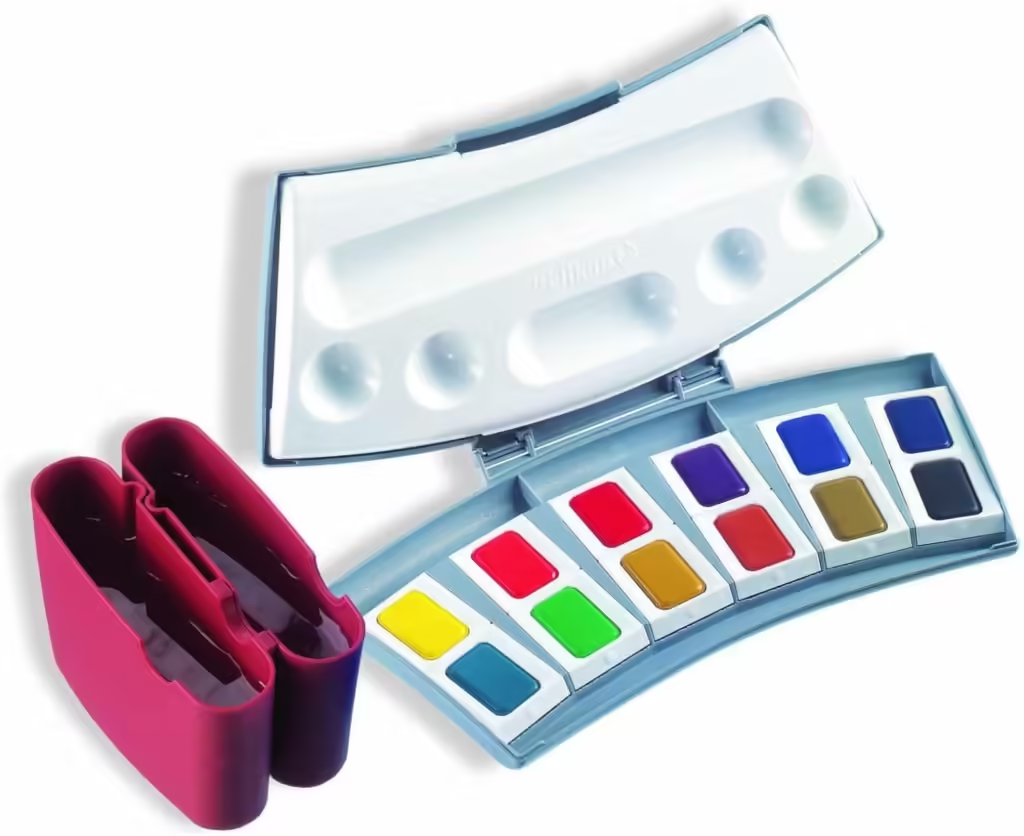
Pelikan Watercolor Set
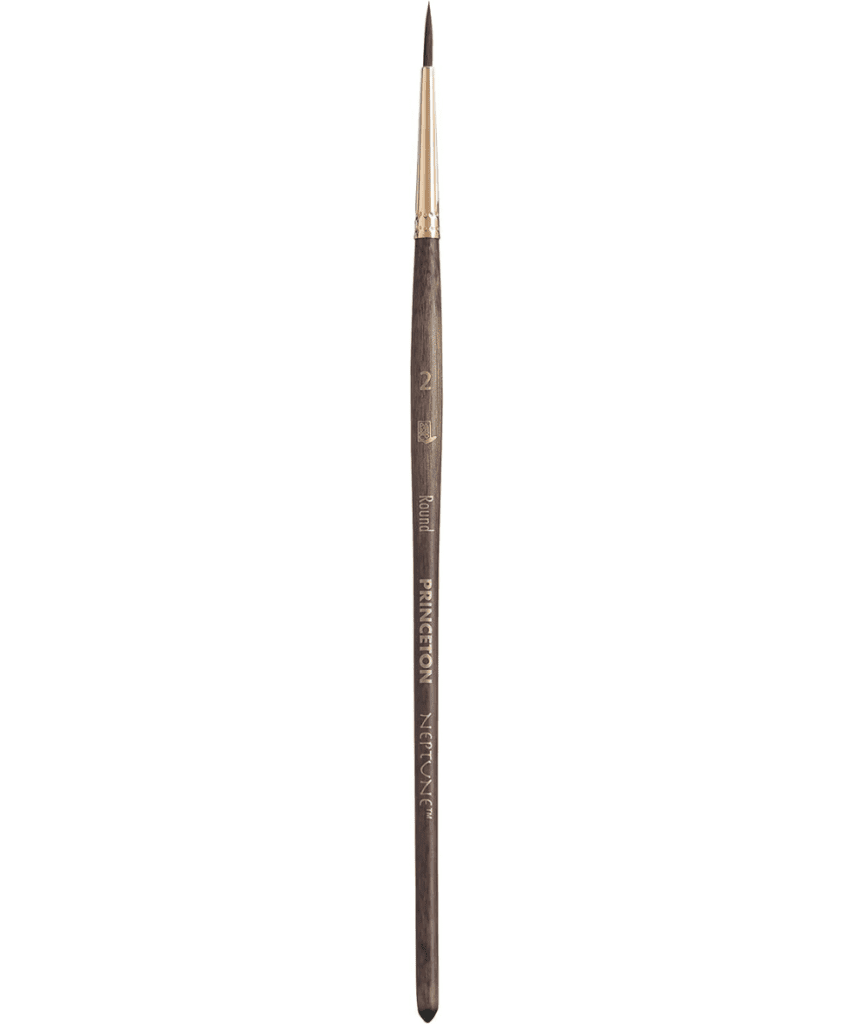
Princeton Watercolor Brush: Round 12

Detail Watercolor Brush
Drawing Set

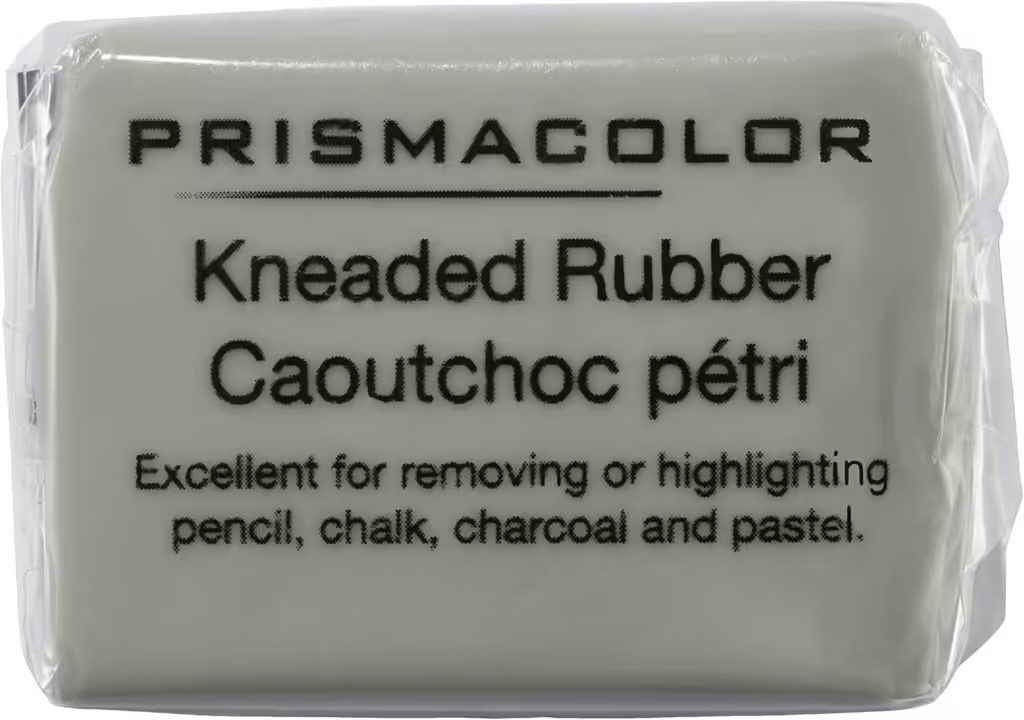
Prismacolor Kneaded Eraser
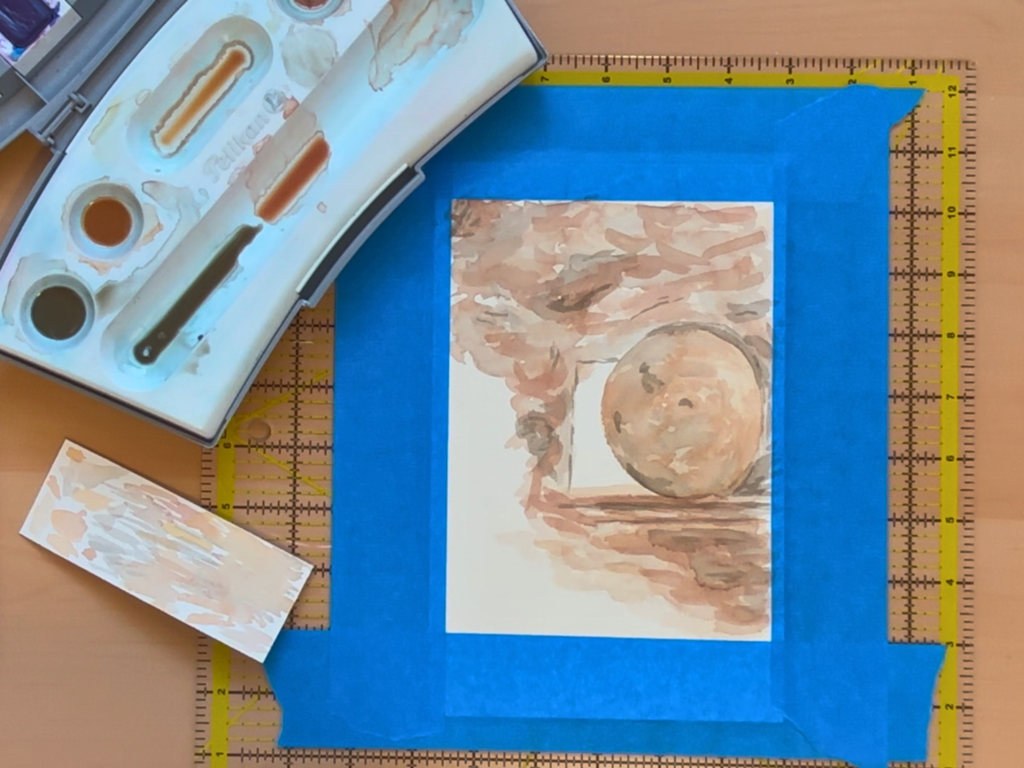
Step 1: Set up
To set up you will need to decide how large you want the empty tomb painting.
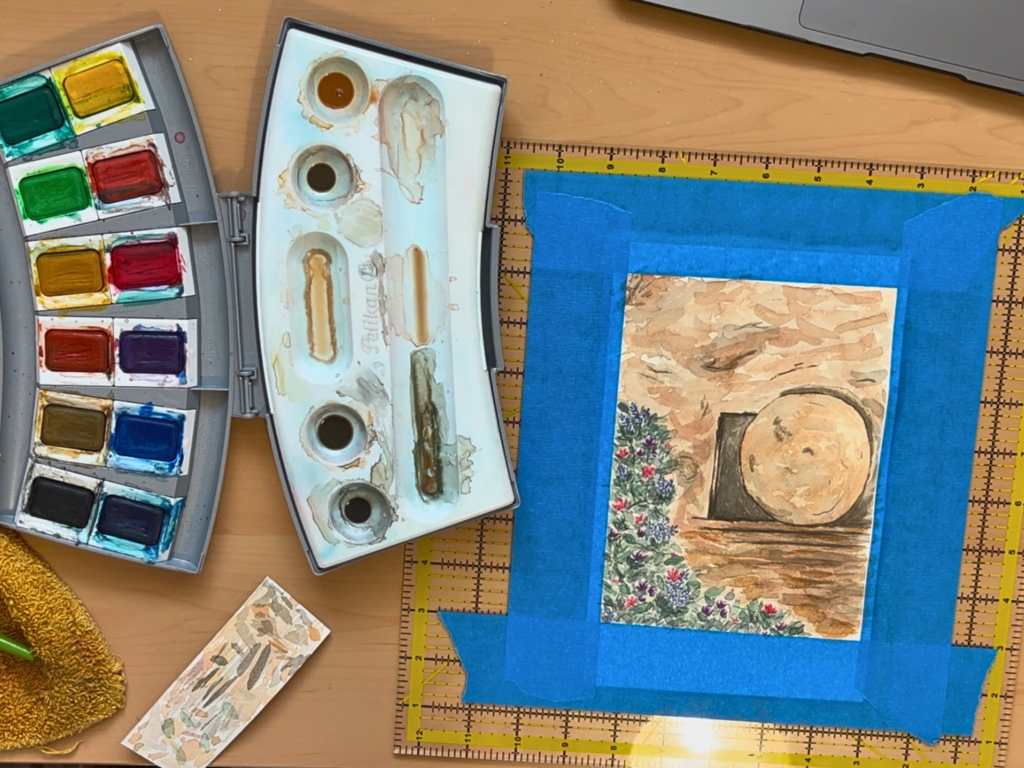
I had a frame that I wanted to use (about 4 in x 6 in) so I used the back of it to trace a border on my watercolor paper.
You will want to tape the paper down on a hard surface. You can do this before or after your watercolor sketch, but definitely before you start painting. This helps keep the paper stretched out so it dries flat. If you don’t tape watercolor paper down the paper will warp.
You can tape it onto your desk or a movable hard surface. I use an acrylic quilting ruler so that if the painting takes longer than one sitting (which it often does), I can safely store it without taking the tape off and having to retape it the next time I work on it.
Step 2: Watercolor sketch
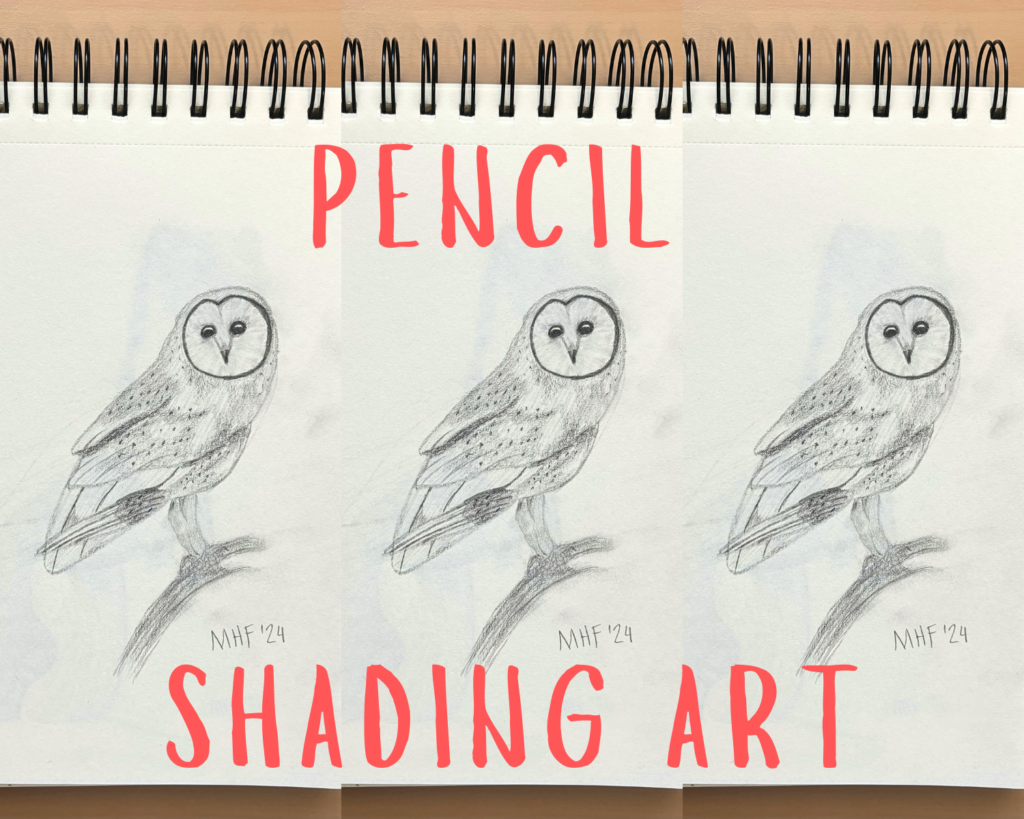
When sketching, I like using either a 4H or 5H pencil. These pencils have harder lead, so they draw lighter (the opposite of what you would expect).
Learn more about drawing pencils in 5+ Pencil Shading Art: A Beginner’s Guide
With every painting doing a sketch will make painting it much easier. This is because you can plan how you want to position the objects. This is what we call composition.
There are three focuses in this Easter painting.
- The tombstone
- The doorway
- A flower bush
Before starting my sketch, I find it helpful to mark the paper in thirds on the tape—this way I know where the tombstone, doorway, and flower bush need to start and end.
The tombstone is roughly in the middle third and a little bit bigger than the right third. After you get the tombstone drawn it’s easier to sketch everything else in relation to it.
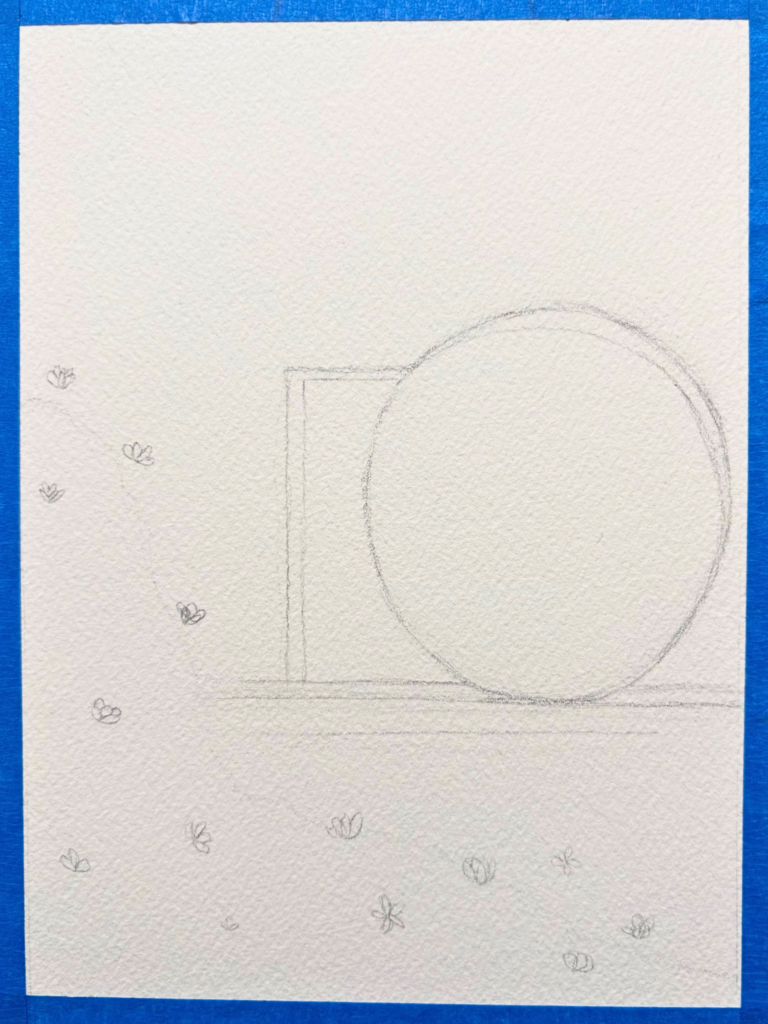
I don’t always sketch flowers in paintings (when they aren’t the main focus). I go back and forth on whether it is worth it or not. I like when the flowers are unique and have the randomness that comes from watercolor.
This time but if you look at the final painting the flowers are completely different shapes and in different locations than what I had planned. Which is perfectly okay.
Like always, after you are finished drawing your watercolor sketch, take a kneaded eraser to it and make the pencil lines as light as you possibly can.
Step 3: Background
The flat wash for this easy watercolor paintings for beginners is a soft yellow. When you add other colors, it might look white, but it’s less harsh than white.
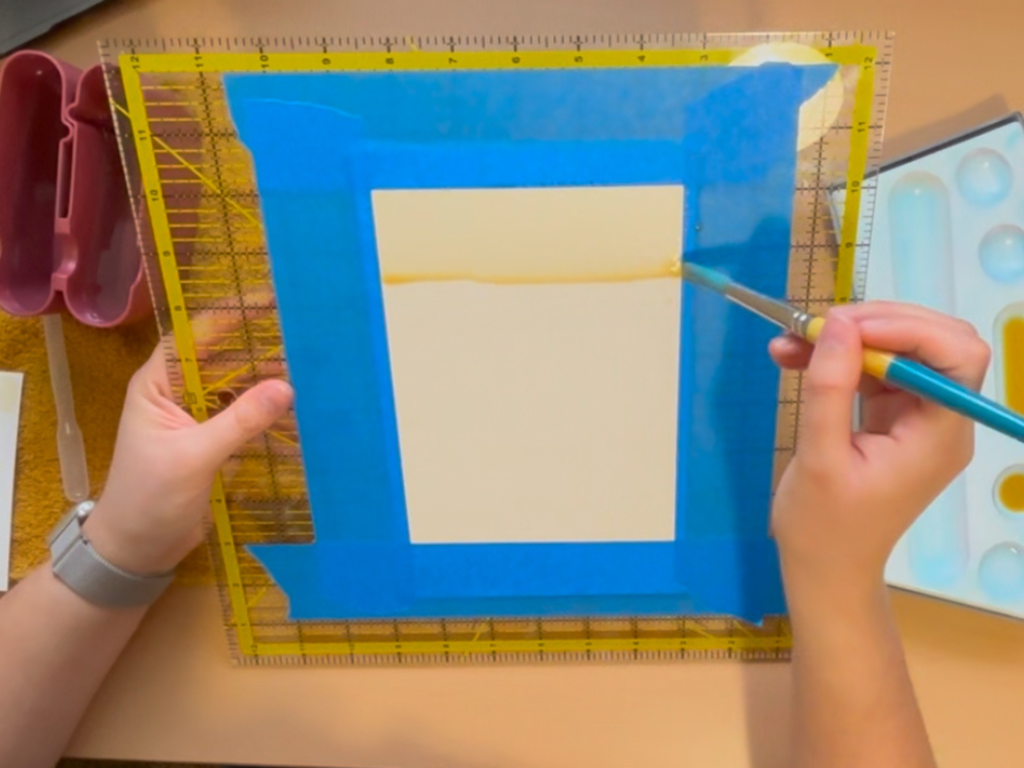
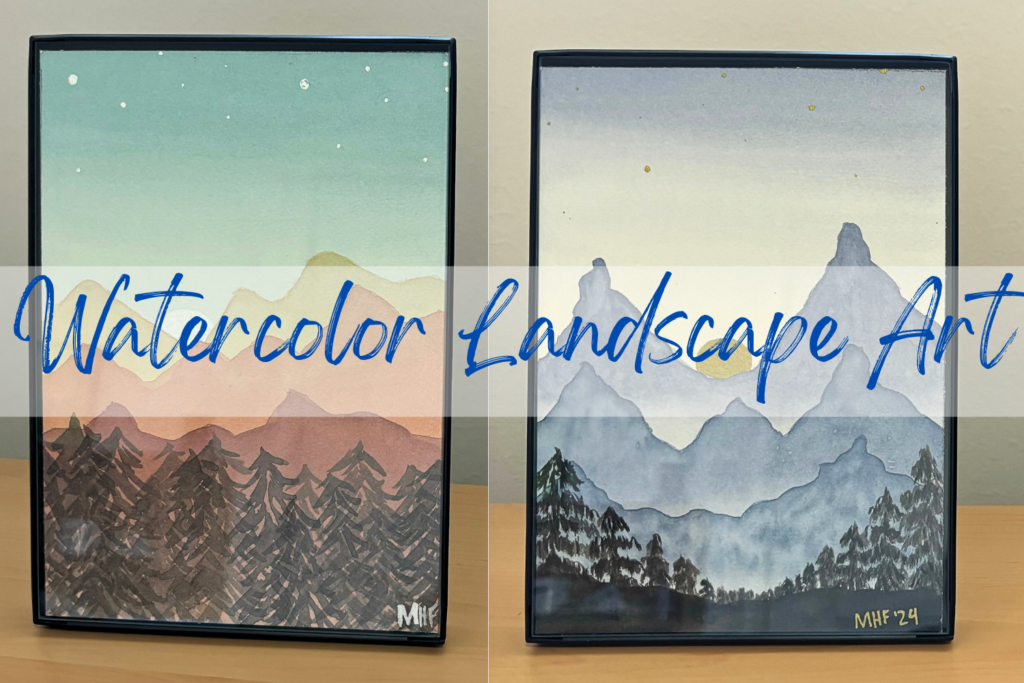
Here’s a reminder on how to do a flat wash: Amazingly Easy Watercolor Landscape Art.
To start the tomb wall, mix up about 3 colors. You can darken and adjust these by putting them in different wells if you need more colors. I ended up with about 5-6 different shades of brown.
You will want to apply the lightest brown first and to the most surface area. Then with each color (getting darker and darker), you will paint it on less and less surface area.
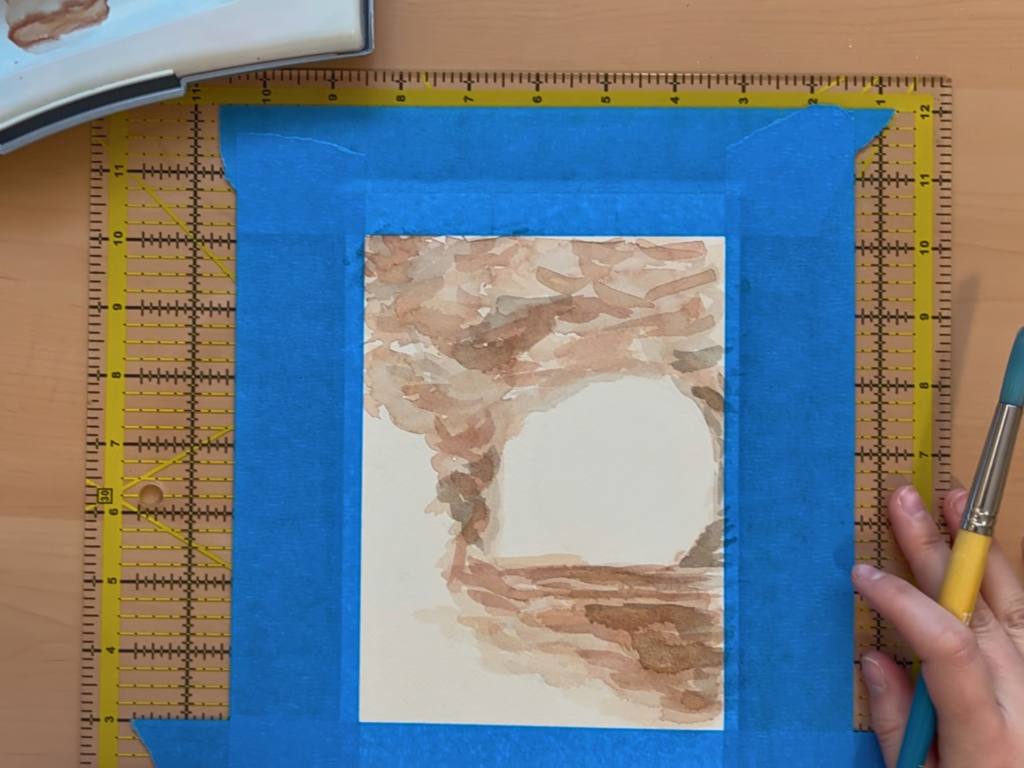
Add dark highlight lines below the tombstone, they will be the shadow for the step and ledge. If you can’t visualize this right now you can add them later on. You will want to save the dark browns though.
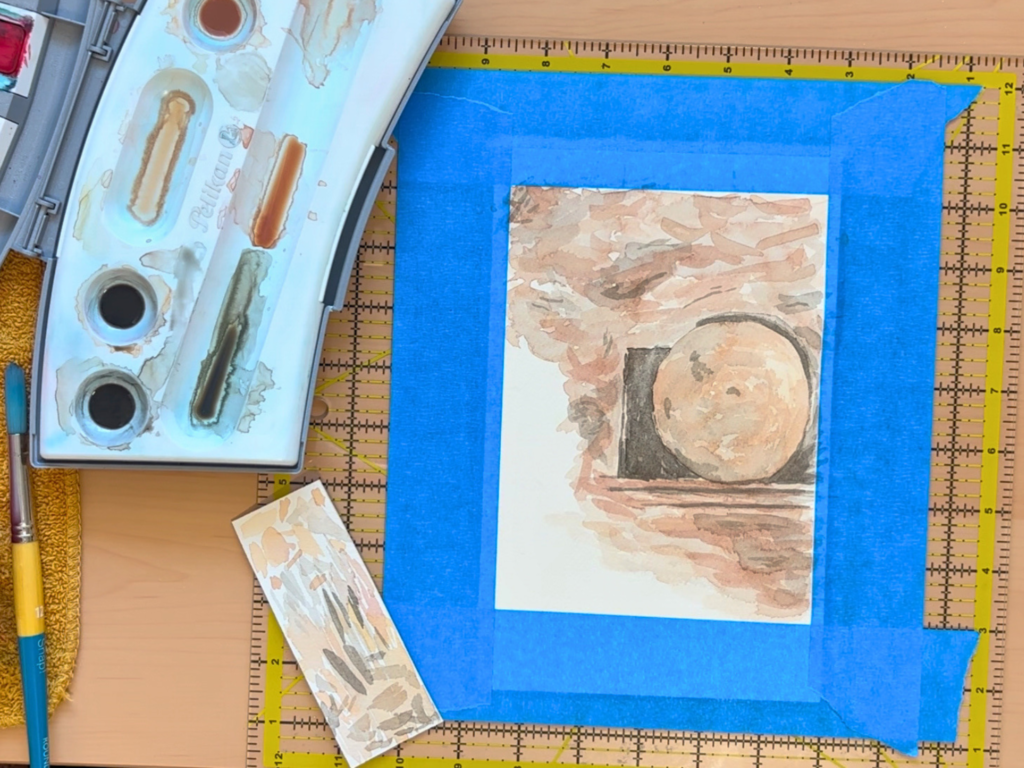
Step 4: Tombstone and doorway
Like with the tomb wall, you should paint the tombstone with the lightest color first and work your way to the darkest color.
For the most part, I used the same brown colors for the tombstone as I did for the wall. However, there were colors that I adjusted to make darker or lighter.
You will want to capture the shadows of the tombstone by adding dark brown to the top and bottom, with some random marks on the face of the rock to make it look rough.
When you are done with the stone, use the dry on dry watercolor technique to paint a thin dark line around it.
Learn about the dry on dry technique and more watercolor techniques in: The Do’s and Don’ts of a Desert Watercolor Painting.
For the doorway, you will want dark, nearly black paint. But you don’t want the entire doorway to be one solid color. That would make the painting look flat. Instead, paint it in a few layers, with the darkest tone at the bottom.
You’re almost ready to move on to the flower bush.
With the detail watercolor brush use the dry on dry watercolor technique to add dark lines where needed.
- On the stone wall. Don’t add too many, just a few lines here and there where the paint is the darkest.
- On the tombstone. You may want to darken the outline where it hits the shadows or add some lines in the rock itself like the wall.
- On the doorway. You might see that once the paint dries it needs some darker areas.
- On the step. Make sure the step has dark edges so it looks like a ledge.
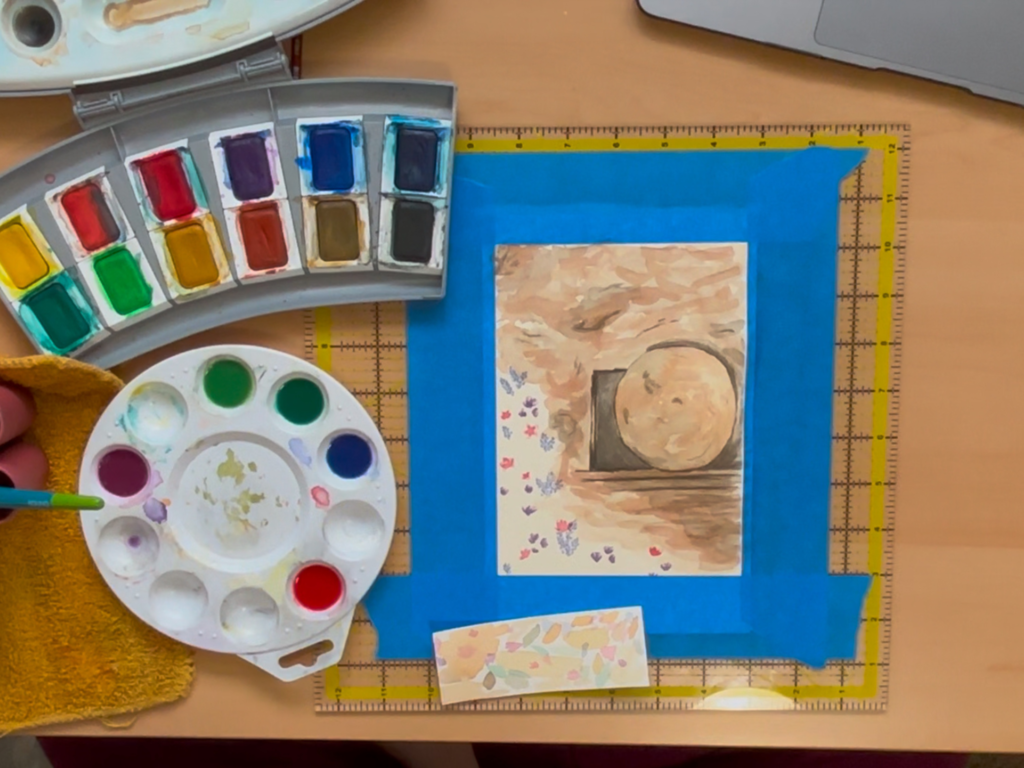
Step 5: Flower bush
Now it is time to have fun with the bright colors! Decide how many varieties of flowers you want to paint (this Easter painting has 3 varieties). When you are mixing the colors up, practice on your scratch piece of paper how you want to paint them.
When you are painting your flowers you can use either the detail brush or the larger brush. (I used a combination of both). If you use the larger one it can hold more paint so you won’t need to pick up paint as often, but you will need to focus on just using the tip to get the flowers small.
Place the flowers randomly and don’t hesitate to overlap them. This will help it look like nature.
You can use all sorts of watercolor techniques with the flowers: dry on dry, wet on wet, wet on dry, dry on wet. Have fun experimenting with them. When you are done with them, use the dry on dry to add highly pigmented paint to make it pop out from the leaves. (You may need to do this after the leaves are placed).
A fun variation for this easy watercolor paintings for beginners would be to have a few large flowers instead of a bunch of little ones.
The flower bush is kind of a process to get it to look full and bushy. It takes a lot of layers, colors, time, and patience, but the effort is so worth it!
Like always you will want to work from lightest to darkest colors. So with the two light greens you mixed, make brushstrokes that look similar to leaves. Have them go in different directions, different sizes, etc. mixing it up between each green color. You don’t need to fill the entire space green, you will fill in more space with each layer.
While this layer is drying, darken your green colors and/or mix some darker greens. To get them darker you want to add green’s complementary color which is red.
Now do the same thing but with the darker paints. With each layer you will cover less surface area than the last. Add some branches (brown or black or green-brown colors) with your detail brush randomly into the bush.
Depending on your artistic judgement, you may need to repeat this process a few times.
The very last layer will be with the darkest green to add dark shadows. You will want to use the detail brush for this so you can make precise details. Add shadows around the flowers, between leaves, and throw in a few more branches. The dry on dry technique works well right here.
Step 6: Finishing touches
You are almost done!
Let everything dry before adding your signature. You can do this with either watercolor brush using the dry on dry method, a sharpie or pen, or (my favorite) watercolor brush pens.
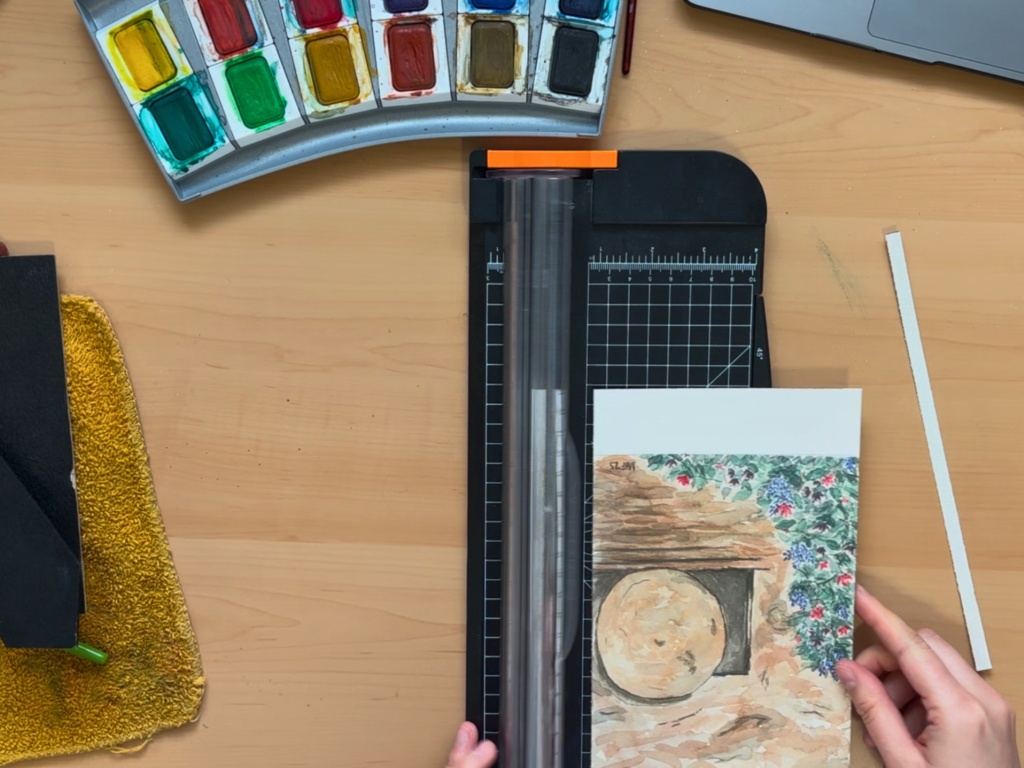
If you aren’t using a frame with a matt you might need to trim the edges with a paper cutter. If this is the case be sure to triple-check your measurements. There is nothing worse than cutting it to realize that it is too small for your frame.
This post is all about how to paint the empty tomb.
More posts you will enjoy:
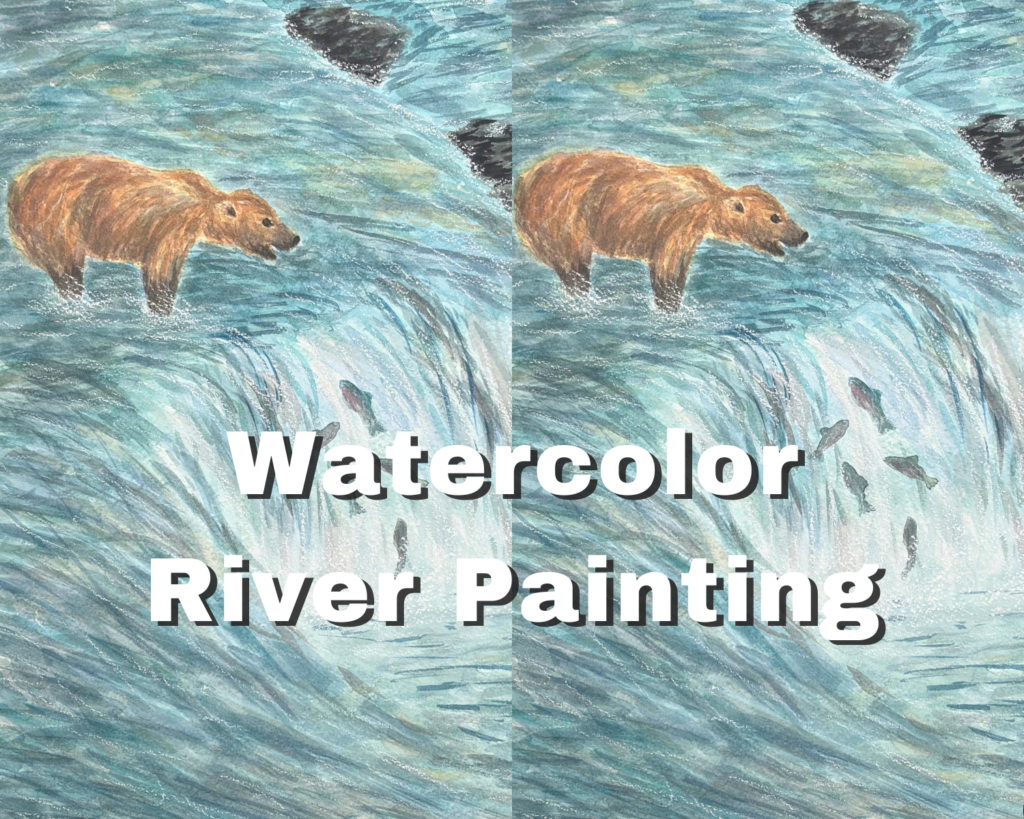
Learn the Secret to a Realistic Watercolor River Painting
The Ultimate Guide to the Best Watercolor Gifts

50 Simple Watercolor Painting Ideas


Leave a Reply