Are you excited to decorate for Turkey Day this year? You should create your own decorations with this Thanksgiving painting ideas!
Disclaimer: THIS POST MAY CONTAIN AFFILIATE LINKS, MEANING I GET A COMMISSION IF YOU DECIDE TO MAKE A PURCHASE THROUGH MY LINKS, AT NO COST TO YOU. AS AN AMAZON AFFILIATE I EARN FROM QUALIFYING PURCHASES AT NO EXTRA COST TO YOU.
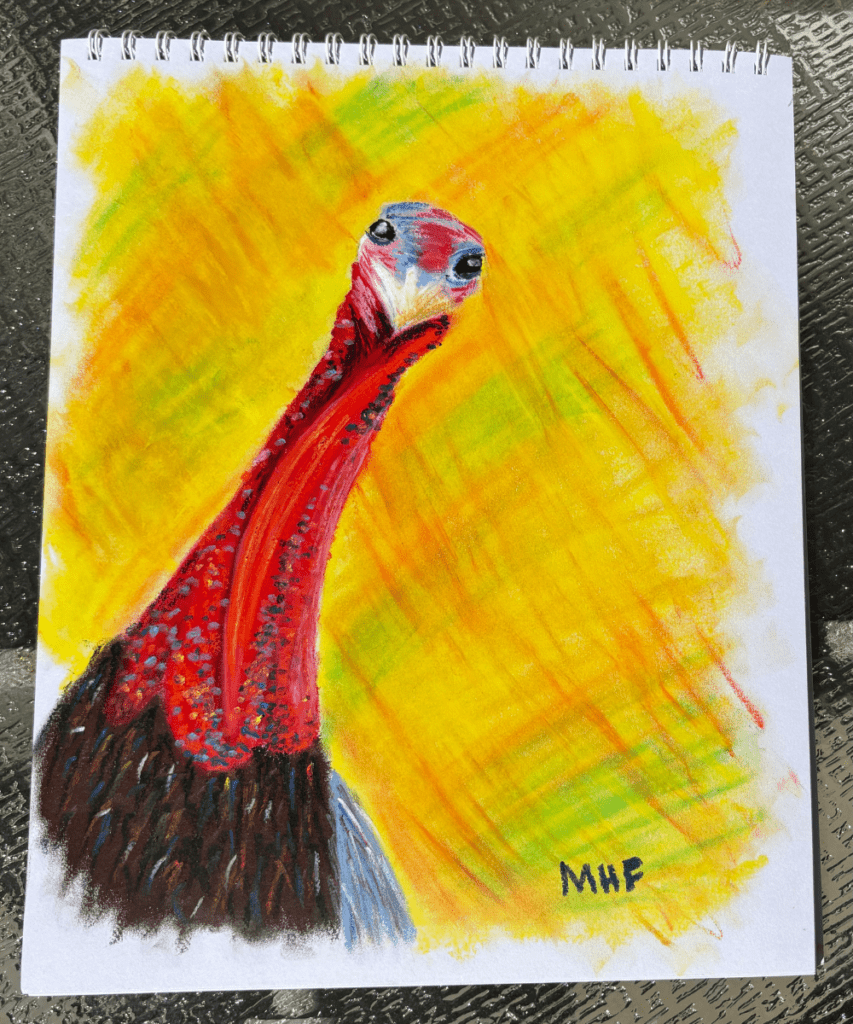
What captures the essence of Thanksgiving more than a turkey? That is exactly why this year’s Thanksgiving painting ideas is Tony the Turkey! It was my first time ever painting a turkey and it was super easy! Any beginner oil pasteler will be able to do this too.
In this post, you will learn about Thanksgiving painting ideas, Thanksgiving art, turkey art, oil pastel techniques, Thanksgiving decorations ideas, and more!
After reading this post you will be able to create and name your own turkey from this Thanksgiving painting ideas.
Art supplies used:
Art Pencils

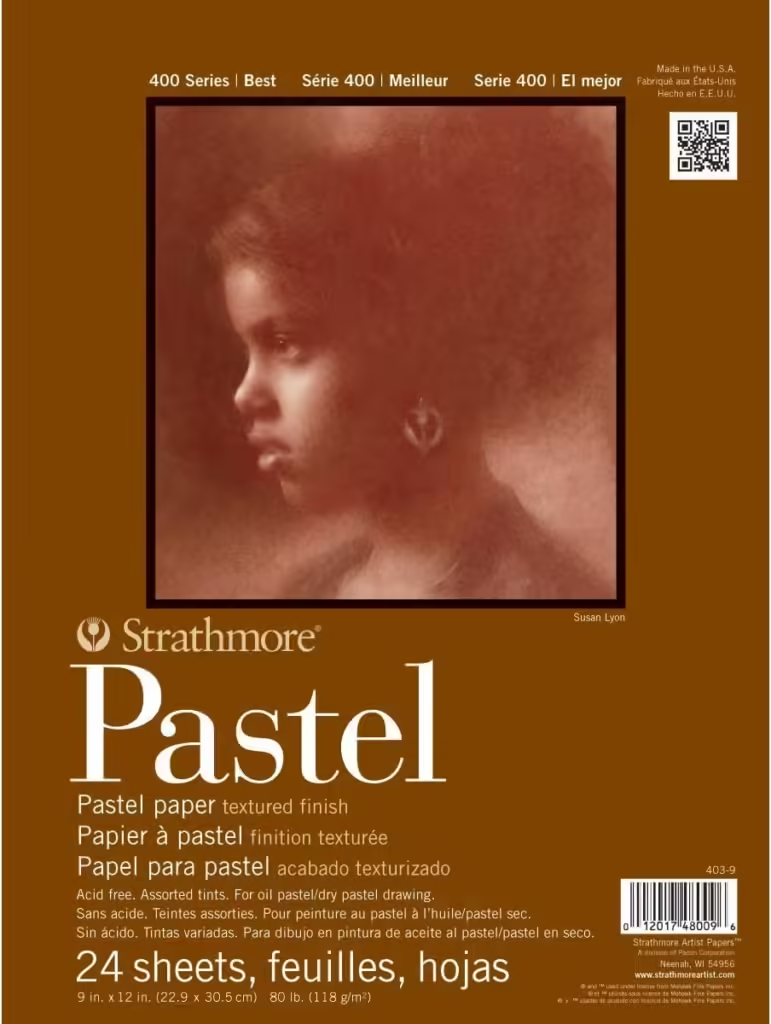
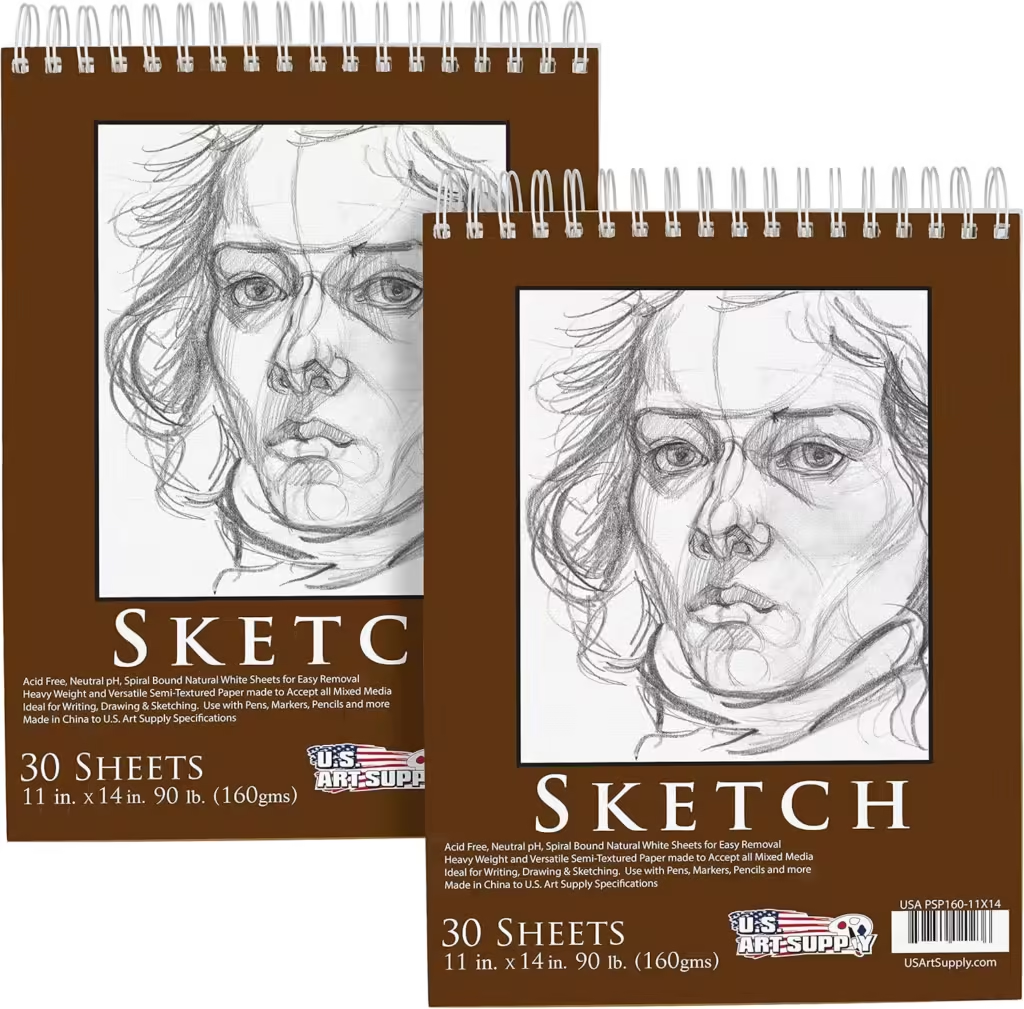
I have also used this paper in previous artworks. It is high quality and fairly cheap.
This is the paper that I used to create this oil pastel turkey art. It works well with oil pastels even though it isn’t specifically made for them.
Sennelier Oil Pastel Paints


Click to Buy Transparent Blender on Amazon
The transparent medium blender isn’t required. I prefer to blend with my fingers. However, if you don’t like to get messy, this may be a good option.
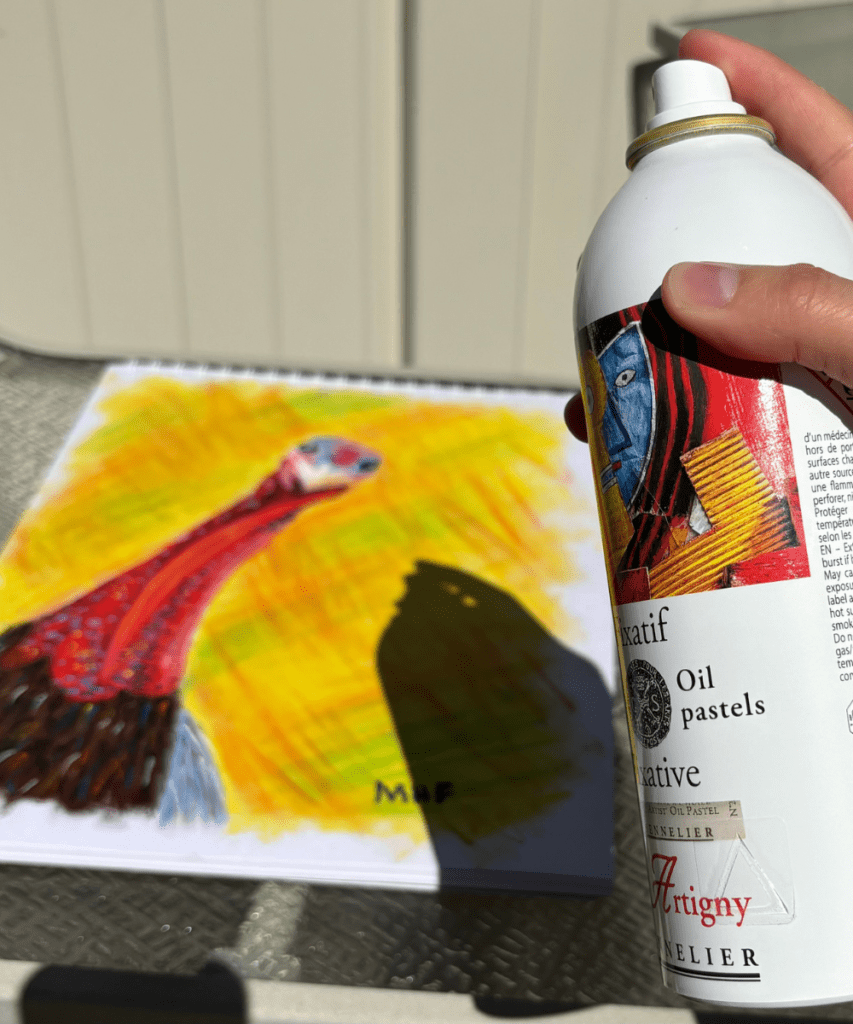
Sennelier Fixative
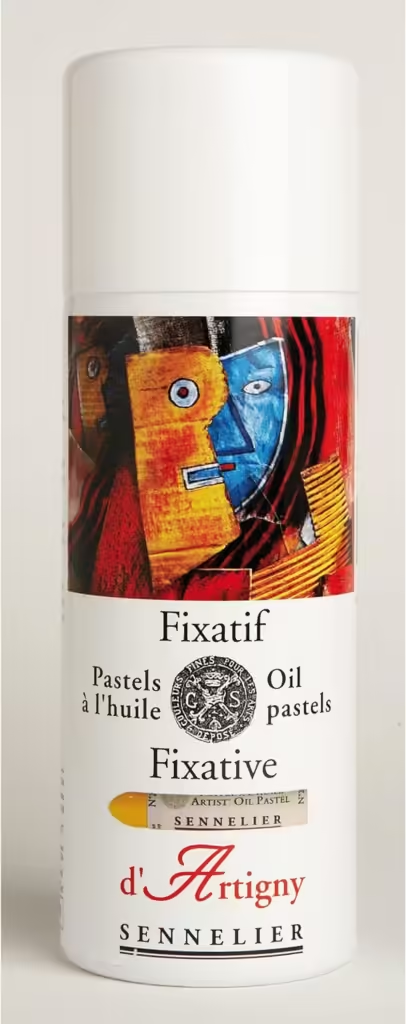
This is by far the best fixative I have used. With 5-6 coats you can touch the painting without it transferring to your finger or smearing. It is on the pricier side but completely worth the money.
1 Very Awesome Thanksgiving Painting Ideas
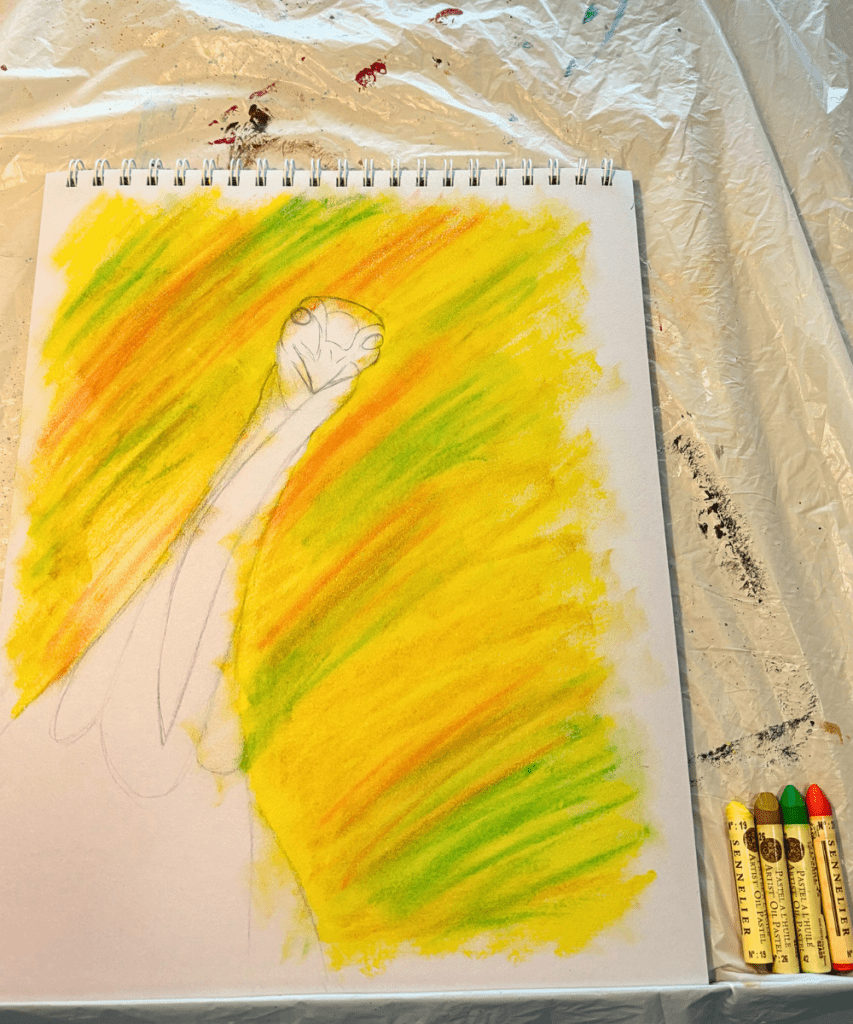
First things first, you will need to sketch your turkey art.
I like to use the 5H pencil in the Kalour drawing set because it is the lightest pencil. You don’t want the sketch to be so dark that it will show through the oil pastels. This usually isn’t a big deal with pastels, not as much as it is with watercolor, but with the lighter colors the lead can still show through sometimes.
Now that you are done with your turkey sketch it is time to apply oil pastels to the background.
There are a couple of ways to do the background.
- Apply a layer of yellow and smooth it out before adding the other colors. After adding the colors in a hatching technique smooth them out.
- Instead of putting a base layer of yellow, add all of the colors to the page with the hatching technique and then blend them together.
*At the end I use a cross-hatching technique for the background. If you like this you can do it now instead of when your turkey is done.
Not sure what the hatching technique is? Learn about it in 16 Essential Oil Pastel Techniques.
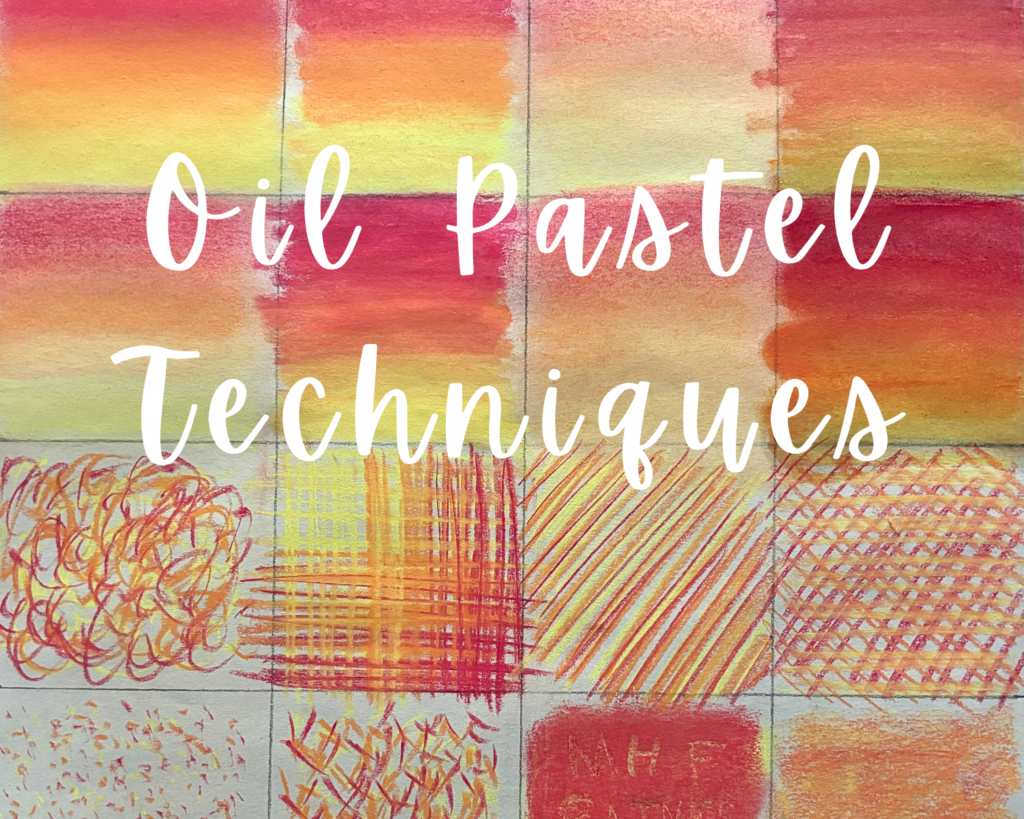
I opted to use the first option for Mr. Turkey, however this was my first time using the Sennelier oil pastels. They are softer than the Primsacolor Nupastel sticks I usually use and blend differently. If I were to do this again, and the next time I use the Sennelier oil pastels, I am going to use the second option: applying all of the colors before blending.
The accent colors (orange, brown, green) are to give the effect of the turkey in the fall trees. Add as many or as few accents as you would like, remembering that the focus will be on the turkey and not the background.
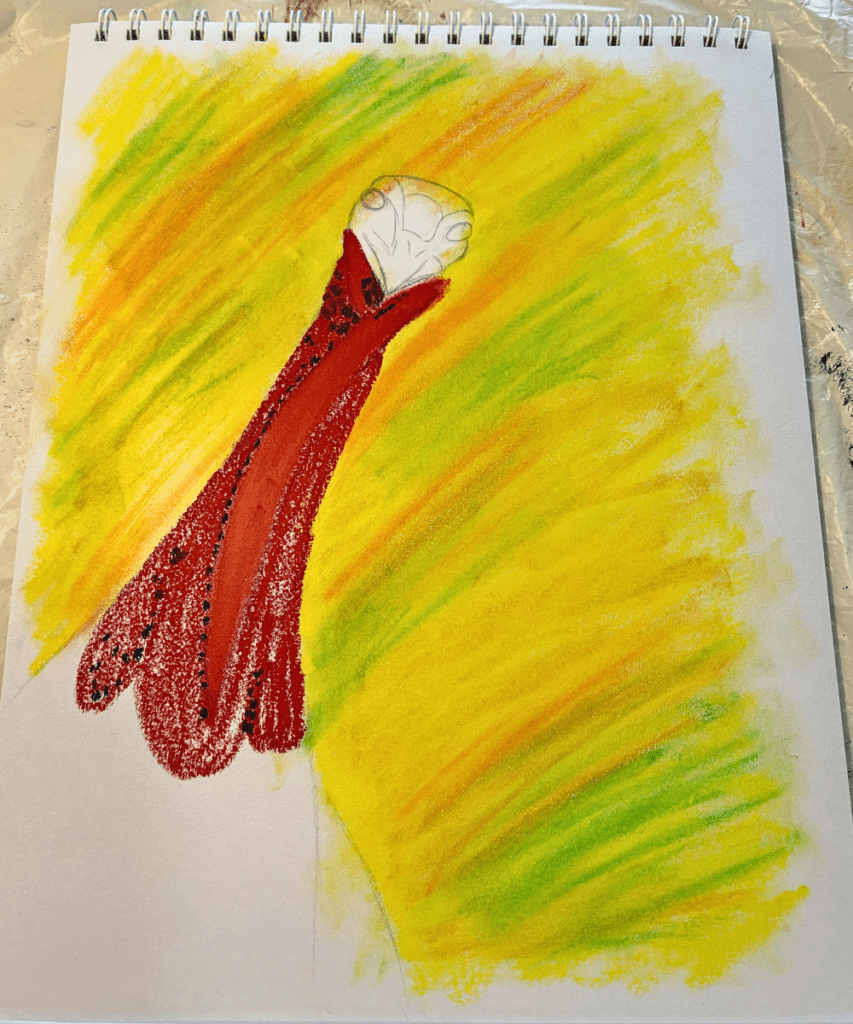
Now it is time to start painting the neck of your Thanksgiving art.
The middle part of the neck is a lighter red so add red and orange to it. The other sections of the neck use red.
For the shadows/darker areas use the dark blue in the dot technique. The more dots you add the darker the area will be. It will also spread more than you think it will so use it sparingly because you can always add more, but it is difficult to cover it up.
I just did the base layer of the neck before moving on because I didn’t know how I wanted to add the details yet.
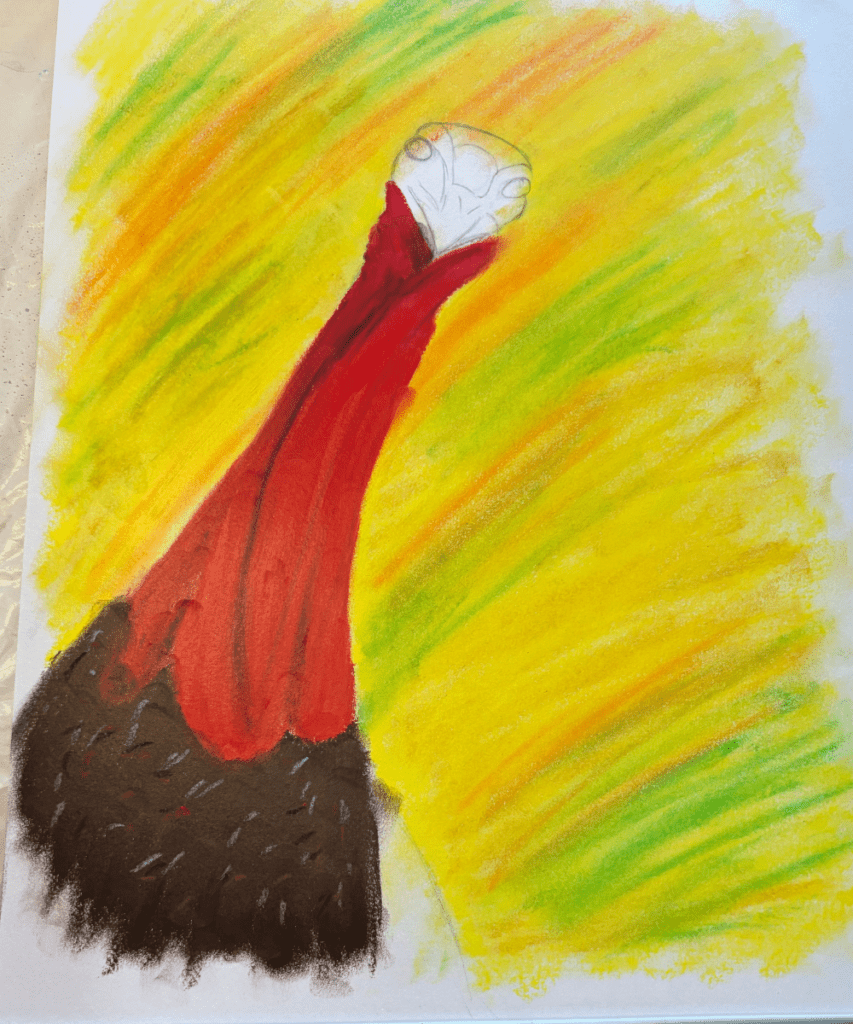
So moving on to the turkey’s chest you will want to apply the dark brown pastel.
After you get a good layer take the light blue, red, dark blue, and white to add specks of color to his chest feathers. Unsurprisingly the feathering oil pastel techniques is the best one to create feathers. Do this by making short sporadic strokes with various colors.
You don’t need a lot of strokes to make it look good.
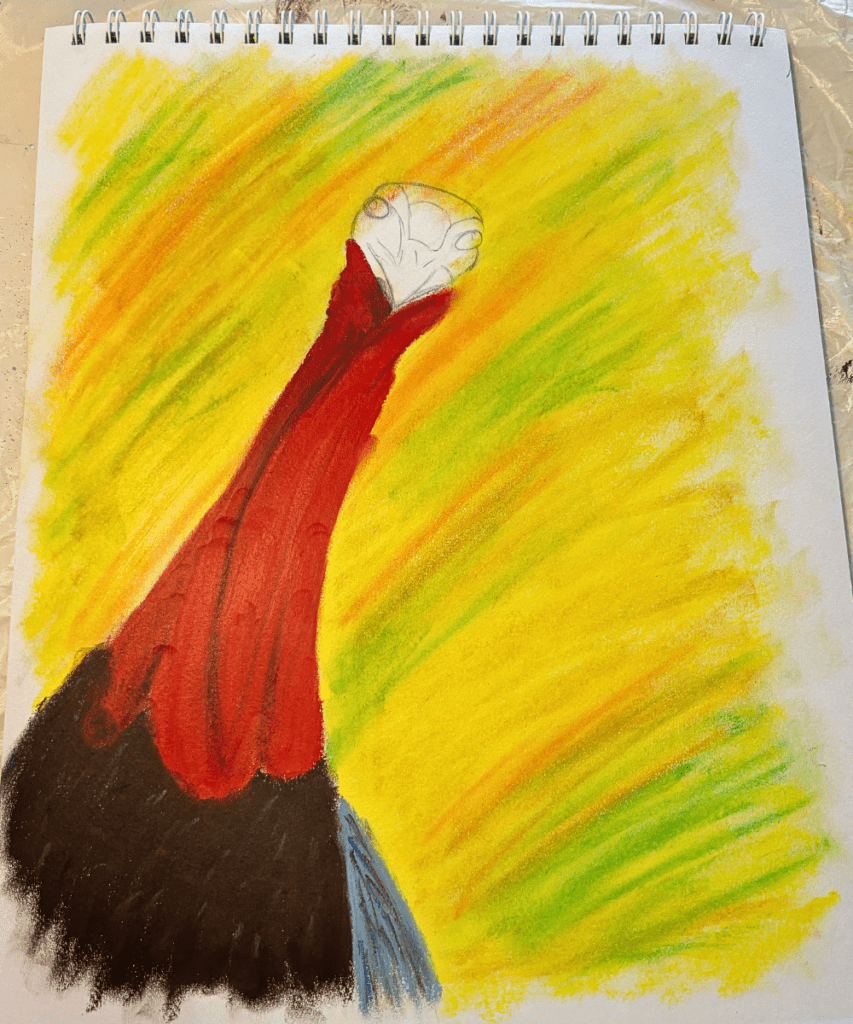
The blue section of the turkey, I think it’s his wing, will be the next section you color.
It will be very similar to the chest you just painted but the feathering technique will be longer strokes with dark blue, brown, and a few strokes of red. You can lightly smooth out the paint after creating the strokes but don’t want to blend them. You want to keep the individuality of the strokes.
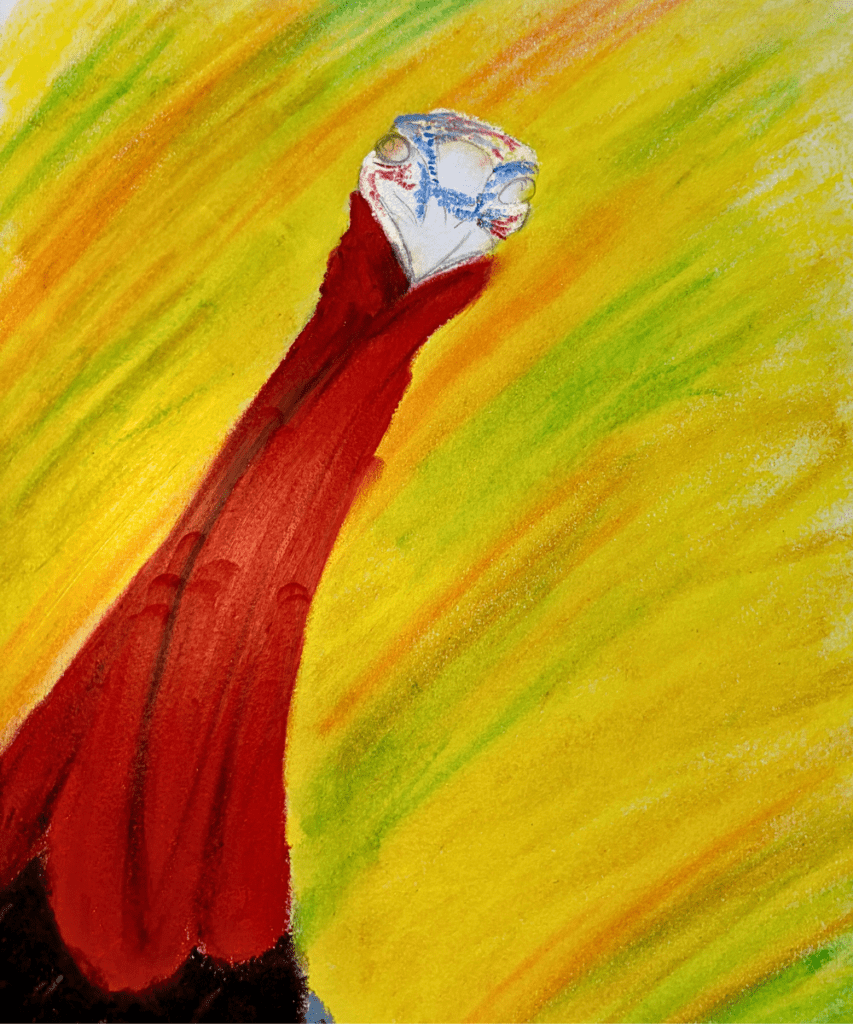
Like other oil pastels, Sennelier pastels are very vibrant in color. This poses a problem because you want the head red and blue but you want it a lighter shade than both the red and blue sticks. How do you do this? It is quite simple: you add a layer of white to the head before adding the other colors.
It’s a bit tricky to see, but there are sections of the face that you won’t color with white. The eyes, the beak, and also a section in the middle of the head. In this area, you want the pure color.
After the white is added you will add red and light blue. Then blend the oil pastels. Try your best to stay in the lines when blending. This is especially hard for small areas. One trick is to use your pinky finger or a Q-tip to blend.
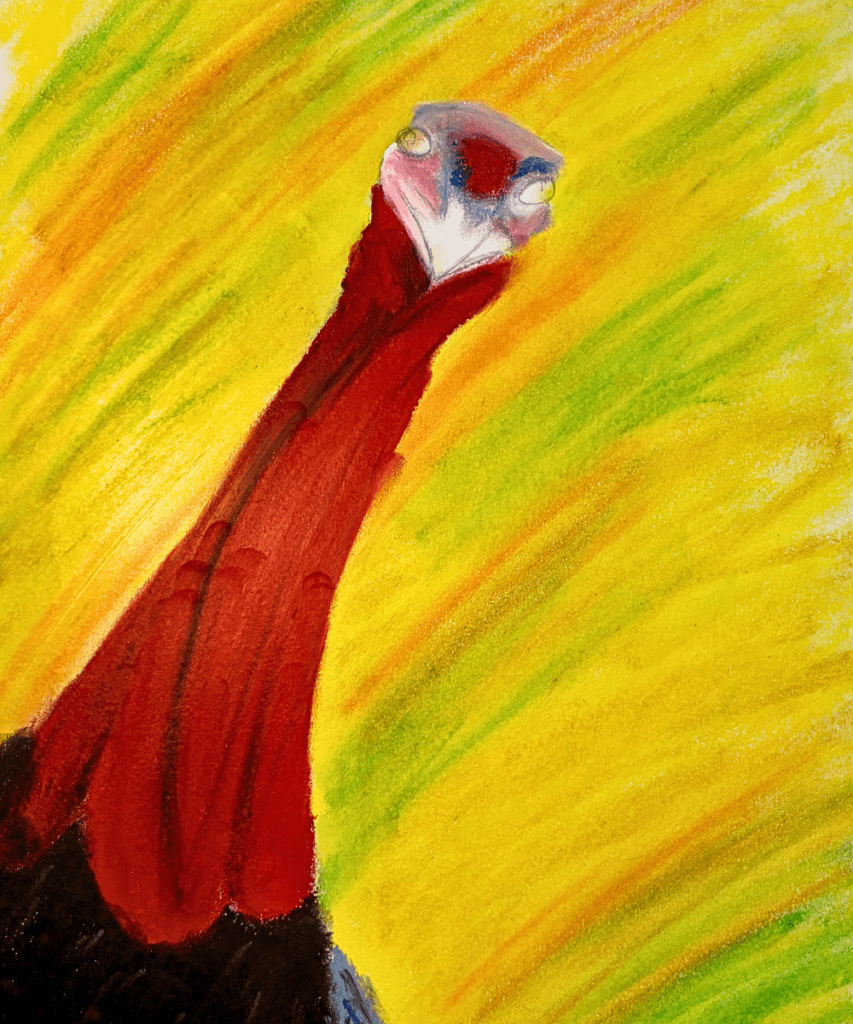
Use red and dark blue for the section of the head that didn’t have white applied. You can blend it a little bit so there aren’t hard edges.
The head looks muddy but that is okay because it is your first layer. To make it look better and less muddy add light blue around the eyes and on top of the head. Add some strokes of red around the beak edges and the top of the head. You can even add some dark blue along the top of an eye and white around the bottoms to make them pop.
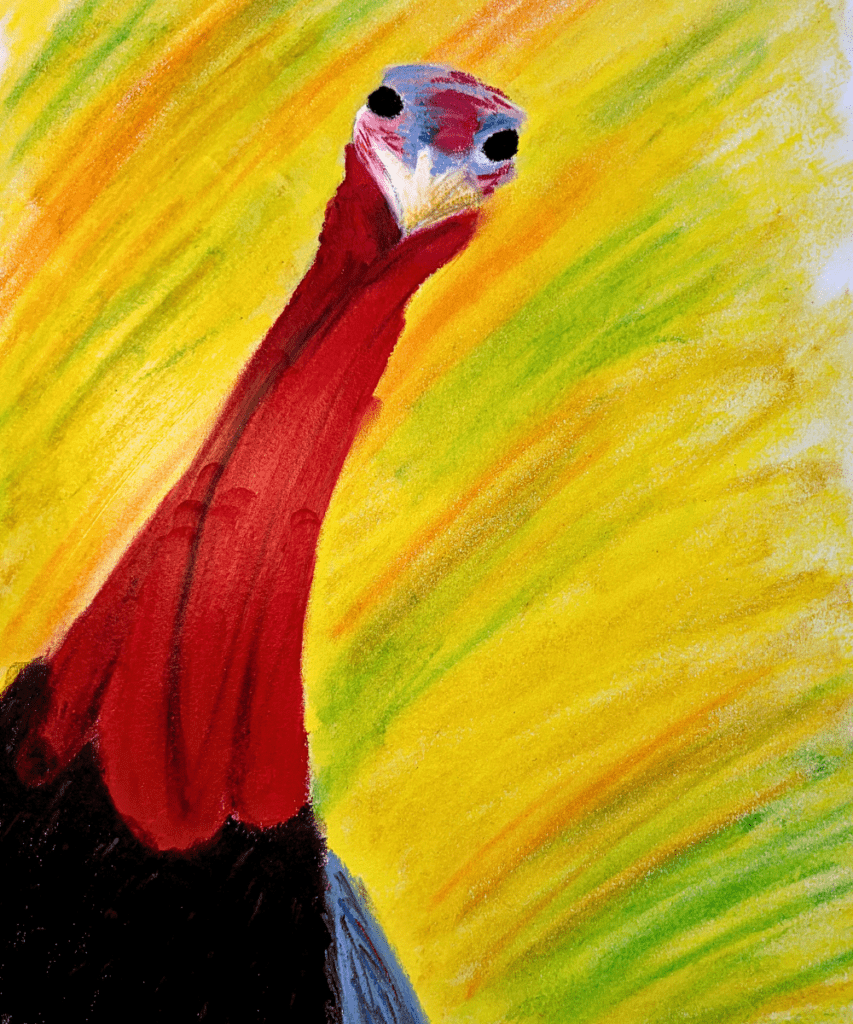
The next thing to paint is the beak. Like the head, we want part of the beak lighter than the other part. On the left side add white, on the right side add light brown.
When you blend go from right to left to pull the brown over giving it a shadow effect.
In the case of the beak, you can see a bit of the pencil show through the oil pastels. In this case, it is a good thing because it adds definition to the beak details without having to do it with the oil pastels.
Color the eyes black. It will look really creepy until you add the reflection to the eyeballs.
For the reflection use white and dab it onto the eye. It doesn’t have to be in the middle of either eye. Make the reflection in the left eye more white than the right to give it a realistic feel.
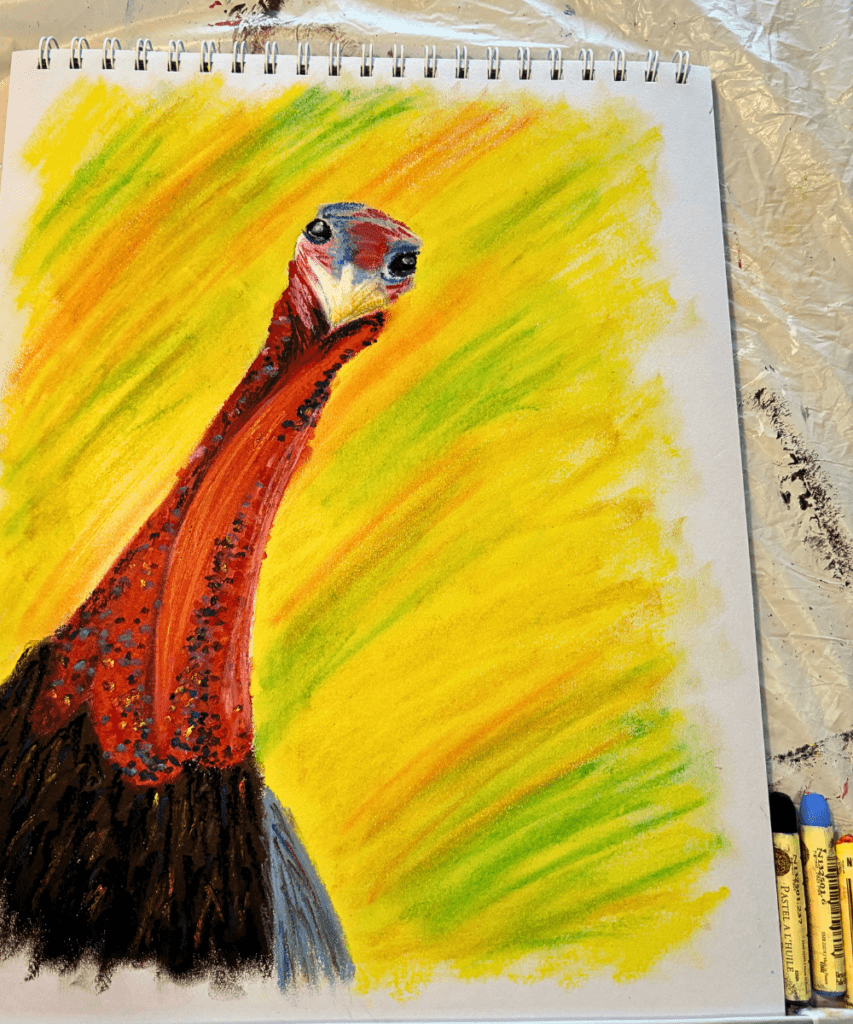
Now it is time to finish the neck details. If you look up pictures of turkeys you can see that their necks are bumpy and have a bunch of growths. The oil pastel techniques of dotting is perfect for this very thing.
I wanted the neck to be colorful so I used dark blue, light blue, yellow, orange, and white.
Pay attention to the areas of the neck that are light and dark, and use the corresponding colors when applying the dots. For example near the base of the head use dark blue for the majority of the dots, while adding a few light dots to give contrast. At the base of the neck do the opposite.
The middle section of the neck is smooth so don’t use the dot technique there. Instead, add some strokes of white and orange. Gently smooth them out.
After finishing the turkey I decided I wanted a cross-hatching oil pastel techniques for the background instead of just the hatching. So using orange and light brown I added to the background.
When you think you are done take a step back from your Thanksgiving art and decide if you need to change anything. After you are happy with it sign it!
The last step to this Thanksgiving decorations ideas is to seal it or protect it with a spray. I have used hairspray before and it works in a pinch, but an actual fixative spray works much better. I use the Sennelier fixative spray for oil pastels. It is very potent so I suggest using it outside or somewhere with really good ventilation.
Do 5-8 passes with the spray then you are ready to display this year’s Thanksgiving painting ideas!
You can always frame your cute turkey and hang it up for Thanksgiving 🙂
I hope you are grateful that you did this turkey art! This post is all about Thanksgiving painting ideas.
For more ideas check out:






Leave a Reply