Curious about mastering the art of a simple bear drawing? Look no further! We’ve got you covered with our top-notch, drawing techniques for beginners.
Disclaimer: THIS POST MAY CONTAIN AFFILIATE LINKS, MEANING I GET A COMMISSION IF YOU DECIDE TO MAKE A PURCHASE THROUGH MY LINKS, AT NO COST TO YOU. AS AN AMAZON AFFILIATE I EARN FROM QUALIFYING PURCHASES AT NO EXTRA COST TO YOU.
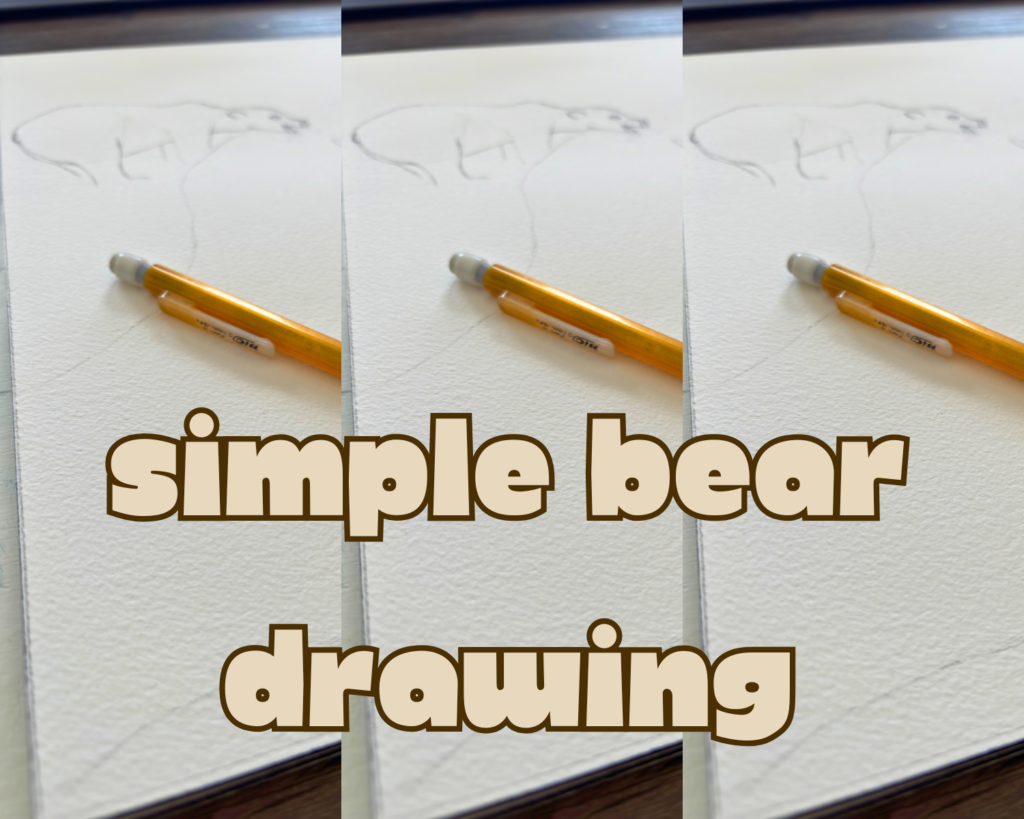
Have you ever seen someone else’s drawing and thought, ‘That looks so easy, I can do that too!’ But when you tried, it turned out to be a whole different story. Well, I’ve been there too! But I’ve learned a thing or two about breaking down the steps to make even the simplest drawings look amazing. So, if you’re up for a challenge and want to learn to do a simple bear drawing, I’m here to help!
In this lesson, you will learn about a simple bear drawing, a grizzly bear drawing, a watercolor sketch, sketching techniques, drawing techniques for beginners, and much more!
Once you master this simple step-by-step approach, you’ll be able to do this simple bear drawing in no time!
Supplies Used:

Everything You Need to Know About a Simple Bear Drawing
I’m currently working on a watercolor painting where this grizzly bear drawing will be the main focus. In this watercolor painting the bear on top of a waterfall, with salmon jumping in the background. If you’re interested in following along, there will be additional lessons available. But if you just want to practice your drawing skills, feel free to use a sketchbook or paper.
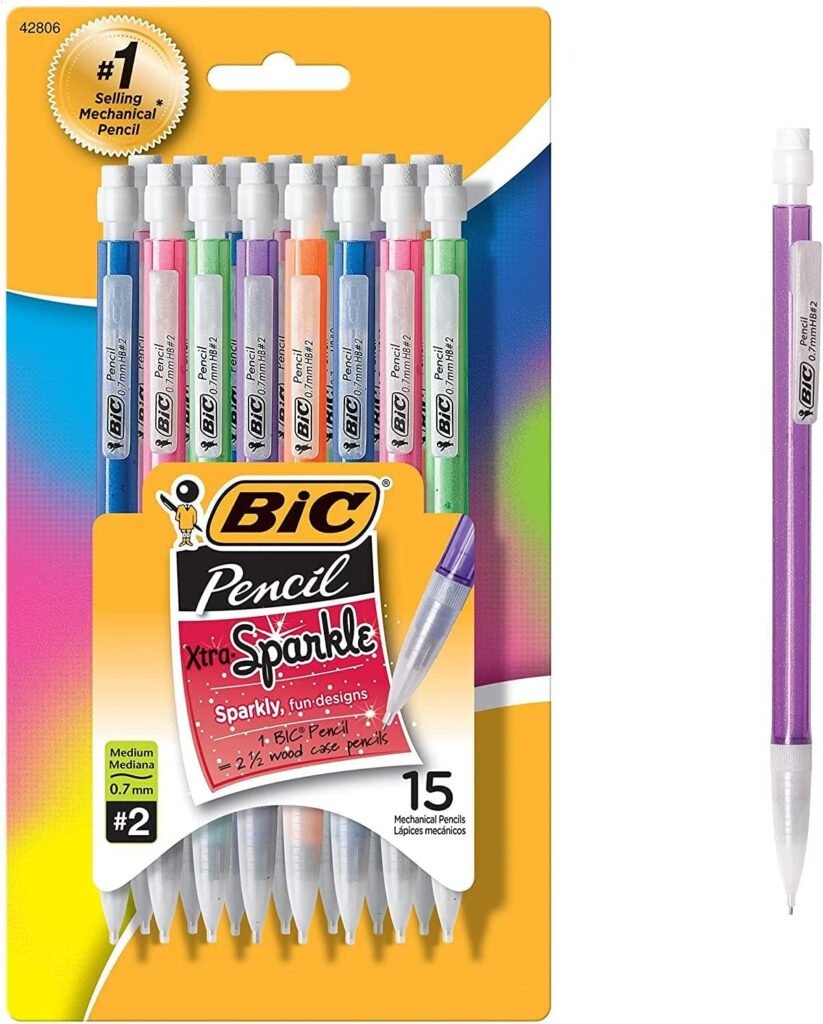
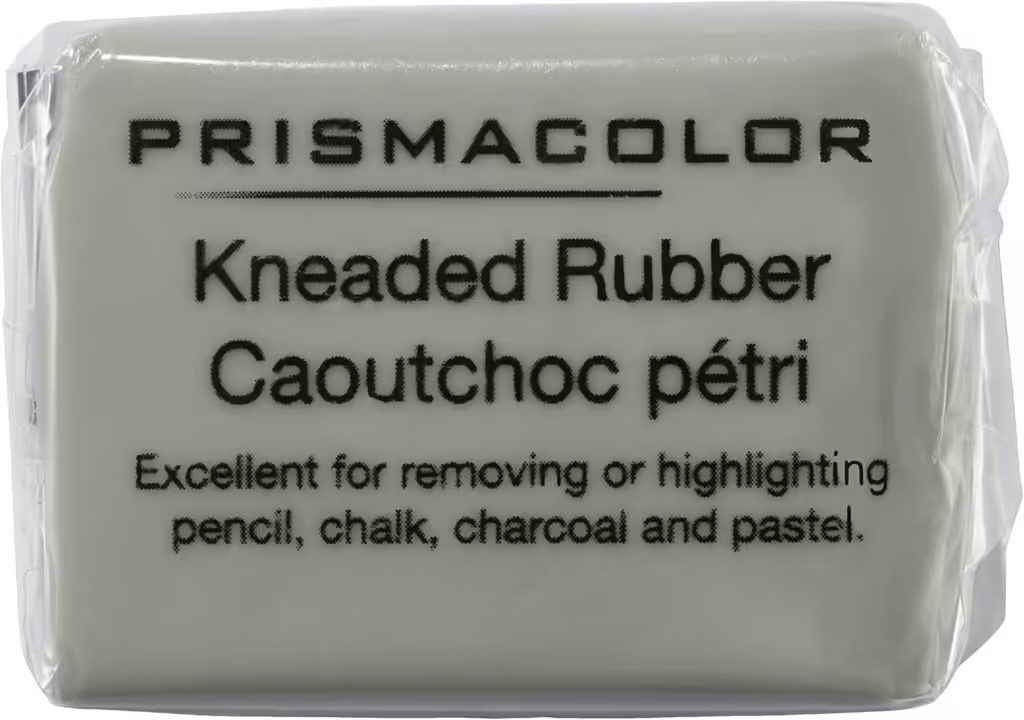
When doing a watercolor sketch, I prefer using a mechanical pencil and a kneaded eraser. Mechanical pencils let me draw lighter lines, and kneaded erasers don’t have those pesky eraser flakes that you have to brush off. Even if you’re not creating a painting, I highly recommend using the kneaded eraser to avoid smudging the lead when you brush off the eraser flakes.
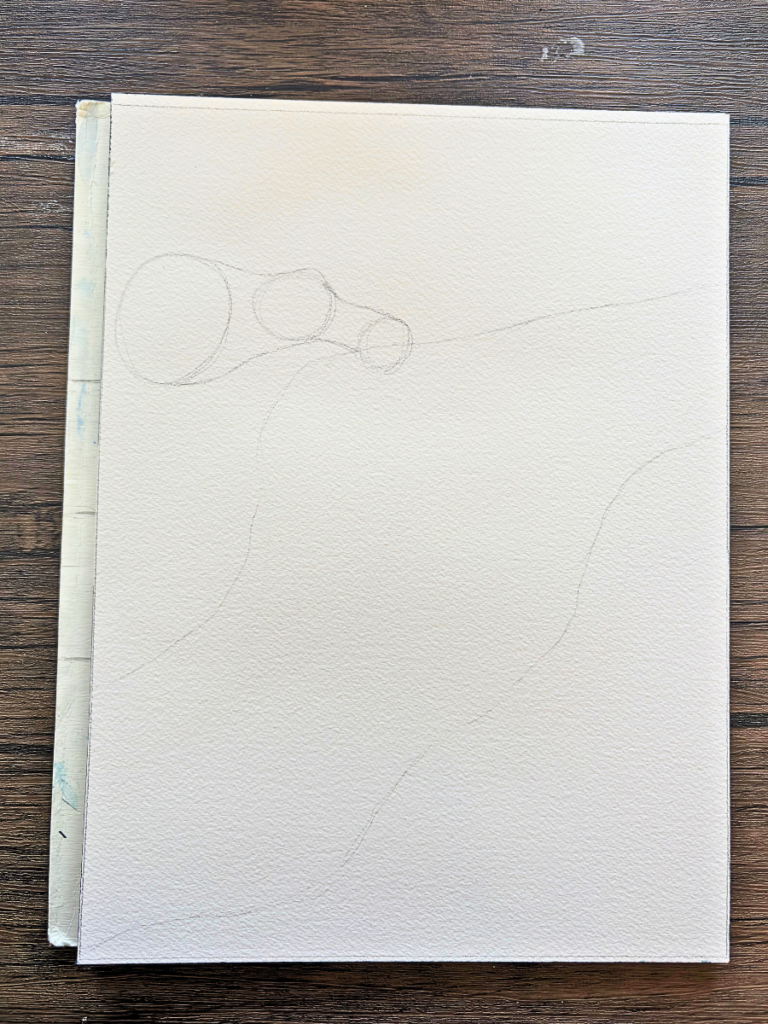
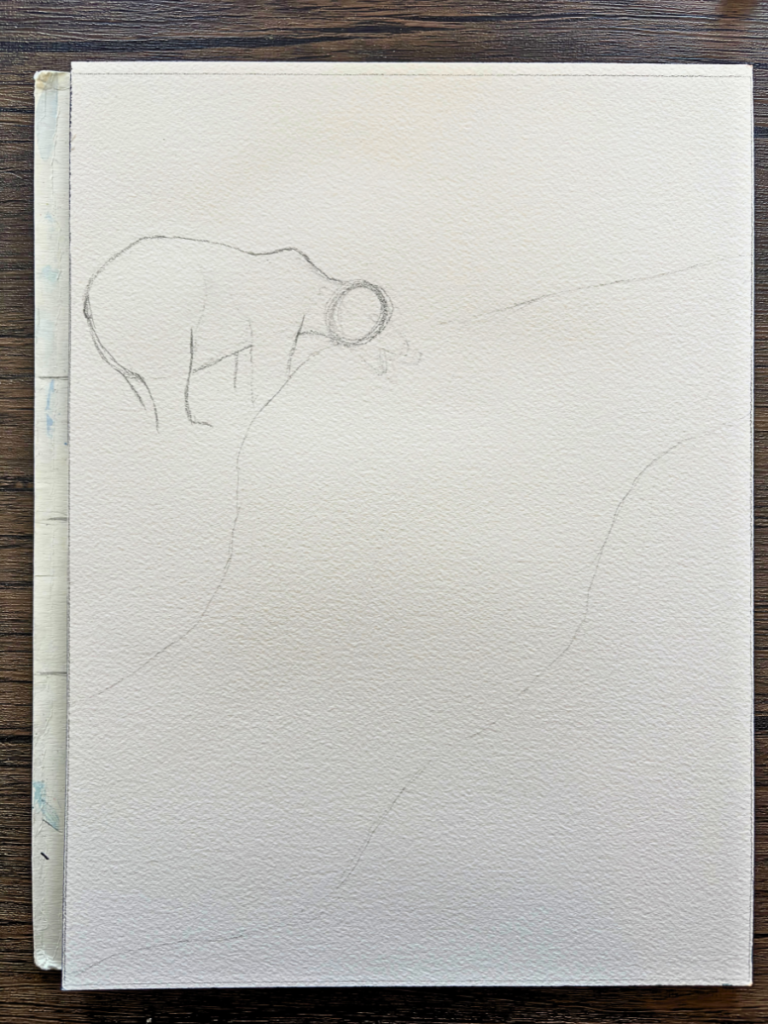
Step One: Big Shapes
Understanding that objects are made up of shapes is a crucial drawing techniques for beginners to know. Drawing a realistic bear in just a few pencil strokes is tough, but breaking it down into simple shapes like circles, triangles, and rectangles makes it a whole lot easier. Then all you have to do is connect those shapes to create the bear.
Let’s start with the basics of a grizzly bear drawing. First, we’ll draw three big circles. The biggest one will be for the butt, the middle one for the shoulders, and the smallest one for the head. Now, here’s the fun part: where we place these circles matters. Bears usually have short bodies, so the butt and shoulder circles should be close together. The head circle depends on where the bear is looking. In this case, the bear is looking down, so the small circle will be level with the bottom of the butt circle.
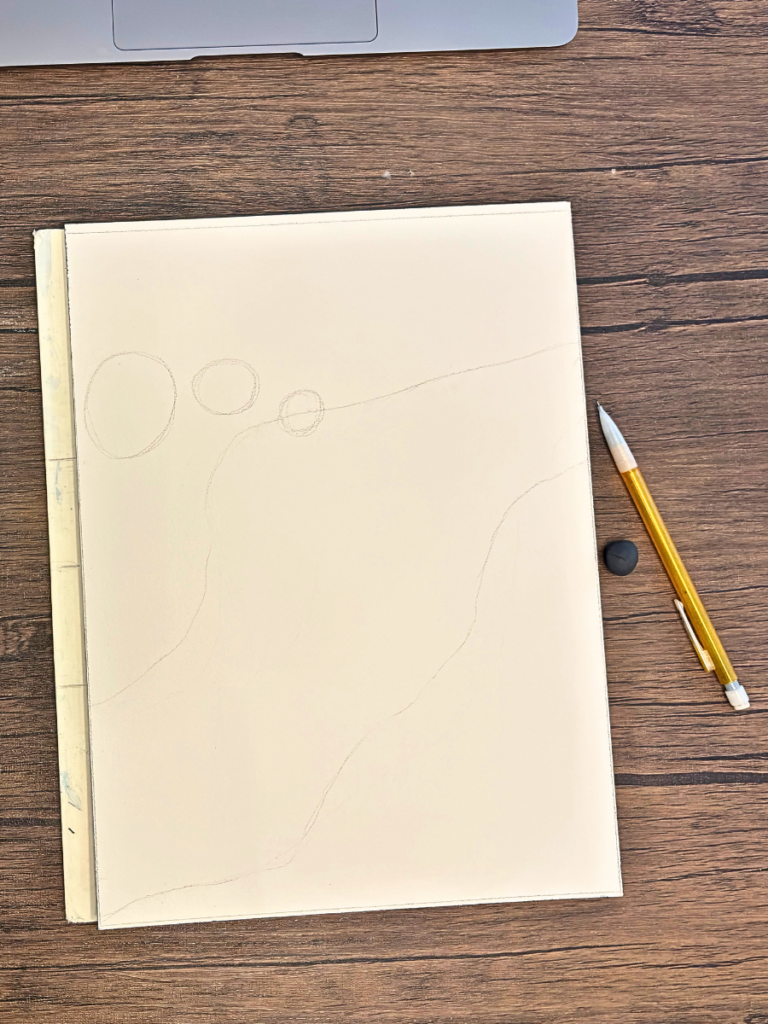
I’ve added some extra lines to the paper. They’re just a reference for my watercolor painting. If you’re following along with the other lessons, feel free to draw those lines too. But if you’re not, just ignore them and draw your bear right in the middle of your paper!
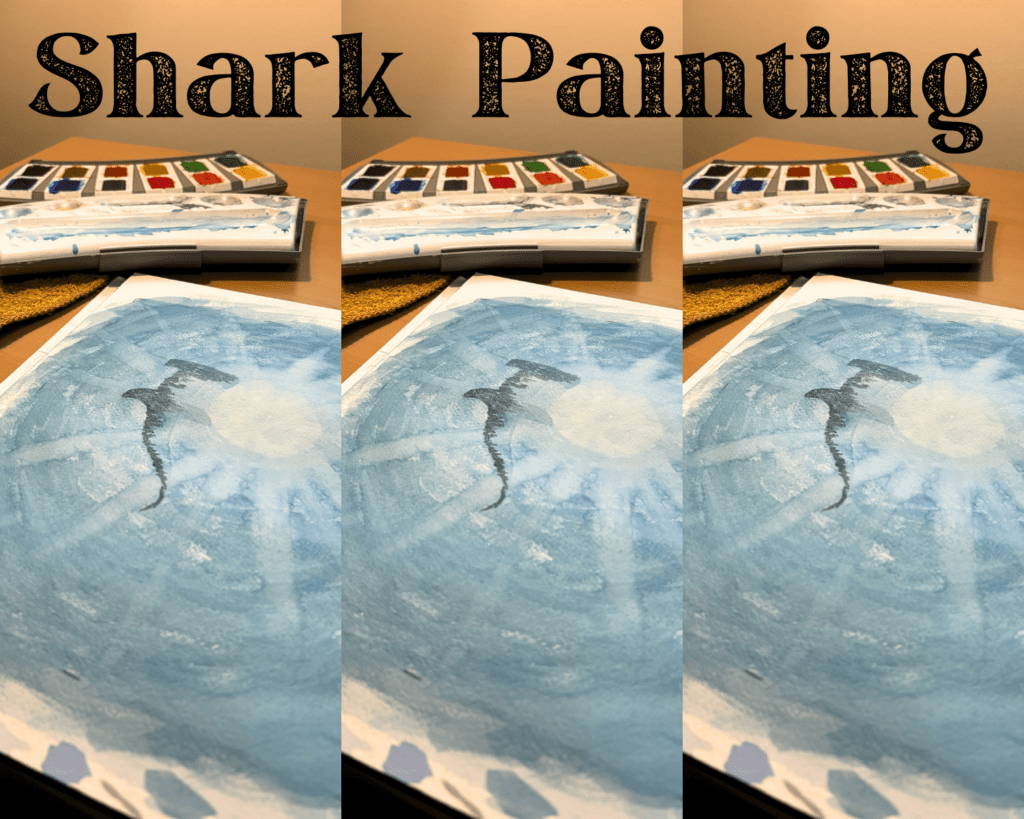
Looking for other watercolor sketches? Check out 3 Easy Steps for a Shark Painting. It walks you through the watercolor sketch and watercolor painting.
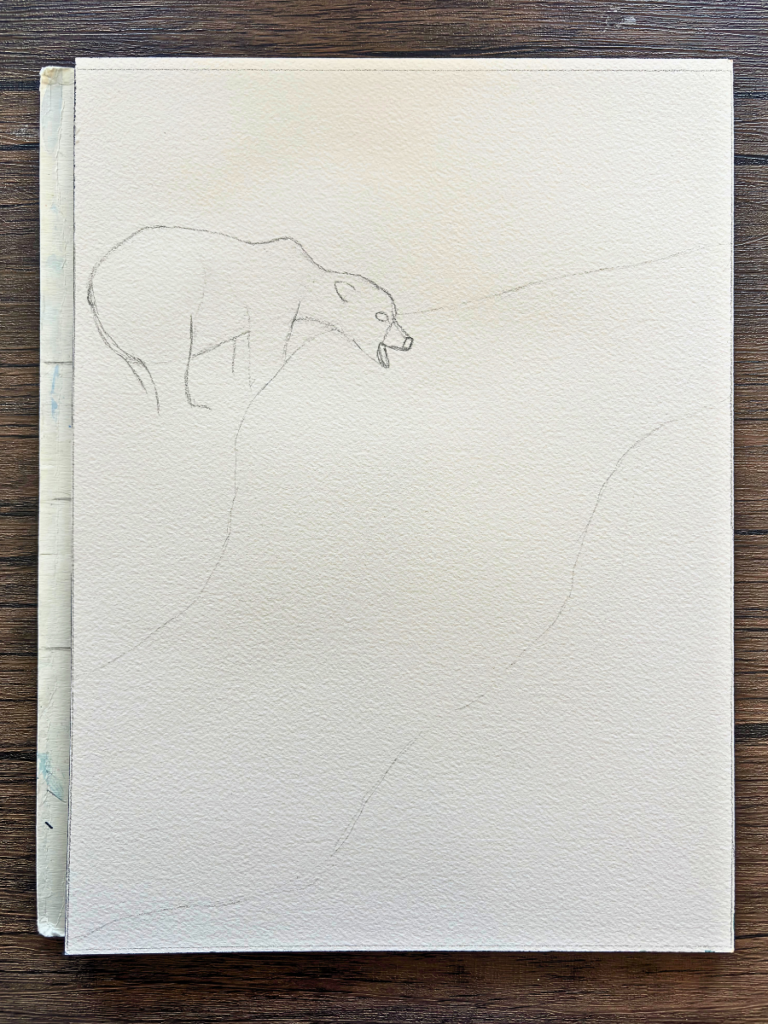
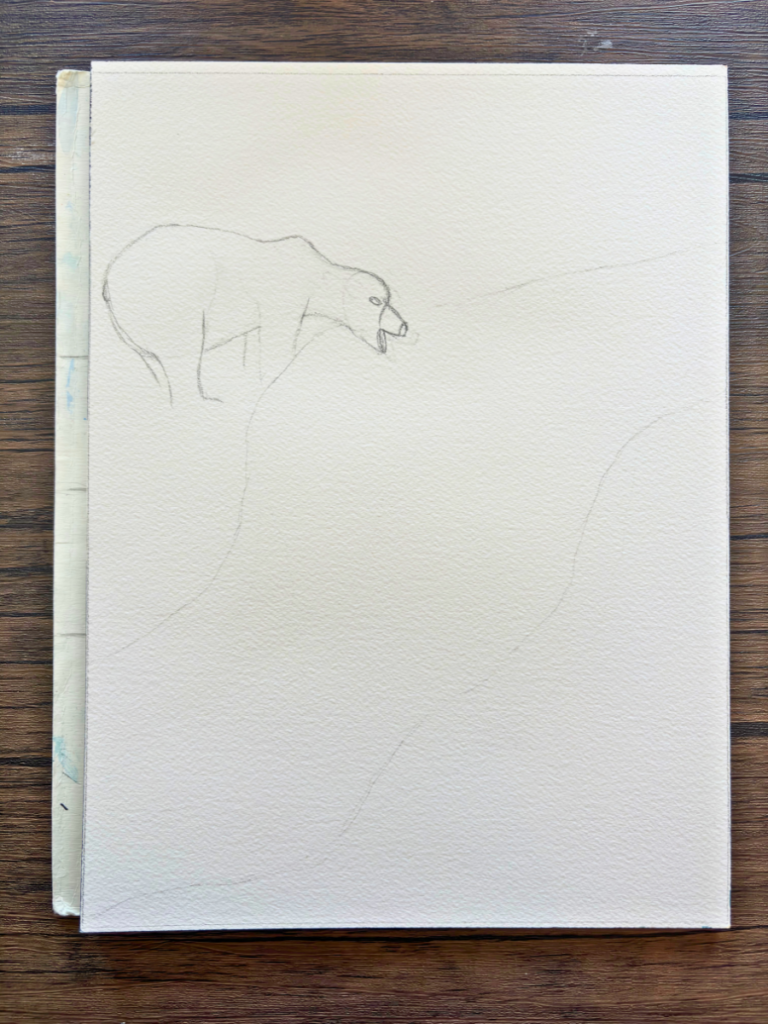
Step 2: Connect the Shapes
Let’s put the pieces together, shall we? Grizzly bears don’t have straight backs, they curve down just before their shoulders. If you are struggling to draw that curve try doing it this way. Draw a straight line from one circle to another, adding the dip, and then erasing the straight line. This is a drawing technique called negative space. The change in perspective may be just the thing you need.
Connect the other sides of the circles using the same sketching techniques.
Once you’re happy with the basic shape, start refining it. For instance, in the picture below, I rounded the butt into a more pleasing shape. I also lowered the bottom of the shoulder a bit.
Are you able to see the bear take shape?
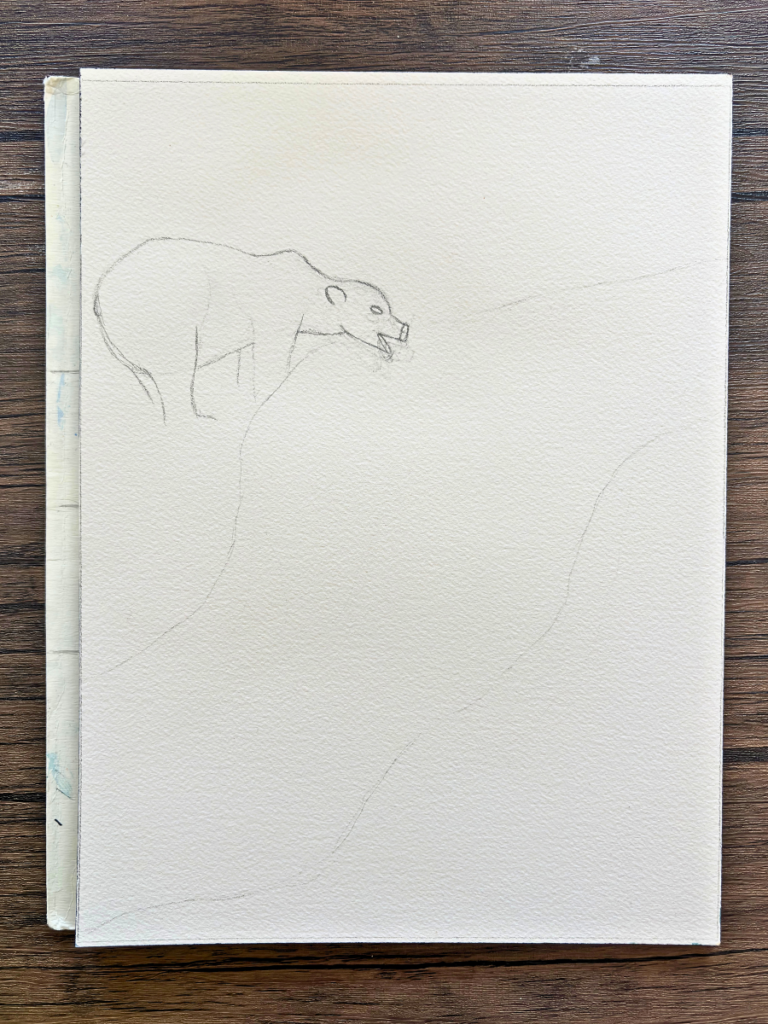
Step 3: Add Simple Details
Why are you only adding simple details? For one thing if you can’t visualize your simple bear sketch, it’s tough to pinpoint what needs improvement. For another, you don’t want your details too detailed because it makes it harder to erase them in order to make the sketch look the best it can. I’ll share the changes I made to my drawing and provide some tips for you to consider for your own sketch in step 4.
First things first, what details do you need to add?
- Draw the shoulder hump that is the defining characteristic of the grizzly bear.
- Draw the front legs. Use the same sketching techniques from step 1, by drawing a rectangle and then “carving out” the shape of the leg.
- Draw lines for the back legs. These back legs don’t need much work because you can’t see them. So a simple line to the left of each front leg will suffice.
- Add a little bump for a tail.
- Add a snout. The outline will be a trapezoid and a triangle for the negative space (the space you see between the open mouth.
- Draw the ear and eyeball.
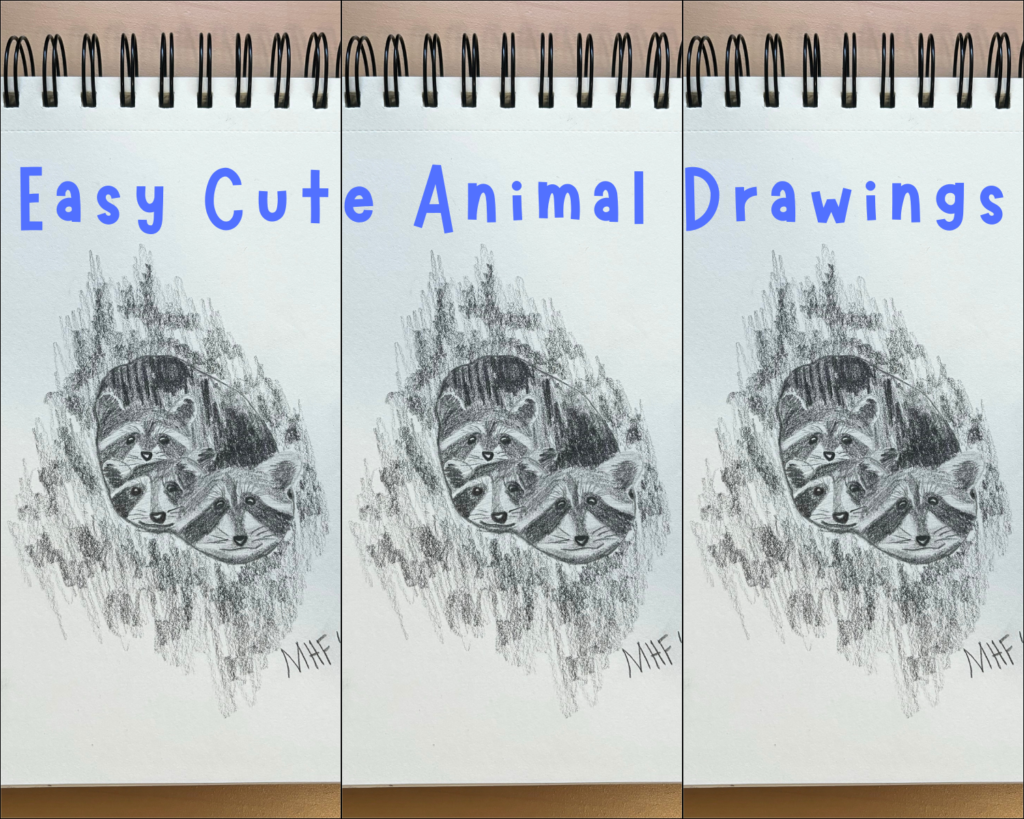
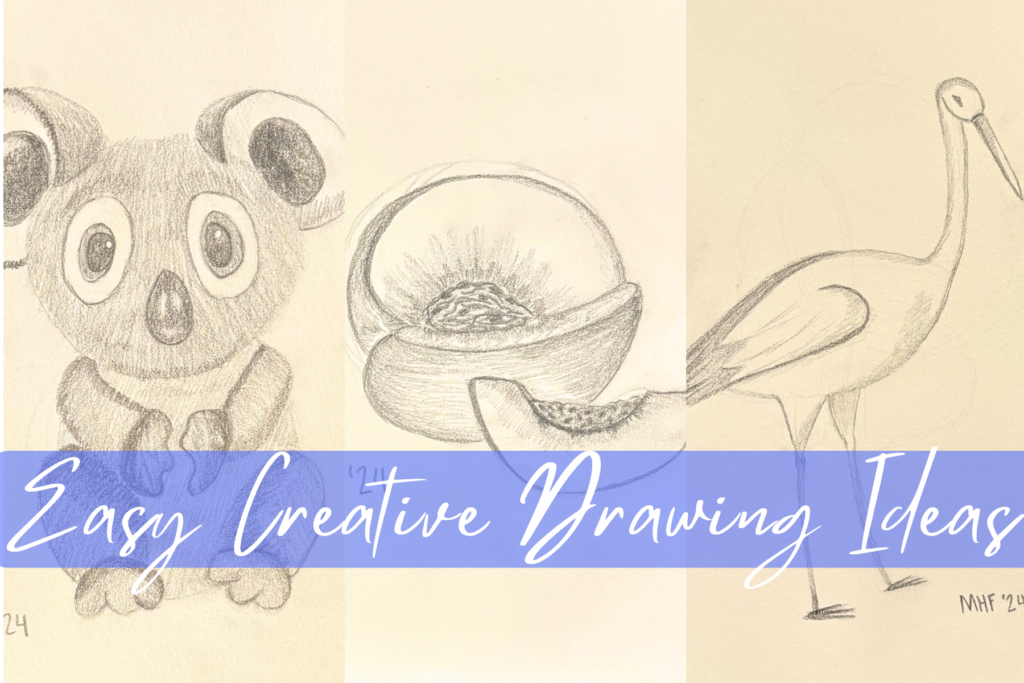
Practice drawing other animals with a Beginners Guide: Easy Cute Animal Drawings.
Step 4: Observe, Critique, and Change
Some areas to look at to change:
- Distance between butt and shoulders. Is it too short or too long?
- Does the shoulder hump look good? Take a peek at grizzly bear photos to get a sense of what they’re supposed to look like.
- Legs. Are they too tall or too short? Is the distance between the front and back ones okay? Are you seeing too much of the back legs or too little?
- Distance between shoulders and head. Is the neck too long or short? Is it at an unnatural angle?
- Snout. Is it too long or too short? Does the opening look like a bear with its mouth open?
When making changes, it’s best to tackle the big areas first. Even a small adjustment to a major component can necessitate changes to all the smaller components.
With my simple bear drawing, the length of the neck was too long. Which is unfortunate because I really liked the snout that I drew. However, as my art instructor once said, “You have to be willing to change SOMETHING to make EVERYTHING look right”. Sometimes that something is a lot of things. And as a beginner artist, it often will be. But don’t despair! The more you practice, the less things you will need to change, and the quicker you will get.
So, I managed to fix the neck, but the head ended up very awkward looking. It took a few more tries to get the head and snout to look right.
Hey, I know this process might feel discouraging, but please don’t give up! Take a break, grab a snack, and then try again. I promise you, it’s not a lost cause, and you’re not a lost cause as an artist! Keep going, you’ve got this!
Step 5: Finished Product
Keep repeating step 4 until you’re happy with your grizzly bear drawing. You might even realize you’re done with it when you look at it again later and want to make a change. This happens to me all the time when I make these lessons. You can change it or leave it as it is. The more you experience, the more you’ll notice things that could be improved. But sometimes, it’s enough to just appreciate what you’ve created. It doesn’t always need to be better!
If you want to add fur and details with pencil check out this lesson on how to do that using other animals to demonstrate. 5+ Pencil Shading Art: A Beginner’s Guide
Bonus: Fish and Landscape
If you’re following along to create a watercolor painting, this step will take you to the next level. We’ll add the landscape and the fish!
The waterfall lines were placed prior to drawing the bear. But in the top right corner a curve was added along with a rock. It’s hard to see it as such when it is still 2D, so just trust me and copy what I have drawn.
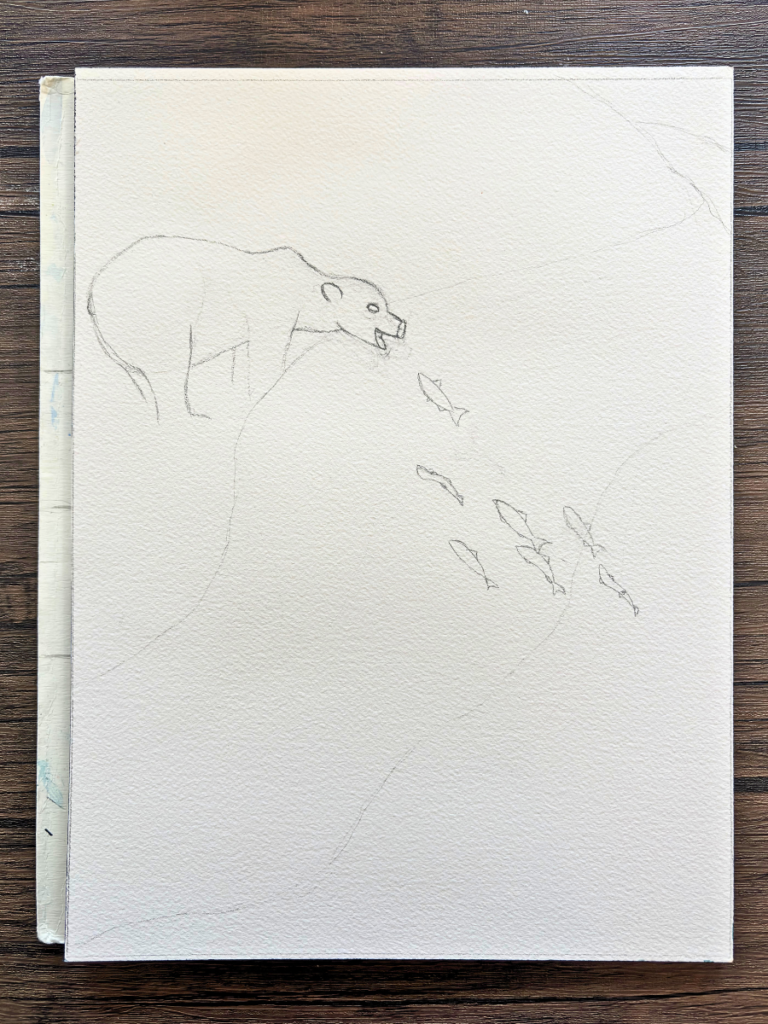
Drawing the fish is a blast! They’re just long ovals with triangles for fins and tails. There are two fish that look squiggly because you’ll see their bellies when you add the watercolor. Don’t worry about where or how many fish you draw. Just remember to paint each one separately when the time comes.
Grizzly Bear Drawing Timelapse
Thanks a bunch for joining me on this simple bear drawing adventure!
Other lessons you may enjoy:
39 Things to Sketch when Bored: Ideas Easy to Hard

13+ Creative Drawing Ideas Easy
The Ultimate Guide to the Best Watercolor Gifts


Leave a Reply