Are you looking to learn how to create a shark painting? Follow these three easy steps and you will create a shark painting worthy for your living room.
Disclaimer: THIS POST MAY CONTAIN AFFILIATE LINKS, MEANING I GET A COMMISSION IF YOU DECIDE TO MAKE A PURCHASE THROUGH MY LINKS, AT NO COST TO YOU. AS AN AMAZON AFFILIATE I EARN FROM QUALIFYING PURCHASES AT NO EXTRA COST TO YOU.
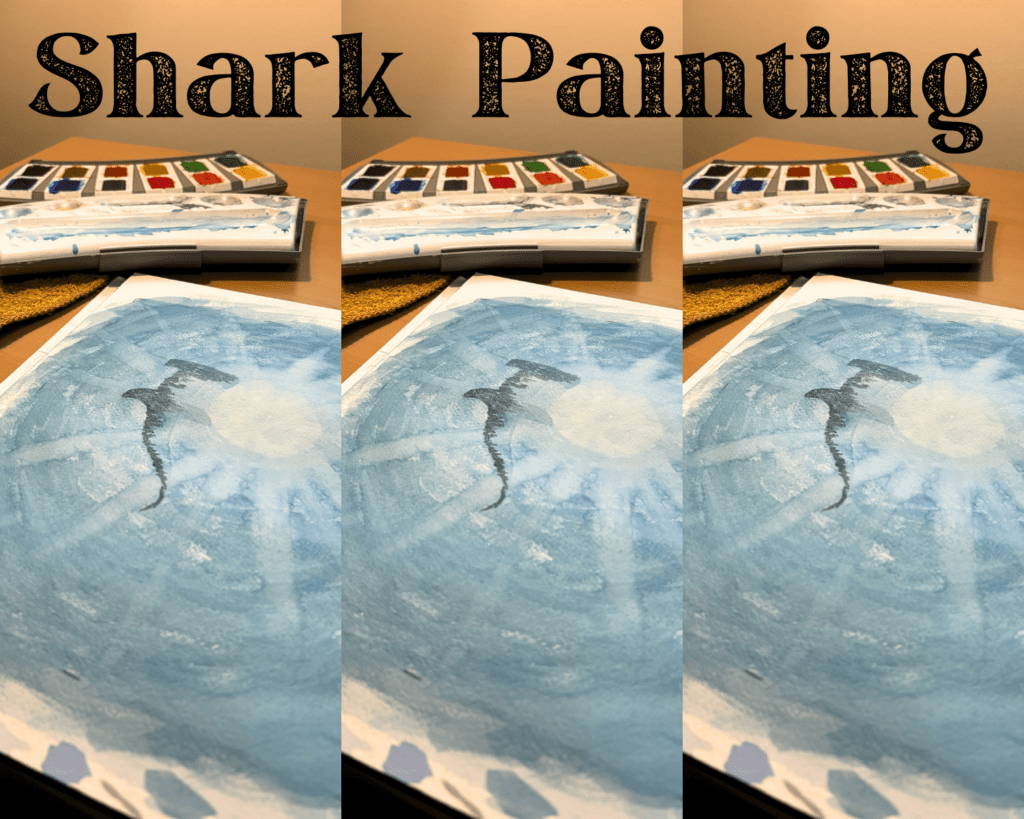
A shark painting looks intimidating but it doesn’t mean it is actually difficult to create. I have been doing watercolor painting for a few years now and this is one of the easiest paintings I have done so far. I know that if you follow the steps that I did you will be able to create a beautiful shark painting that you will be proud to show off.
You are going to learn about how to create a shark painting, ocean painting easy, ocean watercolor painting, blue painting ideas, underwater ocean painting, and more!
After reading through this recipe for a shark painting you will be able to recreate it yourself.
Supplies Used:
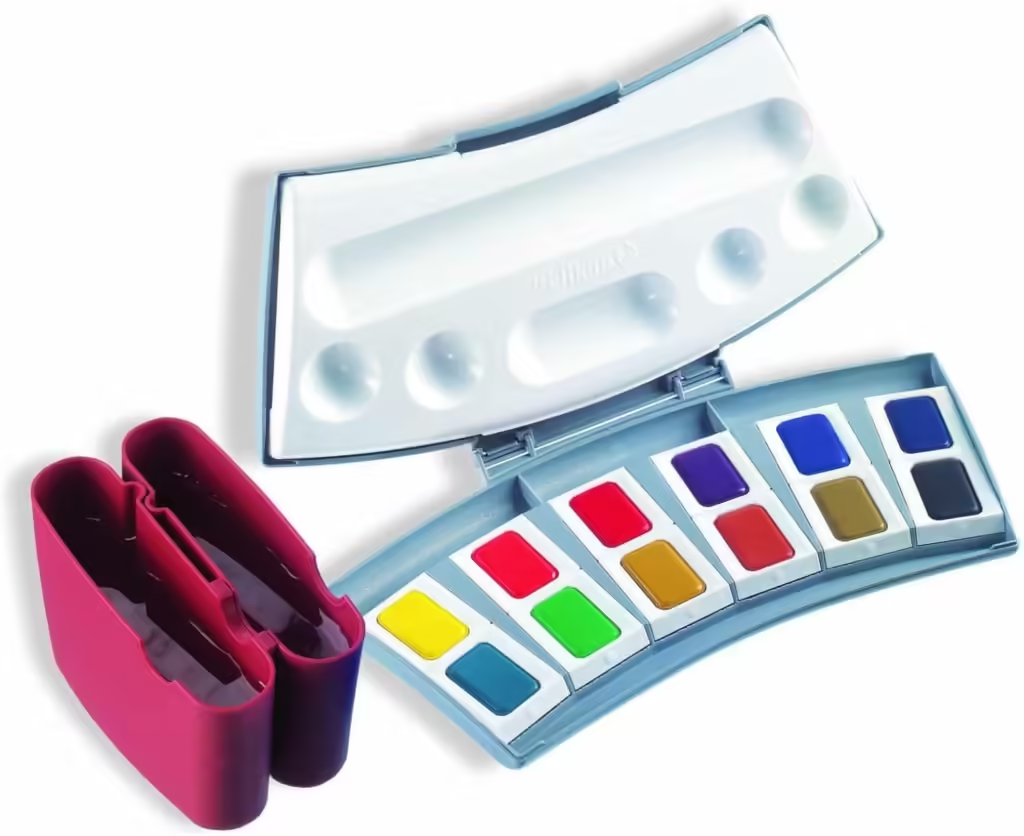
Pelikan Watercolor Paints
Arches Watercolor Paper – Coldpress

Princeton Watercolor Brush

Princeton Size 2 Watercolor Brush

Kalour Drawing Set

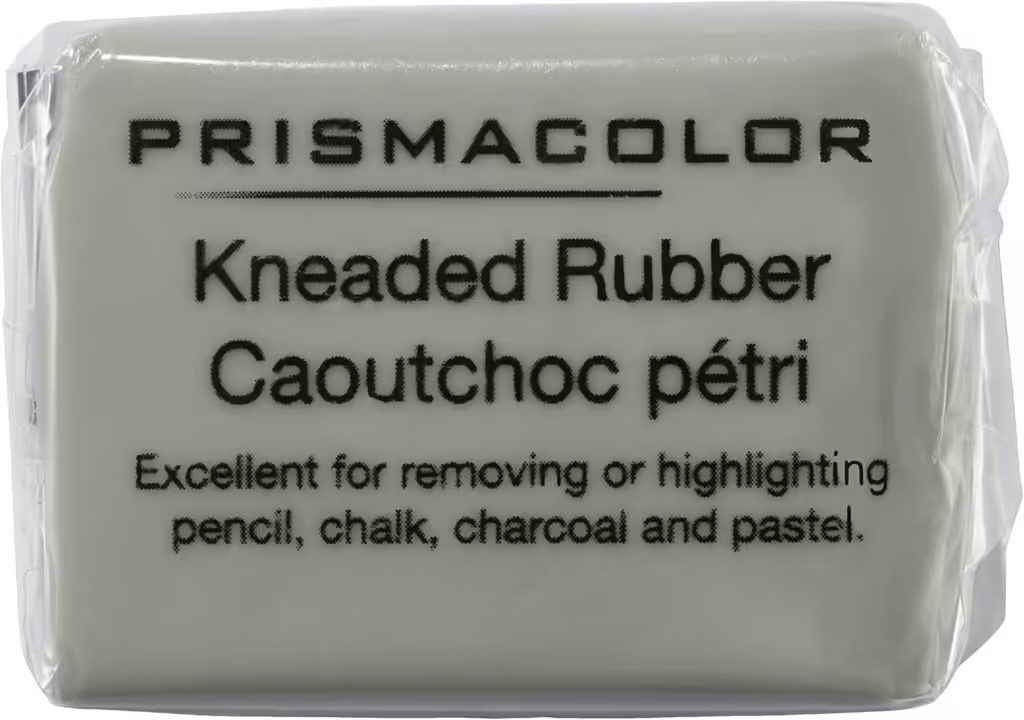
Prismacolor Kneaded Eraser
Brass Artist Compass

11 x 14 inch Matted Frame
5 Easy Steps for a Shark Painting
STEP ONE: Sketch

The first step to this underwater ocean painting is to get the hammerhead shark sketched out. (You could do any aquatic animal in place of the shark).
Draw your sketch directly onto your Arches Watercolor Paper. You will want to do it lightly so the lead won’t be visible through the watercolor paint.
You can use a mechanical pencil, which is good for thin lines, or a drawing pencil. I like to use a 5H drawing pencil because the lead is the lightest and easy to erase. I’m really bad at sketching light enough so when I finish the sketch I erase the lines so they are barely visible.
To draw the shark you will start with a long oval for the body, an oval for the head, and an oval for the fins. Get the body of the shark where you want on the page and then start with the details.
If your shark is looking funky then check its proportions.
Proportions are how the object relates to itself, and other objects if present. To measure sections you can use your pencil and thumb or an artist’s compass. I prefer the compass because I find it easier to do than the pencil and thumb method, but either way works.
For example, the head of the hammerhead shark is about the same length as the fins. Both the head and the fins are about 1/3 of the total body length.
So when you are drawing measure the head and draw the fins so they are the same length. Once you are done, measure the head to the fins and the body should be about two of that.
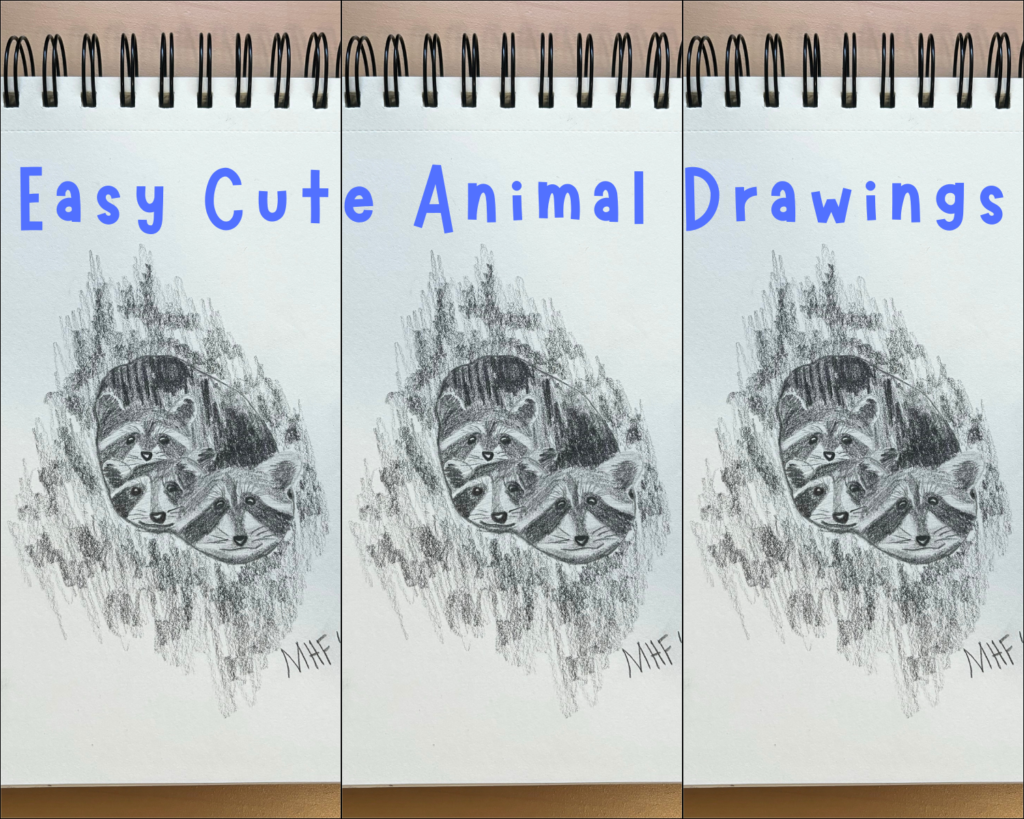
If you want to practice your drawing abilities or need a refresher on drawing animals check out a Beginners Guide: Easy Cute Animal Drawings.
After you are done with sketching the shark sketch in where the sun will be.
If like me your pencil lines are dark take your kneaded eraser and lighten them up so you can barely see them.
STEP TWO: Painting the Ocean

The second step to this ocean painting easy is to paint the water. Although the sunshine looks white it is actually a very pale blue.
You will start by doing a layer of pale blue on the entire page using the round size 12 watercolor brush. This is called flat or smooth wash. To achieve this remember to paint at an angle and to keep the drip.
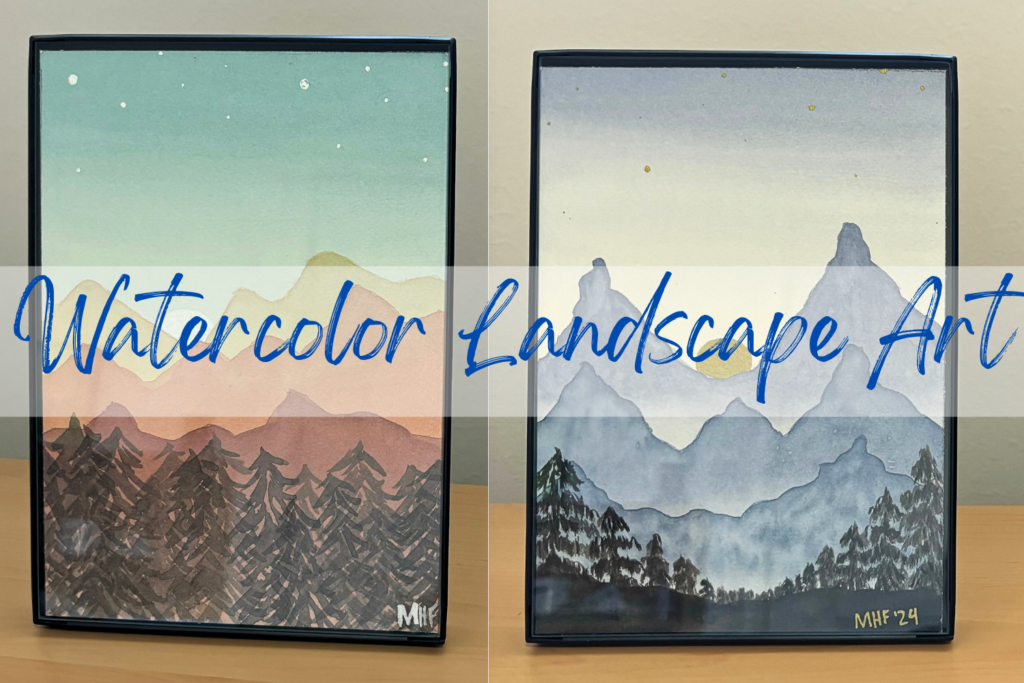
Don’t remember the drip? No problem, get a refresher with the Amazingly Easy Watercolor Landscape Art post.
One tip that I have to remind myself every time I do a flat wash is to mix up lots of paint. This type of wash takes up a lot of watercolor paint to cover the entire area of your shark painting. So use that long basin at the bottom of your watercolor palette to mix up the blue color.
Any excess paint will be used to mix a different shade of blue for the next layer of the sky.

After you get the flat wash done you are ready to start the main part of the ocean sky.
With the leftover paint mix up a darker blue, mix up extra because you will use it for the darker blue in the next layer. You will use this for the lightest layer around the sun.
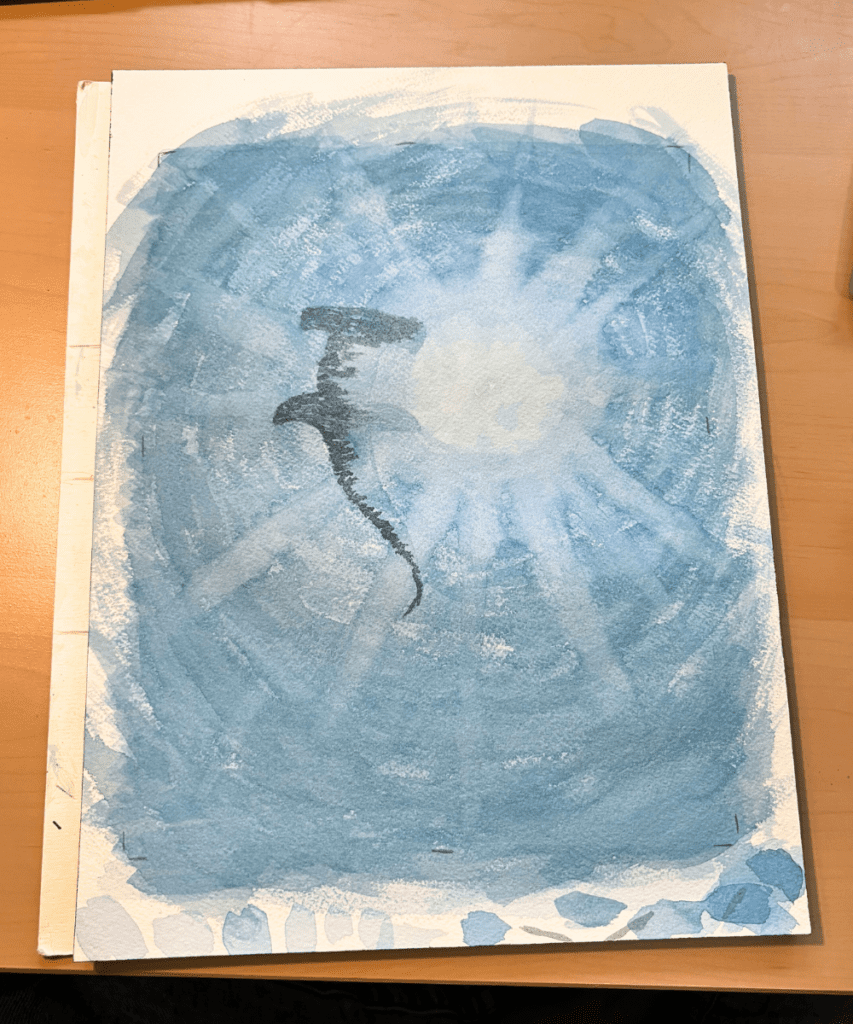
In order to get the texture of the water you will want to use a different technique for applying the paint. I call it the dry brush technique. What you do is wet your brush with watercolor and then make some sporadic rounded strokes around the sun.
Once the brush runs out of water don’t get more watercolor, instead start to spread the watercolor already on the paper to dry areas. If the brush is dry enough it will move the watercolor but not smoothly. This is what creates the textured look.
Repeat this with the same blue color to the edges of the painting.
Clean your brush so that there isn’t any more watercolor on it and then dry it off well. Make long strokes from the center of the sun outward. Clean it off again and repeat the process until you have as many sun rays as you want.
While the paper is drying mix the watercolor for a darker blue. Repeat the entire process from the dry brush technique to the sun rays. Except start the new layer about an inch away from the sun.
Do the process again with the darkest blue, applying it in the corners.
STEP THREE: Painting the Shark
The last step in this ocean watercolor painting is to paint the shark.
With any extra blue watercolor, you have added some black to make it very dark.
If you want to create a solid black shadow of the hammerhead shark you can do that with 1-2 layers of the black/blue color. It would look really good doing it that way too.
If you want the textured look of the shark you will need to use the size 2 watercolor brush.
Using short, thin brushstrokes apply the black paint to the left side of the shark. Keep the brushstrokes loose and unique. By only applying them to the left side it will create a lighter layer on the right side (next to the sun) so it looks like a shadow.

Once that layer is dry, apply watercolor to the entire shark using the same type of brushstrokes.
Add more color to areas that need to be darker.
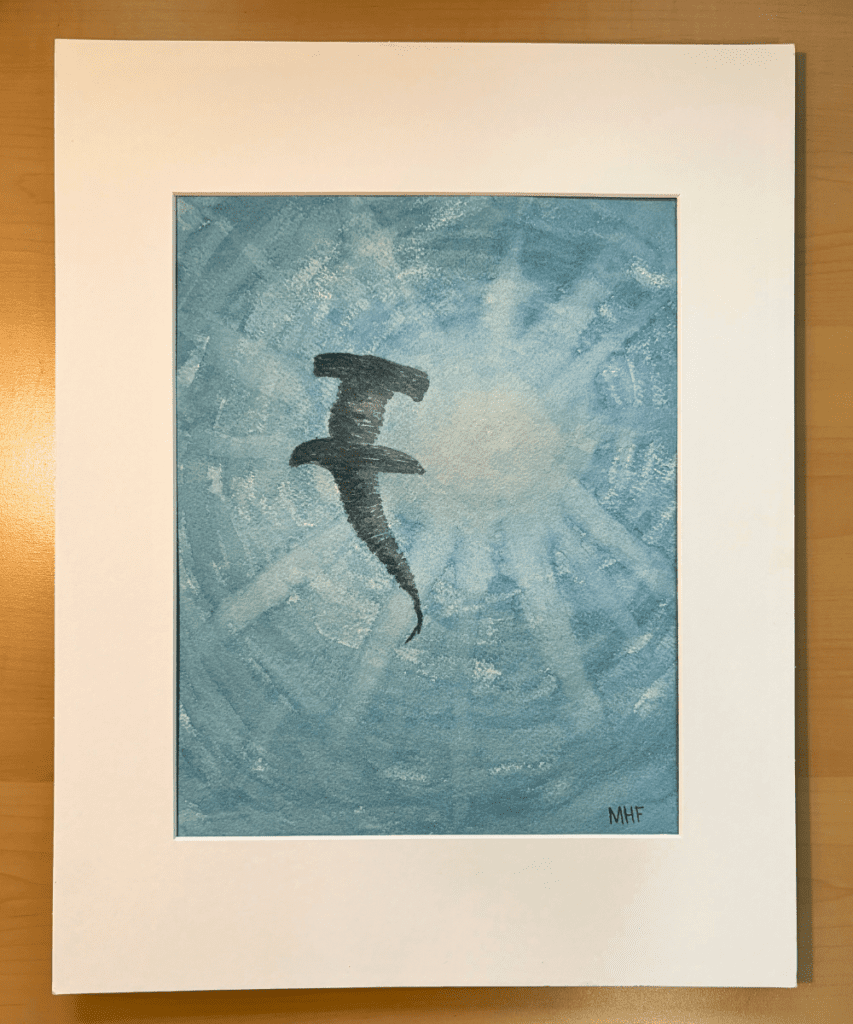
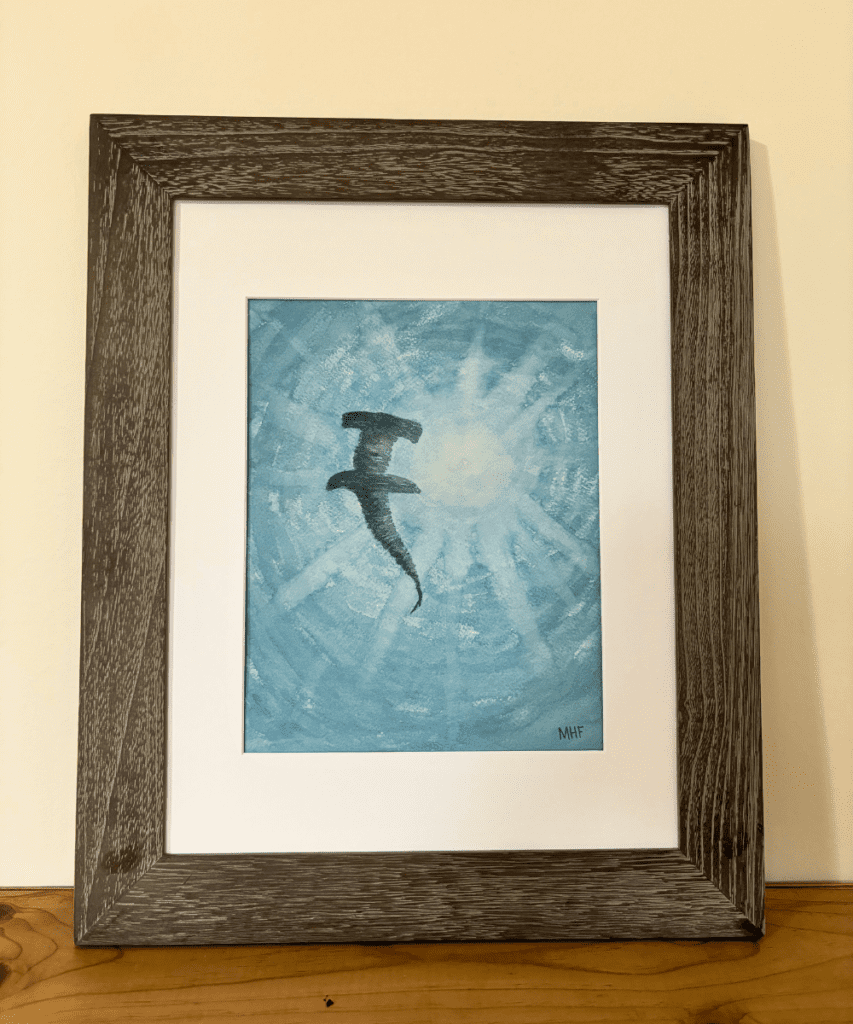
After you are happy with your shark painting sign your name!
Frame it to hang it up in your living room or give it to a friend.
I created this shark painting to enter it into an art show where the theme was blue art. I needed some blue painting ideas and what is better than an underwater ocean painting? It is called “In the Depths”.
This post is all about how to make a shark painting with watercolor.
Other watercolor posts you would enjoy:


Leave a Reply