Learn how to do a quick parrot sketch. It’s easy and fun!
Disclaimer: THIS POST MAY CONTAIN AFFILIATE LINKS, MEANING I GET A COMMISSION IF YOU DECIDE TO MAKE A PURCHASE THROUGH MY LINKS, AT NO COST TO YOU. AS AN AMAZON AFFILIATE I EARN FROM QUALIFYING PURCHASES AT NO EXTRA COST TO YOU.
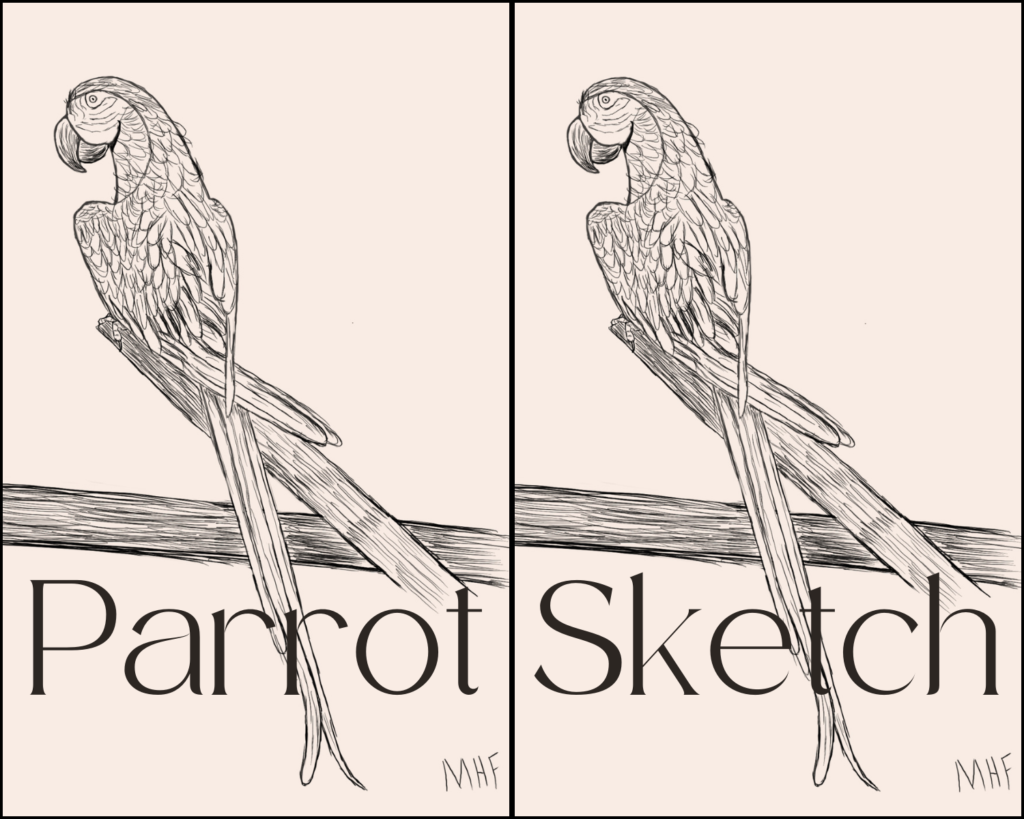
Parrots are such gorgeous birds and a blast to draw! They seem more intricate than they actually are. You can totally draw a parrot sketch with these easy steps.
You will learn about basic drawing shapes, sketching basics, parrot sketch, Procreate art, how to use Procreate, and more!
After watching and reading how you will be able to create an incredible parrot sketch of your very own!
Supplies Used:
iPad Pro 13-inch
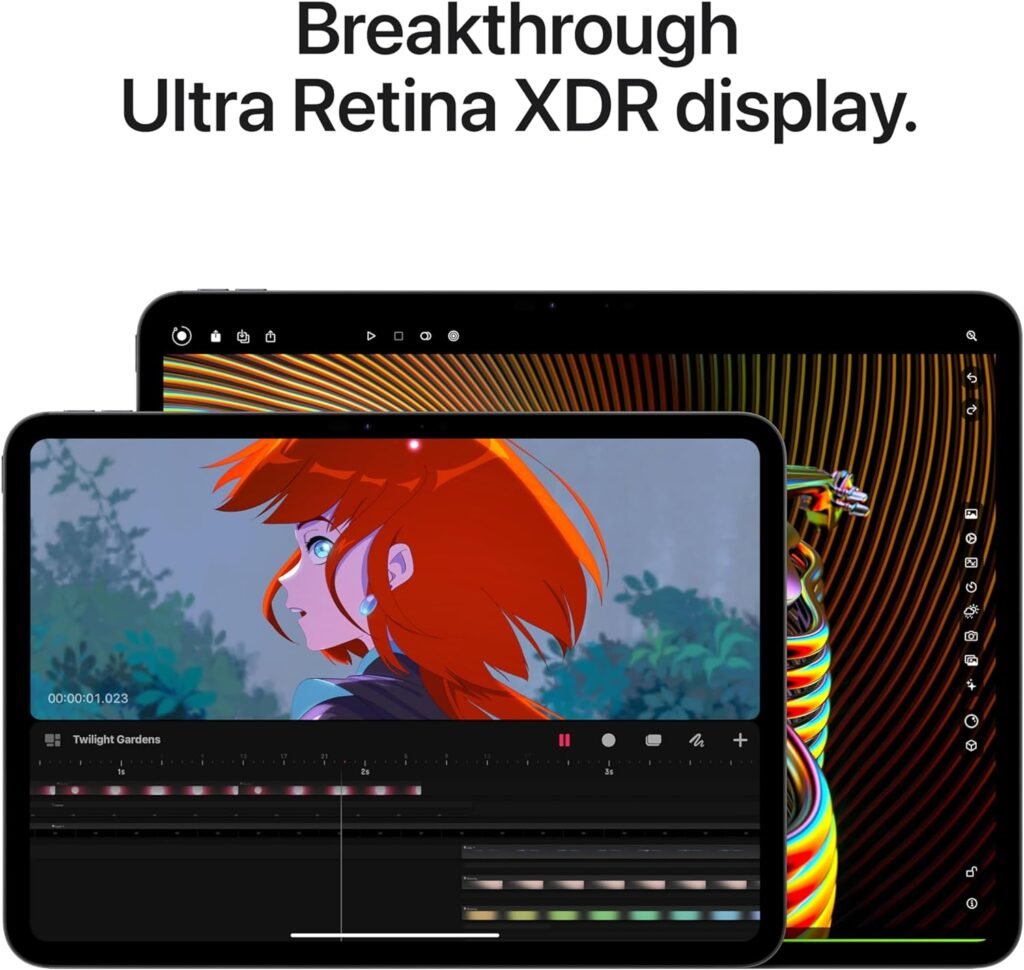
Apple Pencil Pro 2nd Generation

Procreate App

Parrot Sketch using Basic Drawing Shapes
How to Use Procreate: Which pencils to use?
Procreate has a ton of pencils to choose from, and it can be tough to decide which one to pick. I’m here to help you find the perfect pencil and get you creating your Procreate art faster than ever!
For sketching I like to use the Technical Pencil in Inking or the Procreate Pencil in Sketching. The Technical Pencil will create solid lines so it would work well with color fill drops. The Procreate Pencil looks more like a pencil when used, but doesn’t work with the color fill drops.
The Hard Blend Airbrush works great for erasing. It’s a big brush at first, so you’ll want to set it to a smaller size. I love this brush because it erases completely – you don’t need to go over the area more than once for the pencil to disappear.

Reference Photo
A reference photo is a must-have when sketching. It helps you nail the proportions, get the tiny details spot-on, and make your sketch look super realistic.
This parrot sketch is based on the reference photo below taken at Gatorland in Florida.

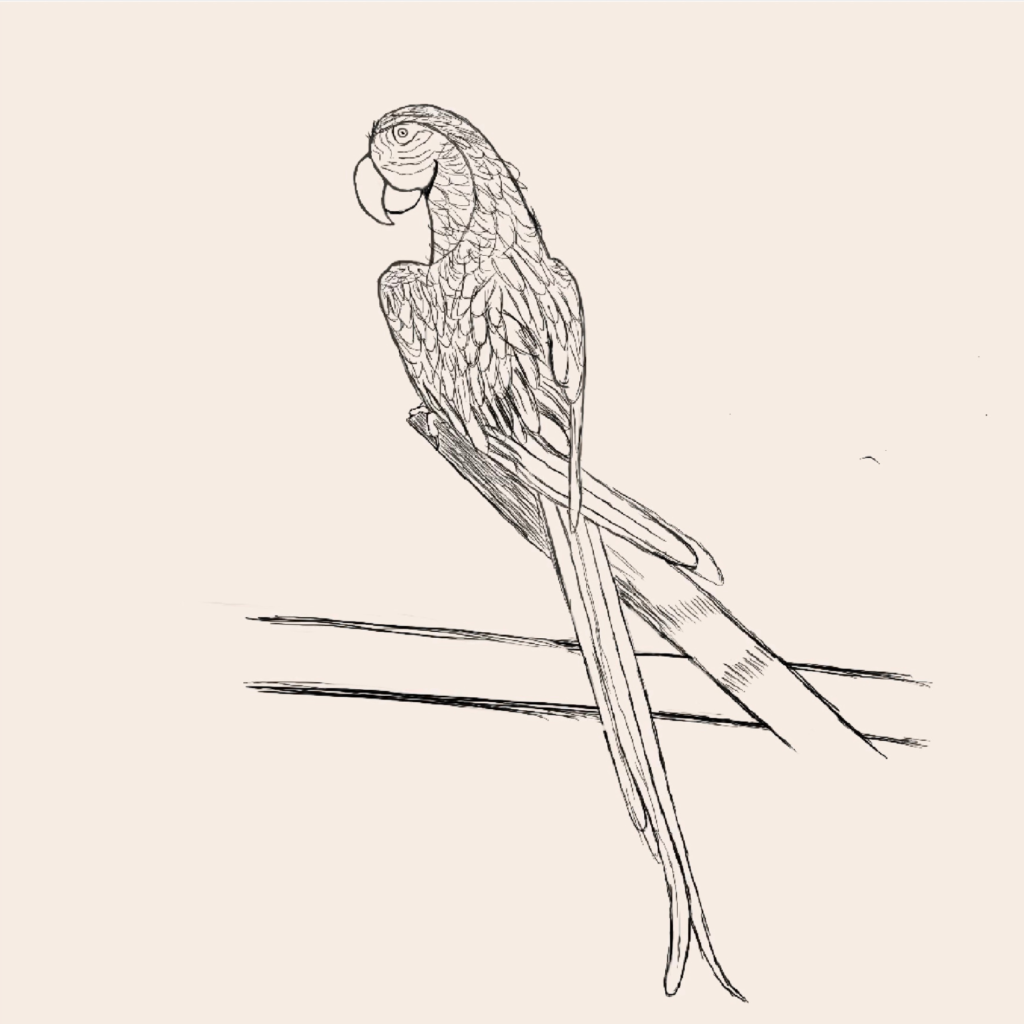
Step One: Sketching basics
The first step in any drawing is to find the basic shapes. If you’re sketching from a reference photo, break down the parrot into simple shapes. This is your rough draft. The idea is to have it sort of look like the animal, but it won’t be perfect yet. You’ll keep refining it until it looks great!
In this case, it is a circle for the head, triangles for the neck, beak, and body, and a rectangle for the tail.

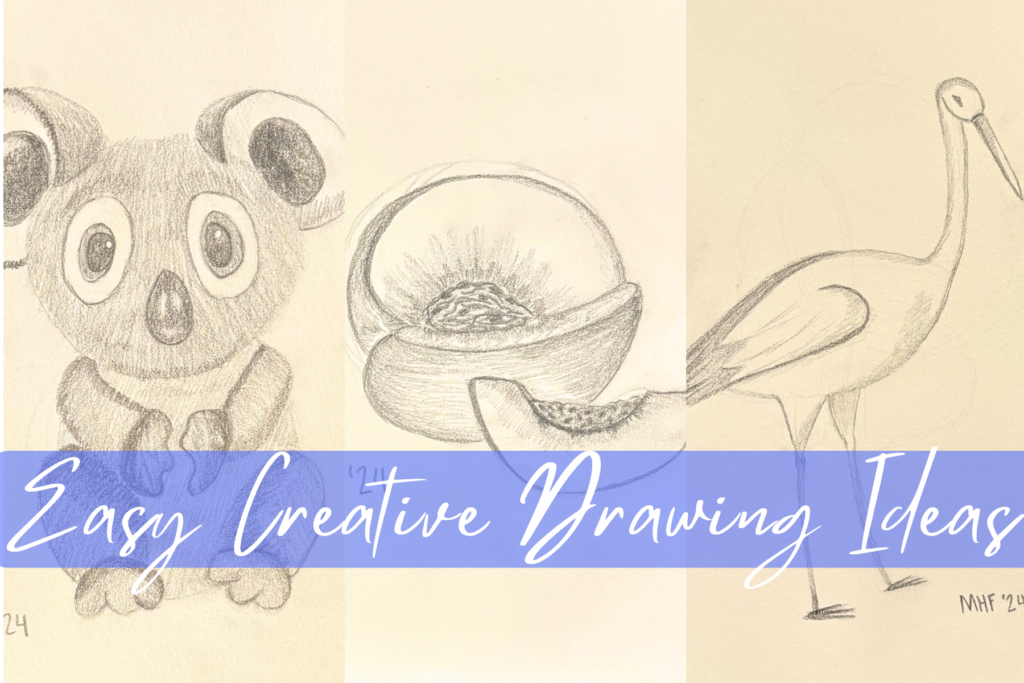
Find more sketching inspo with 13+ Creative Drawing Ideas Easy
Step Two: Connect basic drawing shapes
Once you have all of the basic shapes it is time to connect them. This is when you will get the outline of the parrot.
Round the head connection, put in the wing tips, curve the shoulders of the bird and make the beak look like a beak.
This step requires a lot of erasing and redrawing. Remember that sketching includes erasing 90% of your lines, sometimes it feels like 100%. Keep at it until you are happy with your sketch.

Step Three: Details for Procreate art
You can add details a few different ways: go top to bottom or vice versa and fill in every detail that way or largest details to smallest or a combination of the two.
I tend to combine the two, but I place a greater emphasis on the big-to-small details. For example, in the snapshot below, you can see that I sketched the face details and the wing details. I ended up erasing all of those lines and redoing them after I added the larger details and made some changes.
If you’re the kind of person who likes to go all in on the little details, understand that you may need to erase them later. It’ll make your bird sketch look even better!

Using the reference photo at the beginning, sketch out where the colors change.
- White face
- Yellow neck
- Light green shoulders and head
- Dark blue wings
- Purple-blue wing tips
Draw the wooden beams that the parrot perches on. Use the same sketching basics as the bird to do it. Both beams are rectangular.

Sketch the talons. They’re tiny, so don’t stress about them.

When you are ready to draw the feathers, you will need to know how to use Procreate layers.
Looking at the reference photo, mark out sections where the feathers go in the same direction or have the same texture to them. Do this in a separate layer so that you can just turn the layer off instead of trying to erase the lines. (This is one HUGE advantage of digital art).
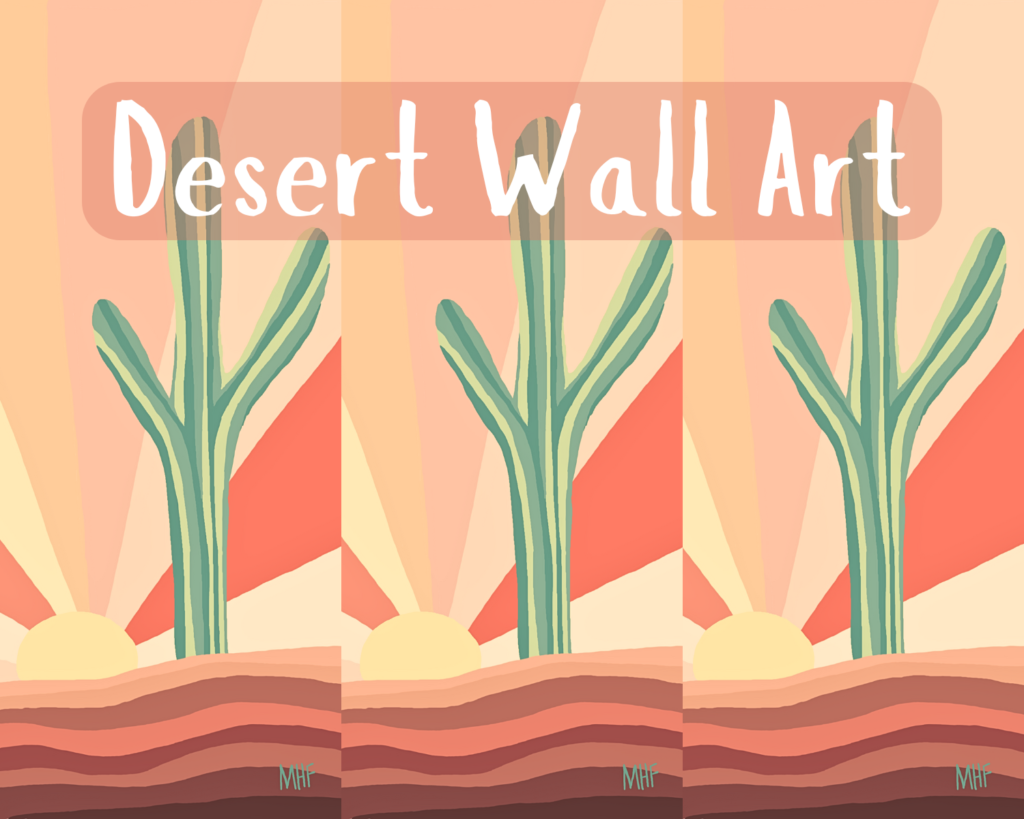
Learn more about Procreate features in How to Make Endless Desert Wall Art with 1 Design.
I found it easiest to draw the feathers from the bottom up, but you might prefer to start from the top. Either way, don’t sweat the small stuff. Nature and our sketches aren’t perfect, and that’s what makes them so appealing.
Step Four: Shading
The shading in this Procreate art is very basic shading. I chose to use the same pencil (Technical Pencil) to keep it unified looking.
Check out this cool shading tutorial here: 5+ Pencil Shading Art: A Beginner’s Guide
The wooden beams create straight lines of different shapes and distances. You don’t want to color in the space, but rather make it look like it has texture. To do that, you need to leave empty space.
To make the beak look more realistic, draw the lines to follow the natural curve of the beak. Make the lines at the tip of the beak and the bottom thicker and closer together to create a shadow effect.
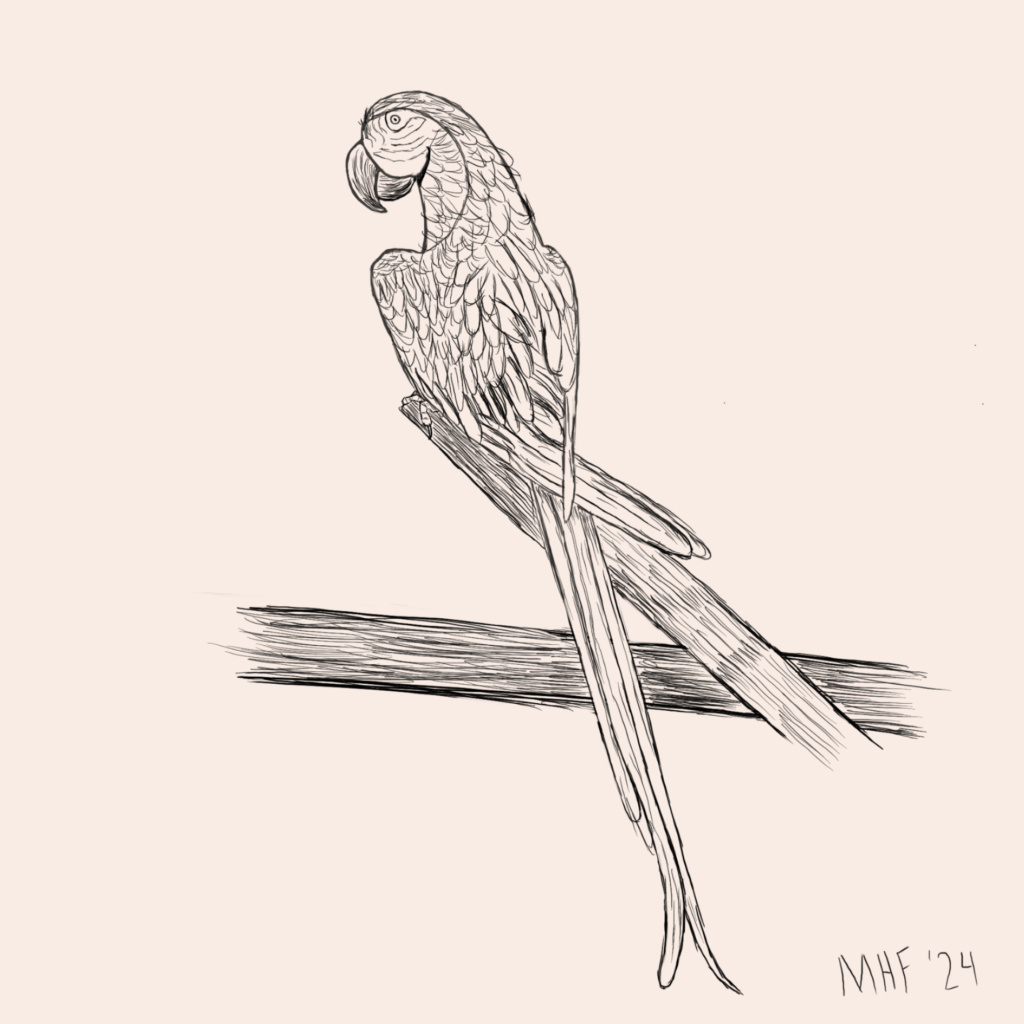
Once you’re satisfied with the sketch, add your personal touch with a big signature!
Parrot Sketch Timelapse
This post is all about how to do a parrot sketch.
You will enjoy these other posts!
17 Great Still Life Drawing Ideas

Top 15+ Gifts for Artists Who Draw

7 Best Digital Art Ideas for Beginners


Leave a Reply