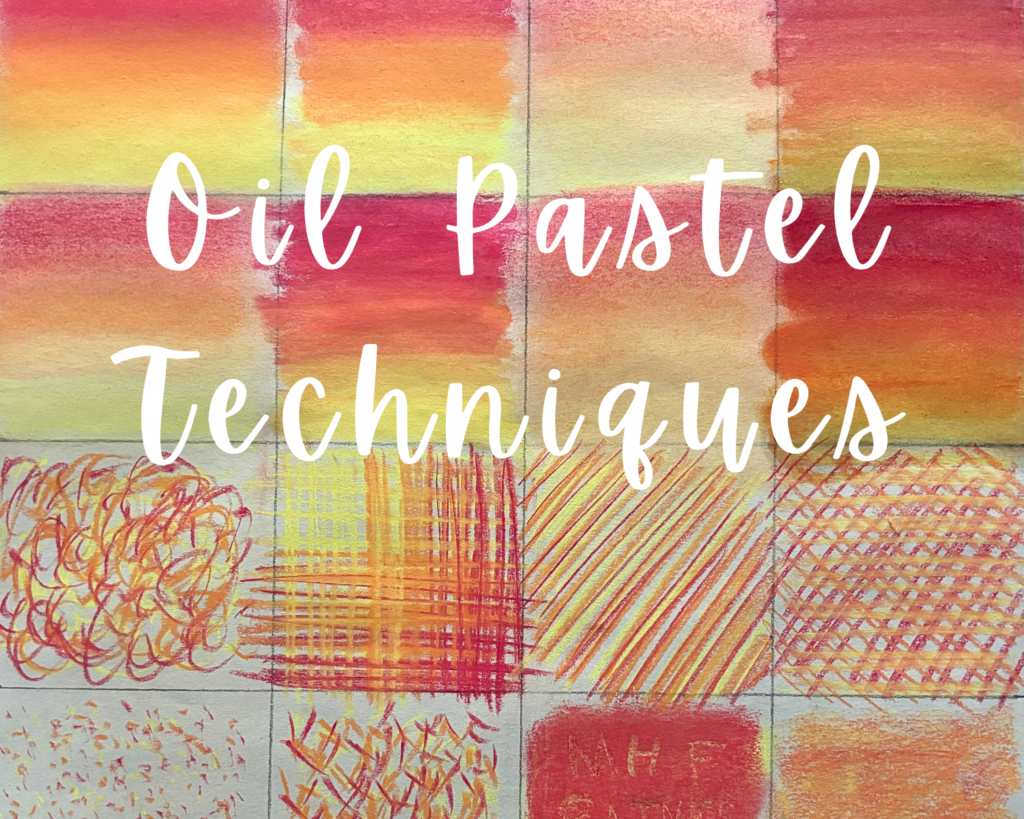
Want to know the best oil pastel techniques that every artist should have in their skill set? Learn how to do each technique, how they compare to each other, and ideas on when to use them.
Disclaimer: THIS POST MAY CONTAIN AFFILIATE LINKS, MEANING I GET A COMMISSION IF YOU DECIDE TO MAKE A PURCHASE THROUGH MY LINKS, AT NO COST TO YOU. AS AN AMAZON AFFILIATE I EARN FROM QUALIFYING PURCHASES.
Oil pastels are so fun and if you’re anything like me, you are looking to improve your artwork. As an artist myself, here are the top oil pastel techniques you will want to know about.
You will learn about oil pastel techniques, oil pastel art ideas, how to blend oil pastels, how to draw with oil pastels, cross hatching patterns, and more!
After reading this post you will be able to apply these oil pastel techniques to your oil pastel paintings.
Supplies Used:
- Oil Pastels: Prismacolor Premier Nupastel
- Paper
- Baby Oil
- Rubbing Alcohol
- Q-tips
- Toilet Paper
- Kleenex
16 Essential Oil Pastel Techniques
8 Ways on How to Blend Oil Pastels
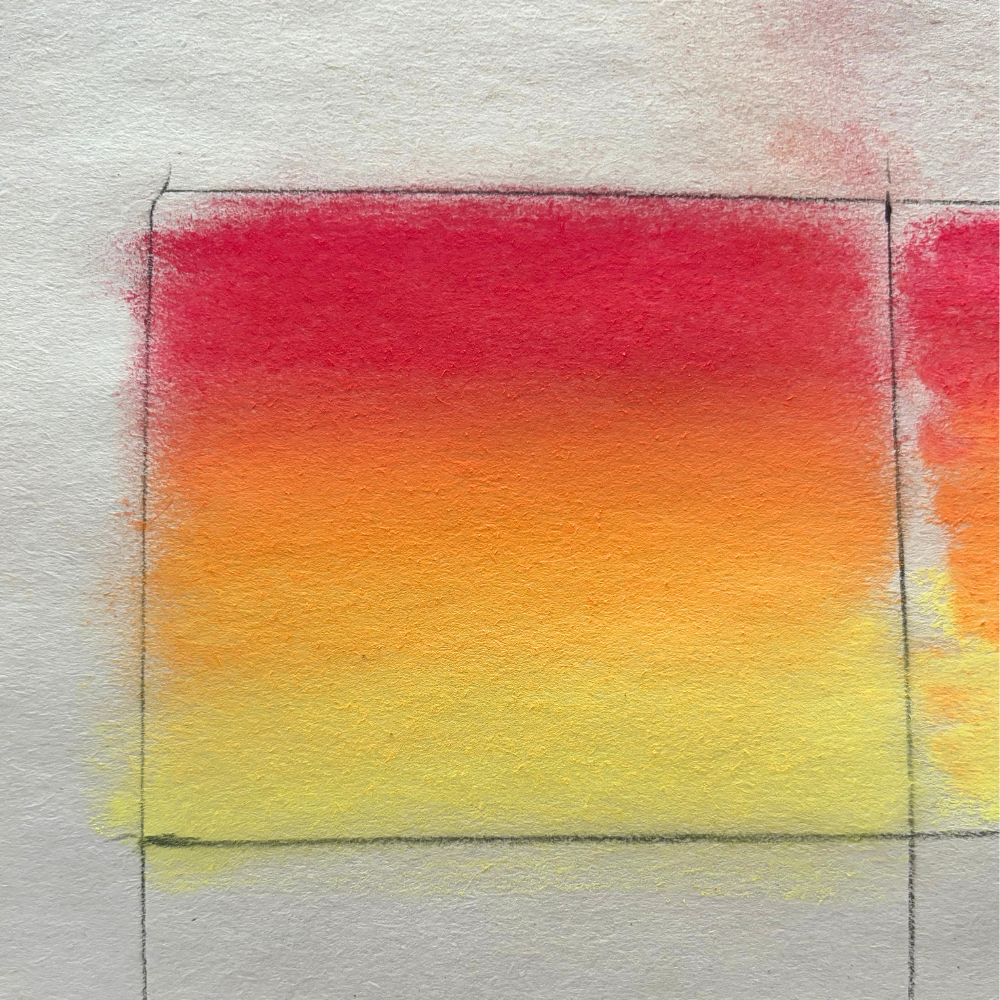
1. Blended with Finger
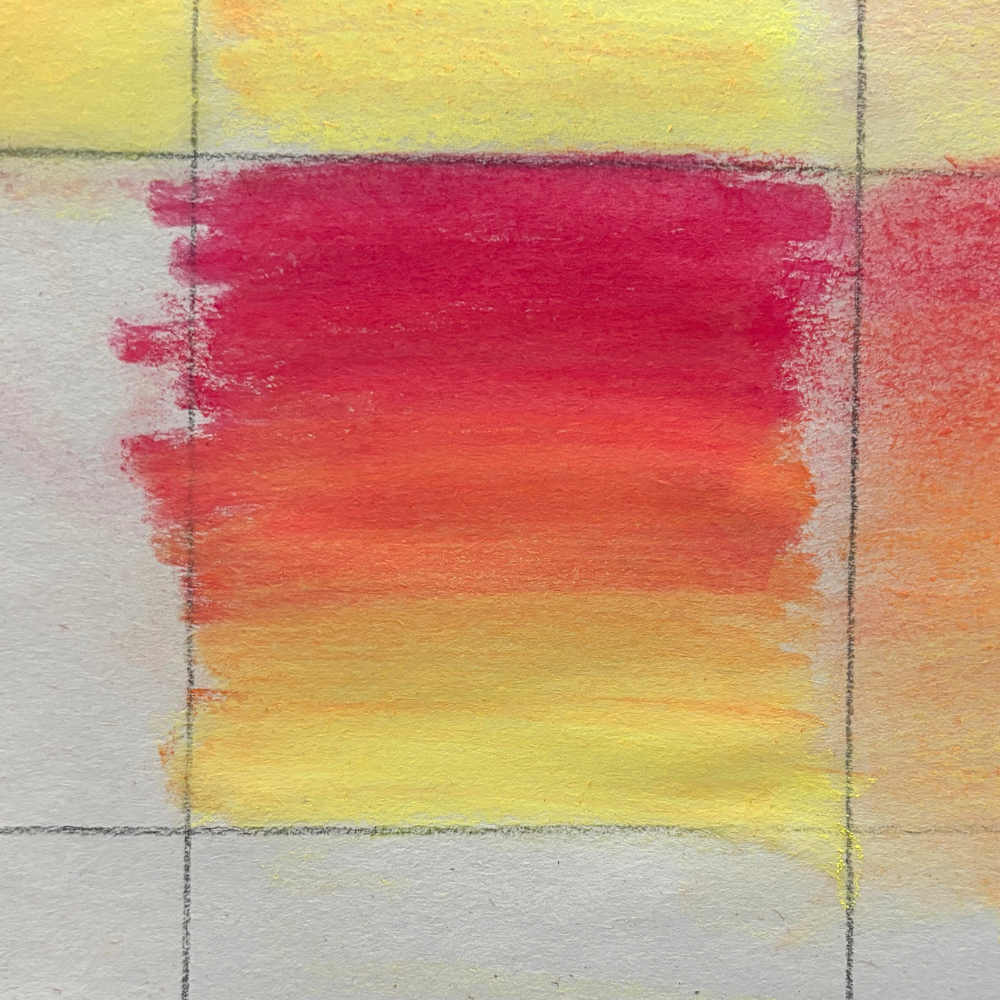
Blending oil pastels with your finger(s) is perhaps the most common way how to blend oil pastels. It is super easy and you can work the excess flakes back into your painting for a smooth-looking blend.
It does get quite messy and you need to wash your fingers frequently to not mix colors that you don’t want mixed. If you have large fingers it can be difficult to blend small areas.
I have used this technique to complete full paintings so it is a reliable way to blend and create those oil pastel art ideas you have.
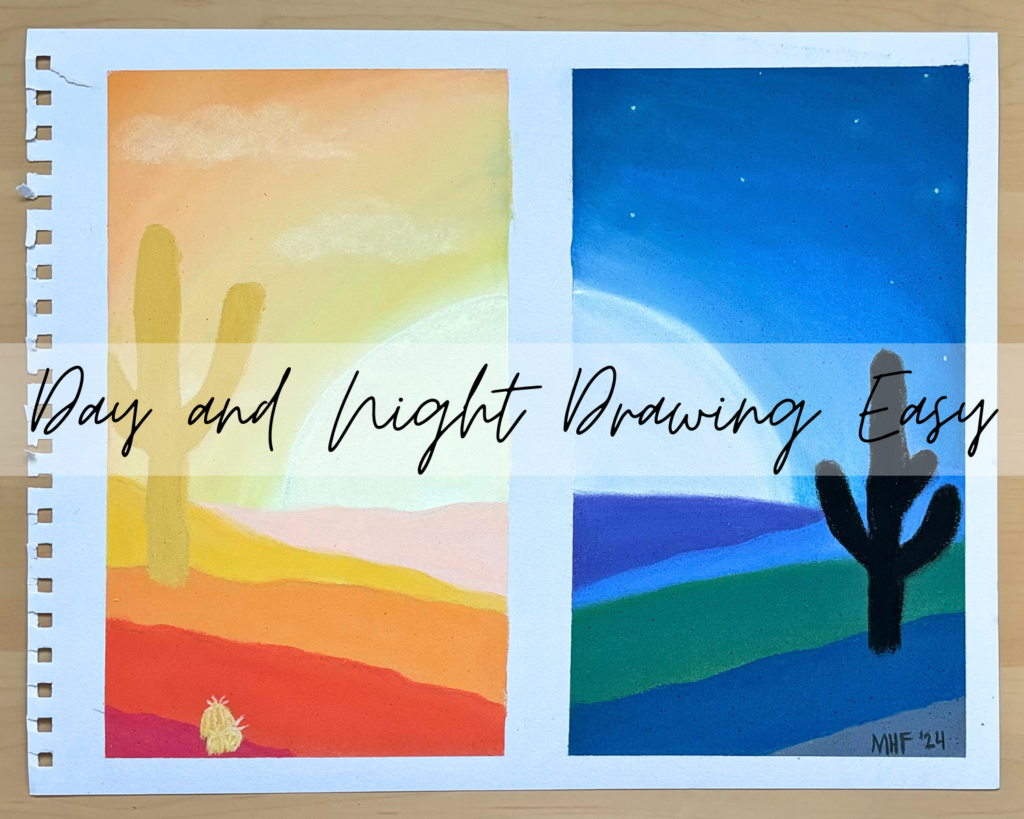
Apply this oil pastel technique in How to Paint an Oil Pastel Day and Night Drawing Easy.
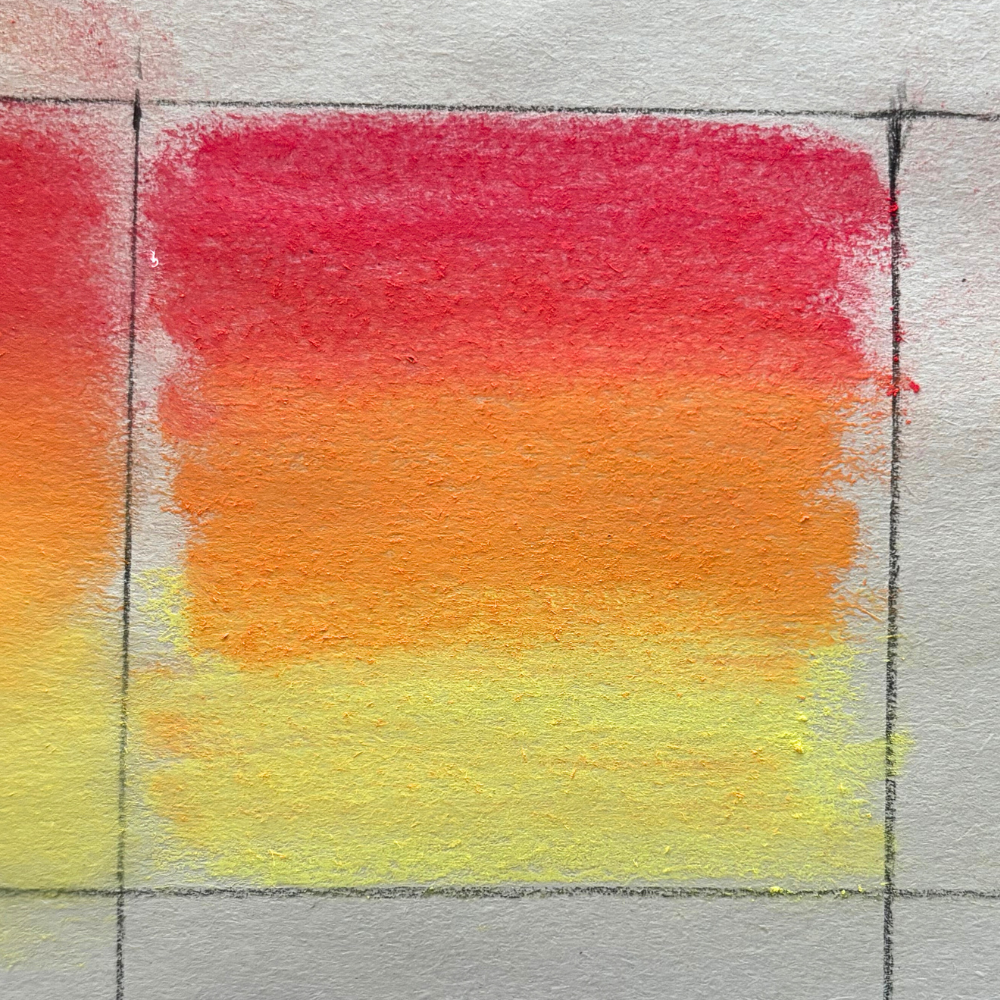
2. Blended with Q-tip
Another easy blending tool is to use Q-tips. It is less messy and gives a nice textured finish that is different from finger blending.
However, it does take off quite a bit of pastel which makes it more difficult to blend the colors. The transition between the colors isn’t as seamless. Which could be perfect for your specific painting.
Q-tip blending would work really well for blending small areas in a painting that your fingers can’t get to.
3. Blended with Toilet Paper
Blending with toilet paper, or others call it tissue paper, creates a subtle colored finish. It rubs off nearly all of the pastel paint, so I suggest if you use this method to not apply lots of paint to your paper.
The red and orange colors didn’t smooth like the yellow did. I think it has something to do with the specific color because the inconsistent blending occurred in the red in multiple different blending techniques.
The nice dull color would look really good as a rainbow. Or if you like the dulled colors you could make a really nice painting like this.
4. Blended with Baby Oil on a Q-tip
Baby oil makes the oil pastel colors duller than usual. It did turn out better than expected when I started applying the baby oil and it dried quickly. If you look closely there are areas where the red carried down into the orange in a straight line and vice versa, so it didn’t blend smoothly. However, I still was impressed by how it looked at the end.
The oil did leave a ring around the color where it had seeped into the paper. Because of this, you wouldn’t want to add baby oil to one section of your painting and not the other because you would be able to tell.
There was an unexpected outcome from this oil pastel techniques: the baby oil acts as a seal. The next day when I went to check out if it had changed I rubbed the paper and barely any pastel came off. I would expect it to be difficult to seal an entire large painting with baby oil. You would need a lot of Q-tips but also because it would mix colors together.
5. Blended with Baby Oil on a Finger
After using a Q-tip to apply the baby oil I wanted to see how a finger would work.
Using a finger to blend oil pastels with baby oil didn’t work as well as Q-tips. There are a few different reasons for this.
It was difficult to get the same amount of oil on my finger every time. Which caused different results to the paint. There are definite finger strokes that you can see. The paint clumped together instead of blending together.
Interestingly enough, it didn’t seal the oil pastels as well as the Q-tips with baby oil.
There may be times when you could use this technique and it turns out great. Overall though, I think I would stick to using a Q-tip.
6. Blended with Kleenex
This square was blended with a Kleenex (tissue). I wanted to see the difference between toilet paper (number 3) and a Kleenex.
It still removed a lot of pastel, however less than toilet paper. The red pastel clumped and didn’t blend well for some reason. This technique gives it a duller look.
You could use this in paintings where you want a section to be duller, like the background or a rainbow. I would suggest you try blending the specific colors you want to use before doing it on your painting to see if they will clump like the red did.
7. Blended with Rubbing Alcohol on Q-tip
Like the baby oil, rubbing alcohol changed the color of the pastels. Instead of making them darker, it brightened them. It also created a seal on the pastels, however not as good as the baby oil.
The pastels blended fairly well, the only thing I’d suggest is blending from light to dark colors. If you need to blend more get a clean Q-tip or it will apply the color on the Q-tip to the paper. It dried really quickly.
The alcohol didn’t cause the paper to discolor around it so you could use this technique in sections of a painting without worrying about doing the entire thing.
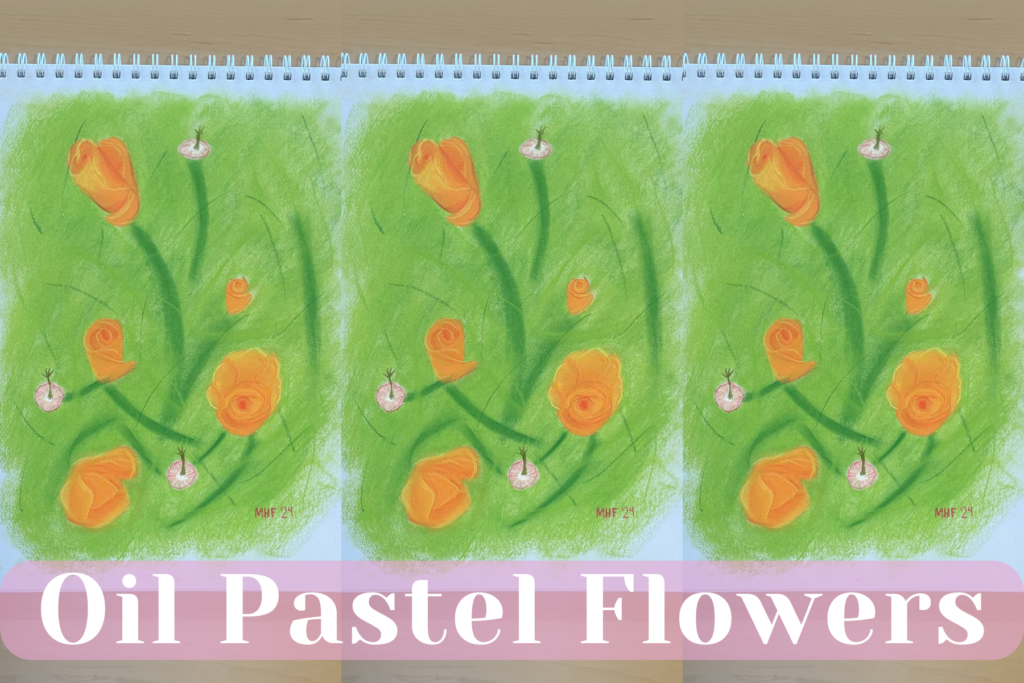
Learn how to create an oil pastel painting here: Oil Pastel Flowers in 7 Easy Steps.
8. Blended with Sponge
The sponge used to blend this square was a cheap wedge makeup sponge.
It removes a lot of paint, but creates a smoother finish than toilet paper or Klennex did. The red color didn’t like the sponge either, so the orange and red didn’t mix as well as the orange and yellow.
At first, I just dabbed the sponge on the paper, but that just removed the paint. Then I rubbed the sponge back and forth which blended the pastels better.
This oil pastel techniques could create a very pretty painting where the colors aren’t so vivid.
8 Ways on How to Draw with Oil Pastels
9. Scumbling Pastel Techniques
Scumbling is an oil pastel technique where you make random scribbles. They tend to be curved or looping lines. For the best results, you will want to use the corner of the pastel stick.
Scumbling is one way of how to draw with oil pastels that creates depth and texture to a painting. The use of light and dark colors is how you create this effect.
You can do it where all of the light colors are on the bottom layer or you can switch it up so every color has a place on top and bottom.
This technique would be great for tree-tops or clouds.
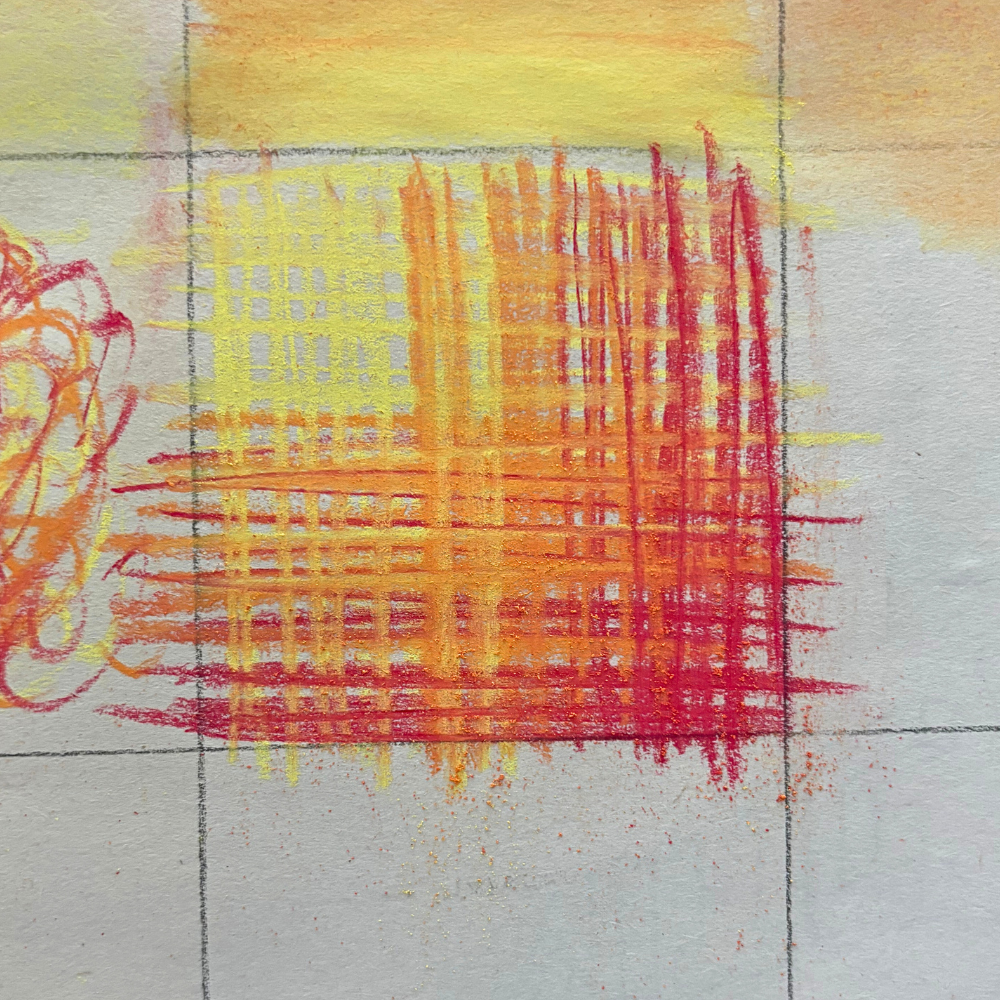
10. Cross Hatching Patterns
Cross hatching is a technique where you criss-cross colors. This can give your painting a lot of depth because it looks like you added layer on layer when really you just drew a bunch of overlapping lines.
You could also use this as a way to blend oil pastels. Draw lines close together and apply different colors to create a new color. No need to blend with your finger or anything else.
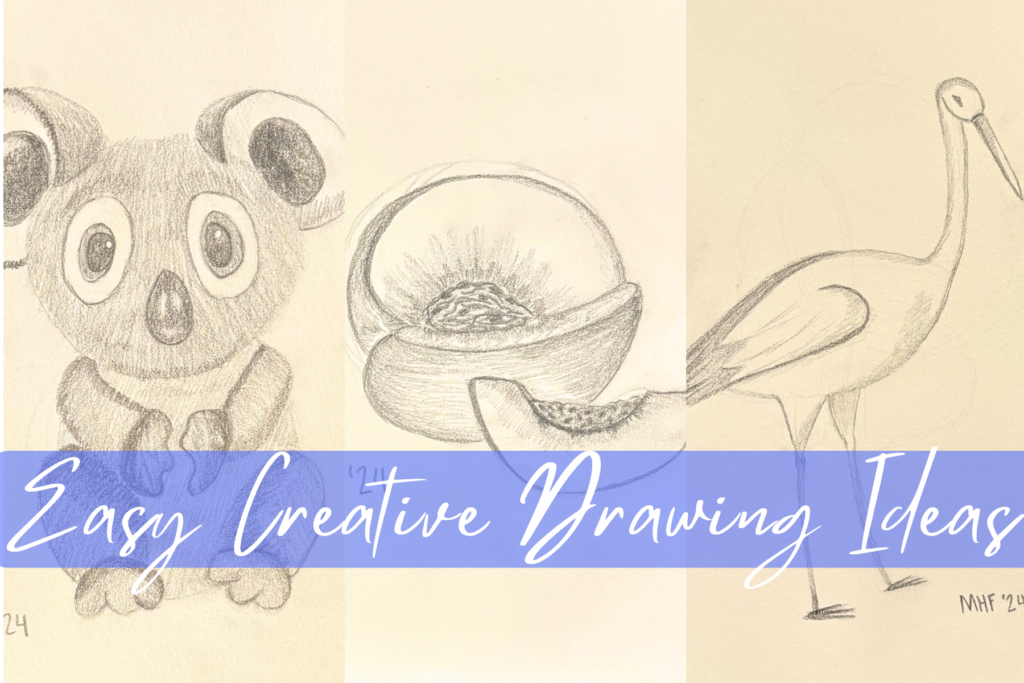
Find some ideas of what to create with your oil pastels in 13+ Creative Drawing Ideas Easy.
11. Hatching Oil Pastel Techniques
The difference between hatching and cross hatching is that you draw the lines in one direction only.
While using this technique you can draw thin and/or thick lines. The top left-hand corner has thinner lines than the bottom right corner. The more you mix it up the more illusion of depth you create.
This technique gives me an oil pastel art ideas for a lake sunset painting. How pretty would it be to use hatching to add the colors to the water?
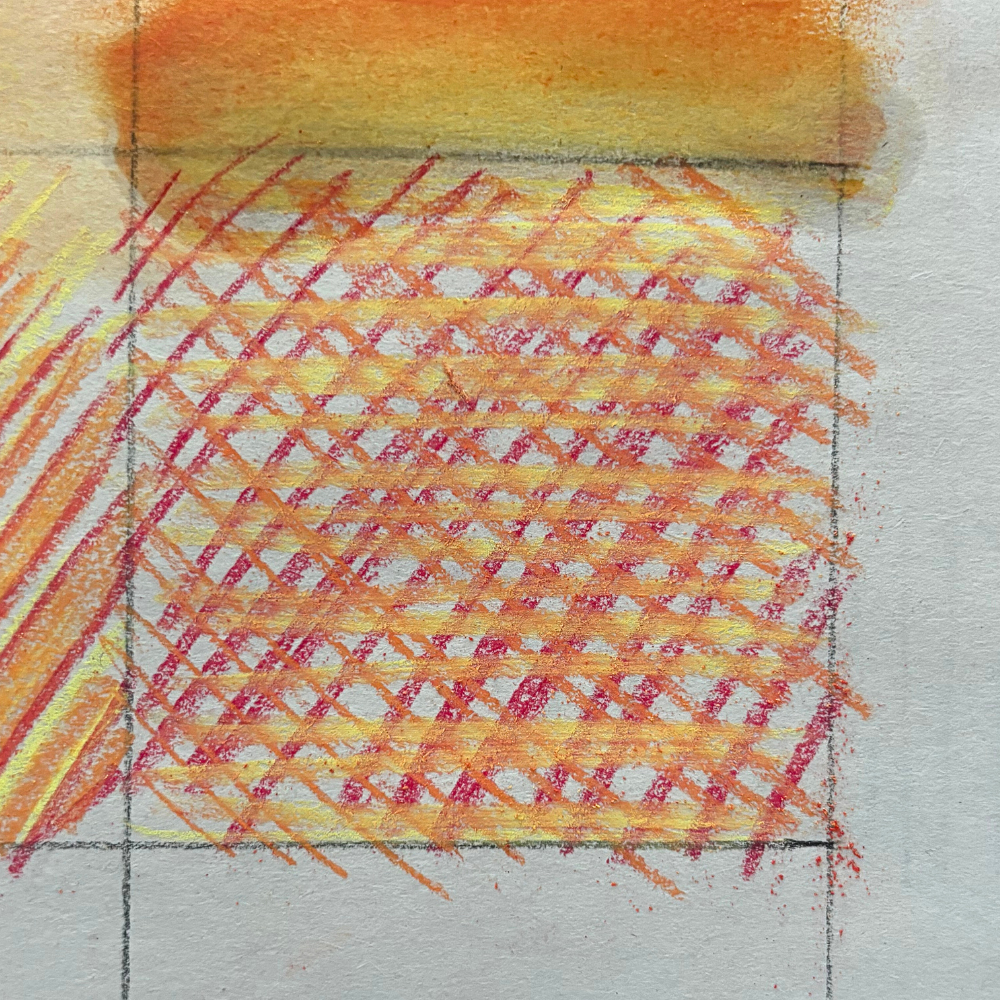
12. Cross Hatching Patterns
There are different cross hatching patterns that you can do. This example has one color going from the top left to the bottom right corner, another from the top right to the bottom left corner, and another color going horizontally from top to bottom.
You could do squiggly lines or hearts or circles. The possibilities are endless.
Cross hatching could be used to paint buildings or floors in a painting.
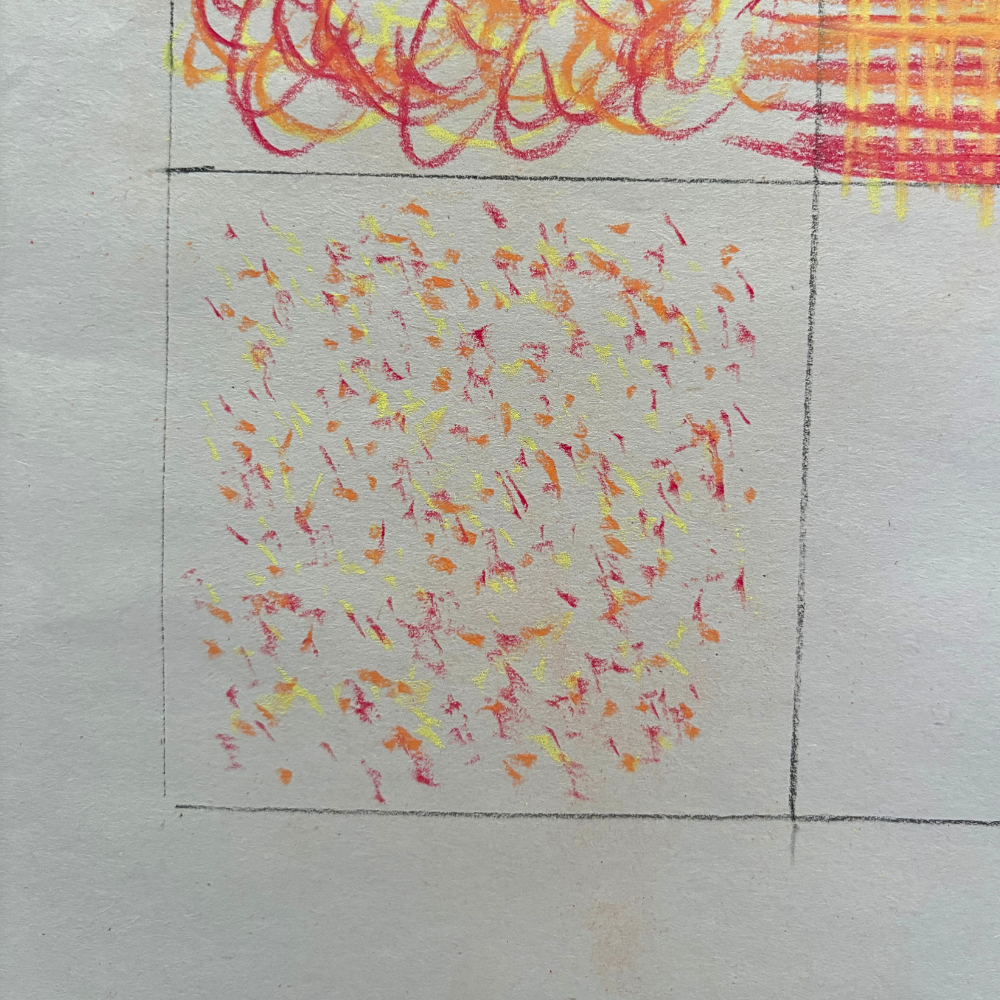
13. Dots Pastel Techniques
Of all the oil pastel techniques this one is perhaps the simplest. All you do is make dots on the paper with different colors. In this square the corner edge of the pastel stick was used to make small dots, but you could use the top flat edge to create a larger dot.
This would look cool on tree-tops or if you have a painting with confetti.
14. Feathing Oil Pastel Techniques
Feathering is very similar to scumbling because you do a lot the random marks. The biggest difference is that the lines are straight and short instead of curved.
Like the name implies this technique is good for feathers, but also grass and fur. It’s a good way to add a little color without overdoing it in animal fur.
Try digital oil pastel painting! How to Use Procreate: 9 Essential and Great Things for Procreate.
15. Sgraffito Oil Pastel Techniques

3. Fingernail (F) 4. End of Pencil (P) 5. Tip of Safety Pin (AINTS and Squiggle)

If done right sgraffito is a really cool trick to have up your sleeve, but it can be difficult to execute correctly.
The idea is to recreate the scratch art paper, where the sheet is black but when you scratch it off it’s rainbow-colored.
You want a smooth layer of oil pastel done. Then directly on top, you want to add another layer in a different color. You don’t want the colors to blend though.
Once the layers are ready, take an object to scrape away the first layer of color.
The tricky thing is figuring out what object to scrape with. I used 6 different items that I had lying around the house: a mechanical pencil tip, a fingernail cleaner tool, my fingernail, the end of a drawing pencil, and the tip of a safety pin.
Depending on what look you’re going for determines what object you use to sgraffito. The fingernail cleaner tool worked well because of the sharp edge and because it was wider than the other objects used.
When you do sgraffito try out a few different objects you have around you to see what works best.
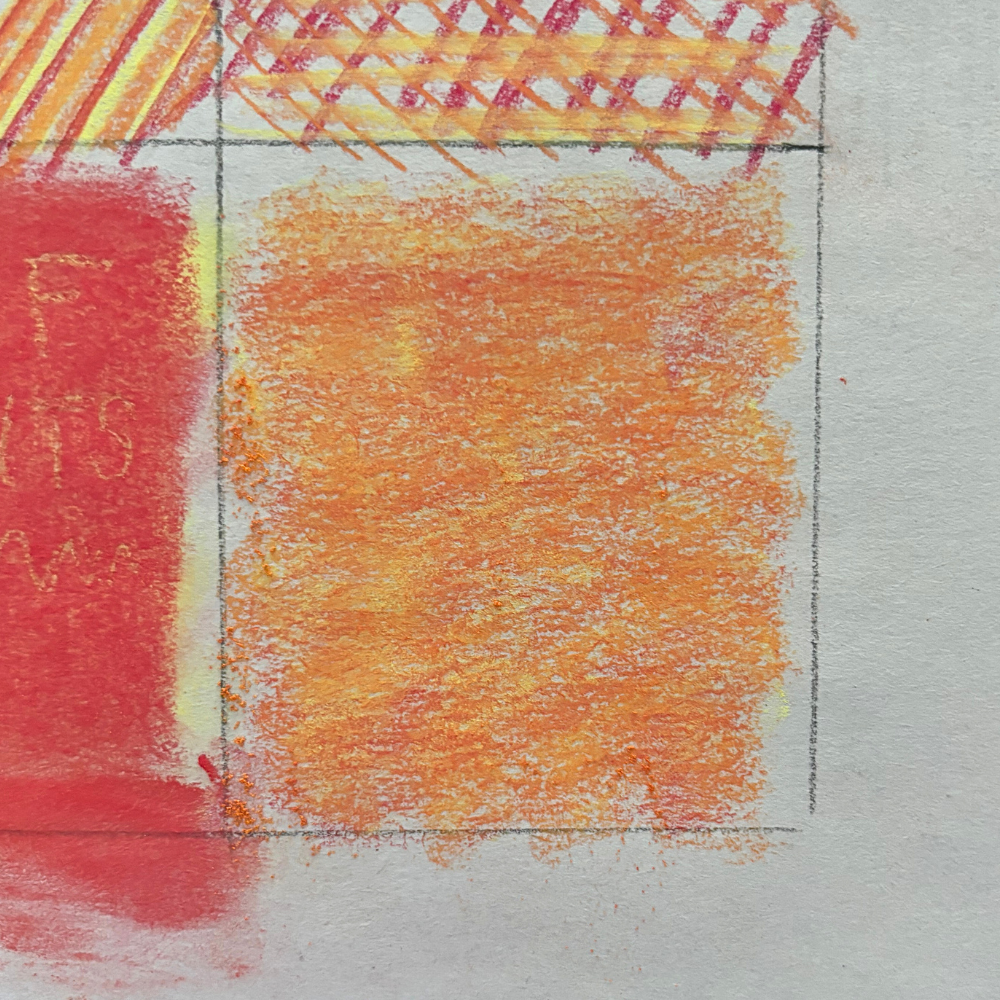
16. Flat Edge of the Pastel stick
This is another way of mixing colors without blending. Take the long flat edge of your pastel stick and make a squiggly line on the page. Do that a few times with the same color. Repeat the process with a different color.
This square was made using red, orange, and yellow. The same colors as the other squares.
This technique blends the colors, but not in a uniform fashion. There are still patches that are more yellow and patches that are pinkish. It creates a beautiful effect.
This technique would be great for painting water or if you had windows in which you wanted to blur out the background.
This post is all about essential oil pastel techniques to use in your paintings.
Other posts you may enjoy:








Leave a Reply