Do you want to make oil painting a hobby of yours? Here are five simple steps to starting your artistic journey.
Disclaimer: THIS POST MAY CONTAIN AFFILIATE LINKS, MEANING I GET A COMMISSION IF YOU DECIDE TO MAKE A PURCHASE THROUGH MY LINKS, AT NO COST TO YOU. AS AN AMAZON AFFILIATE I EARN FROM QUALIFYING PURCHASES.
Oil painting can be intimidating, especially when you are just starting out. There is talk about underpainting, mixing paints to get just the right color, the perfect brushes, etc. Don’t let it overwhelm you! You don’t need to follow a list of strict rules to get a painting that you are proud of.
The painting I will be highlighting in this article is the first oil painting I had done on my own and the first one I had done in well over 5 years. My grandmother taught me to paint using oils and I wanted to get back to that medium. I was afraid though because I didn’t feel “qualified” to paint with oils. That is what professionals use and I wasn’t a professional painter. The older I get and the more I paint, I realize that what matters is that you do what you want to. So if you want to create an oil painting do it no matter your experience level!
You will learn about 5 steps to use when creating an oil painting. Knowing what oil painting materials are needed, what to paint, how to sketch the painting, the order in which to paint, and how to finish the painting is important in using oils.
After reading this article you will know how to apply these 5 steps to create your own oil painting.
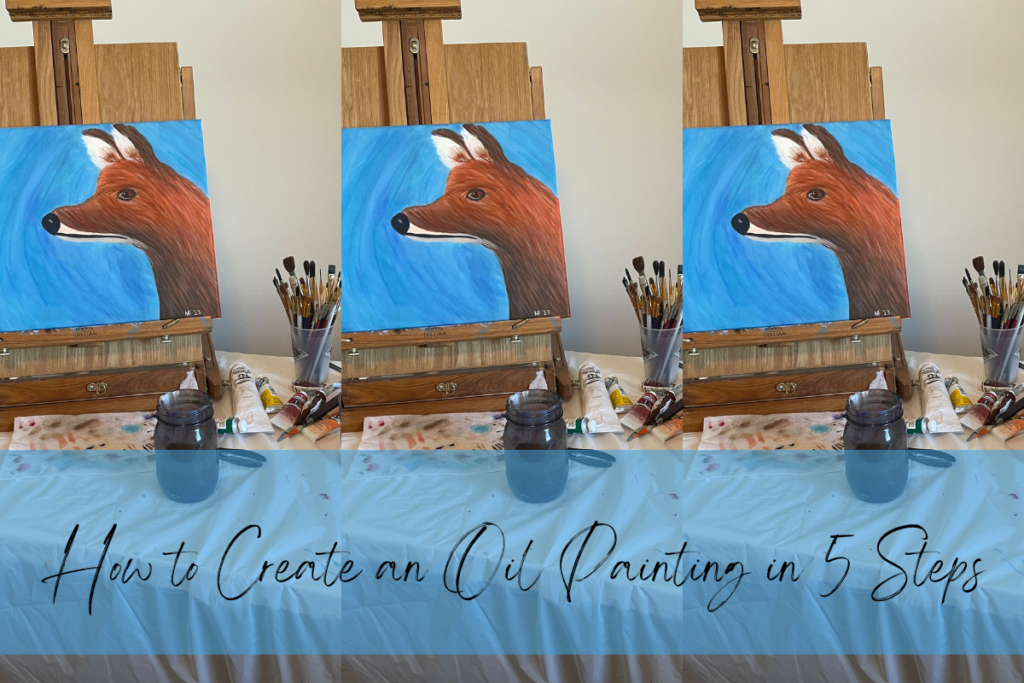
How to Create an Oil Painting in 5 Simple Steps
Oil painting materials:
- Brushes
- Oil Paint Solvent. Such as turpentoid or linseed oil. My grandmother gave me some of her turpenoid that she doesn’t use anymore so that is what I use.
- Canvas. For this particular painting I used a 12×16 stretched canvas. You will need to decide how large or small you want your painting. I suggest getting a rectangular canvas over a square one to help with the composition of the fox painting.
- Oil paint. I use Winsor & Newton oil paints along with this Meeden Oil paint set. I used Titanium White, Cobalt Blue, French Ultramarine, Viridian Hue, Scarlet, Orange Red, Light Orange, Yellow Ochre, Burnt Siena, Burnt Umber, and Black.
- Note: It took me a while -and a lot of paint- to find the colors for the background and the fox that I liked. You may not need to use as many colors or you might use more or even different ones. That is okay. This is your painting. Make it how you want.
Step One – What to paint
Deciding what to paint can be challenging. I often have a general idea of what I want to paint and then go to Pinterest to get more ideas. This painting I wanted to do a fox because my husband really likes foxes.
If you don’t want to paint a fox, decide what else you want to do. Although these steps would work for more complicated oil paintings, it will be easier to compose your painting with one object and the background.
If you are still lost on what to paint look up images of your favorite animal, a tree, a flower, or even a car. Choose something that interests you and makes you excited.
Want more inspirational ideas on what to paint? Check out this post:

Step Two – Sketch the painting
Using the *rule of thirds sketch out the object on your canvas using a charcoal pencil. Take your time making it look the way you want. It takes time to get it right, but it pays off in the end. It took me 2-3 hours to sketch the fox. That is mostly because I am fairly new to drawing. I used to paint without any sketching. Let me tell you, paintings turn out much better when you don’t skip this step. Think of it as the foundation of the painting. The better the foundation the better the sturdier the project.
If like me you are newer to sketching/drawing take time to look up videos on how to draw your object. Practice drawing it in different ways before putting it on your canvas so you can see which way you like best.
*Rule of Thirds: dividing the canvas into nine squares total – three across and three down. When placing the object on the canvas don’t put it right in the middle instead put it in one of the thirds. With the fox painting, I placed it in the 3rd third because the fox was looking to the left. It would have looked unbalanced and off if I placed the fox in the middle.
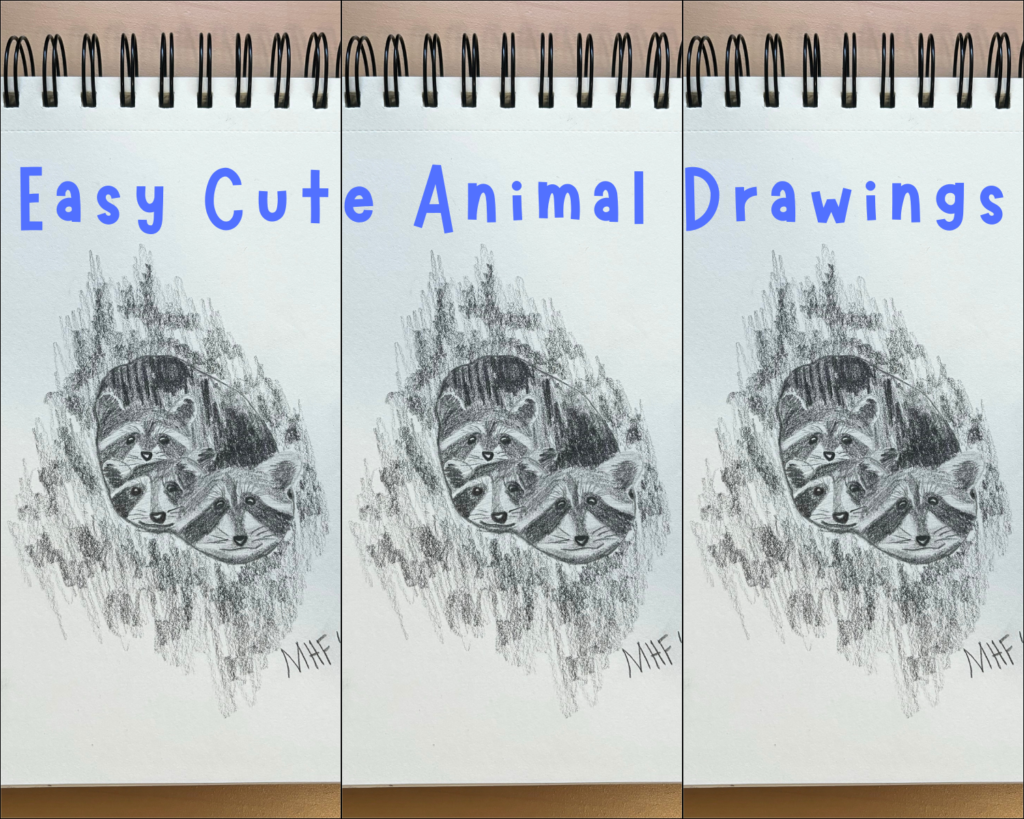
Learn how to sketch better with a Beginners Guide: Easy Cute Animal Drawings.
Step Three – Paint the background
I chose to do a blue background because blue is the complementary color of orange and I wanted to fox to pop more. If I were to do this again I would do a lighter, more subtle blue. I think the blue I chose distracts from the details of the fur.
Take some time to think about what color your object is going to be and what color it would look good on. If you aren’t sure, use a scrap piece of canvas paper to test out a few options. Paint a small square for each color that you are thinking about. Once it dries, use the color(s) for the main subject and place it on/next to each color. I like doing this because it makes me more confident about the decisions I am making.
Practice painting another oil paint background here:

Step Four – Paint the object
Once your background is done you’ll want to start on the ‘background’ of your object. With the fox that meant painting the head/body orange-red, the haunches white, the different colors of the ears, and the neck. You will want to save the details for the very last.
Once you get the base layer of the fur done you can start adding the different colors. This part can take a while, but I think it’s the most enjoyable part. I like it when you take a closer look and realize that there are many more colors than you originally thought. Take different colors and make short thin strokes to create the fur. Use lighter colors in places where you want the fur light and darker where you want shadows. This is also a good way to blend the dark ears into the lighter head.
This fox has a sleek coat, but you can make the fur fluffy by making it come off the body more.
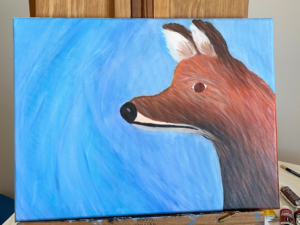
If you look back at the finished painting you can see that I added to the background after starting the fox. Sometimes you need to do this. However, it makes it more difficult to not get the blue into the fox. It would have been even more difficult if I had made the fox fluffy because I would have needed to get to the background between the fur instead of just the smooth outline of the animal. But you got to do what you got to do to make the painting look good!
The eyeball was the last thing I did. Essentially the eye has the main color (iris), the pupil, and the eyelids. After looking at many fox eyes I decided that you usually can’t see the whites of their eyes. Look up pictures for yourself so you can see for yourself. The black eyelids felt like I was putting eyeliner on someone else which was an odd realization haha.
The white highlights are done very last and don’t overdo it. Remember you can always add more white, but taking it away is much harder. Make sure to add the highlight on the nose as well. The highlights can be pure white or off-white depending on how much glint you want them to have.
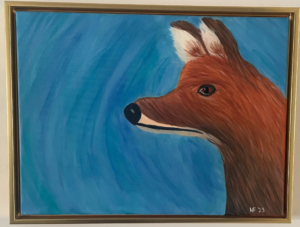
Step Five – Apply finishing touches and sign it!
When you start to feel like you are done set the brush down and look at the painting from varying distances. What needs to be added, what needs less attention, are any of the colors off, are the ears fluffy enough, etc. Make sure you like it. It is always a good strategy to leave it be for a day or two then come back to it with fresh eyes.
Once you are happy with the results sign your name and hang it up! Congratulations on finishing an oil painting!
If you don’t want to frame the painting you can paint the sides of the canvas to give a finished look. Depending on the frame you choose you may want to do this as well. There are a few ways to do this. Any way you do you want to make sure your actual painting is dry so you don’t accidently smudge and ruin it.
You can use acrylic paint if you would like the side to dry quickly. Oil paint takes a long time to dry so it can make painting the sides difficult. You can decide to do all sides in one color. I often do this and it gives the illusion of it being framed. Or you can paint the sides the same color that they’re touching. If you do it this way you may want to use the same exact color as the painting and therefore do it in oil paints. If done in acrylic it might be noticeable that they are not the same colors.
Reflection
Use these questions to reflect on this most recent project:
i. What do you like most about it?
ii. What don’t you like least about it?
iii. What would you do differently next time?
iv. How have you improved since your last piece?
Share what you have learned or how you improved. I love hearing the progress you are making in your journey as an artist!
This post is all about oil painting.
Like this step-by-step approach? Try some more:


Leave a Reply