Have you been looking for an easy mountain landscape painting to do? Try this one and improve your oil pastel skills at the same time.
Disclaimer: THIS POST MAY CONTAIN AFFILIATE LINKS, MEANING I GET A COMMISSION IF YOU DECIDE TO MAKE A PURCHASE THROUGH MY LINKS, AT NO COST TO YOU. AS AN AMAZON AFFILIATE I EARN FROM QUALIFYING PURCHASES AT NO EXTRA COST TO YOU.

Knowing how to paint snow-capped mountains when using oil pastels can be tricky. I have learned a bunch of oil pastel techniques in my art classes and through experience. Let me teach you the secrets to this mountain landscape painting!
You will learn how to create a mountain landscape painting, moon canvas painting, how to use oil pastels, reference photos, oil pastel landscape, oil pastel techniques, and more!
Following these steps will help you create an oil pastel mountain landscape painting.
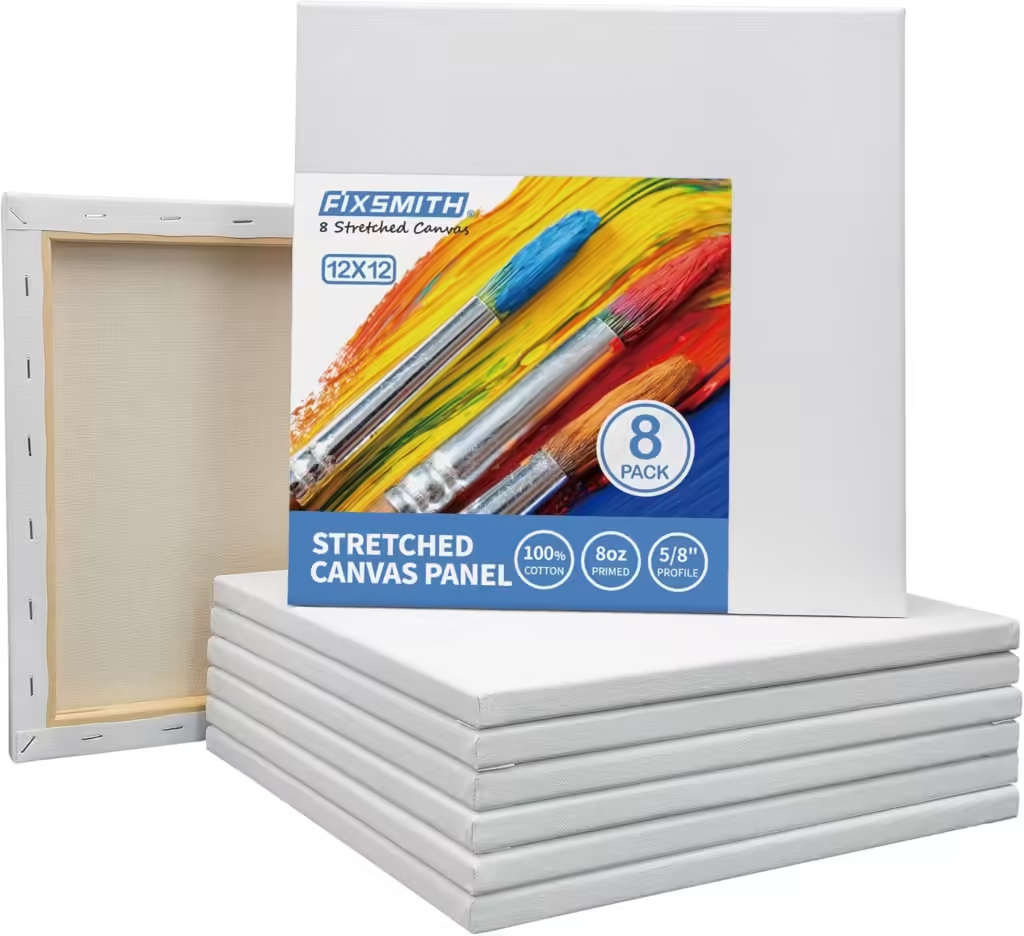
Supplies Needed:


10 Good Gift Ideas for Artists Who Use Oil Pastels

Jaw-Droppingly Easy Mountain Landscape Painting
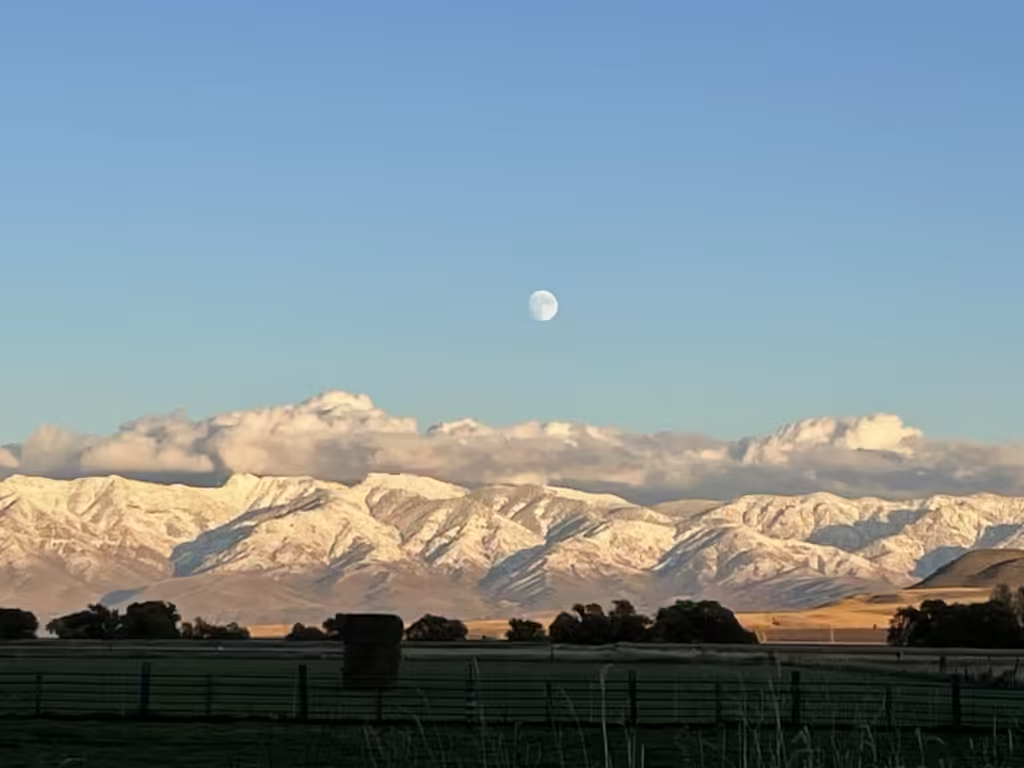
Reference Photo
I took this picture back in 2023 while in Lewiston, Utah. I was driving and had to pull over and take a picture because it took my breath away. Of course, the picture isn’t as good as the real thing, but I knew one day I was going to paint this scene.
After a year of thinking and planning, I finally decided to go for it.
One of the best ways to get reference photos is to take them yourself. When you see a beautiful flower, take a picture. When you’re driving and can’t stop looking at the sunset, pull over to take a photo. When you see a cool building, take a picture.
Put these photos into an album labeled “Future Paintings” or something like that. Then when you need inspiration go to that album first.
Prep Work
I used a square canvas but wanted it displayed as a diamond instead of the normal way. If you don’t like the diamond orientation you can paint it normally. You will have more sky and foothills than my painting did.
In the reference photo, you can see that there is a dark line that separates the mountain tops from the clouds. You will want to draw this line lightly with black.
I imagined drawing the mountain ridges, but if you can’t see that try to imagine drawing the bottom of the clouds.
Getting super realistic with the Sennelier oil pastels is difficult, so prep yourself to be okay with a more abstract-looking mountain landscape painting. Because of this don’t worry too much about getting the ridgeline exactly like the reference photo.
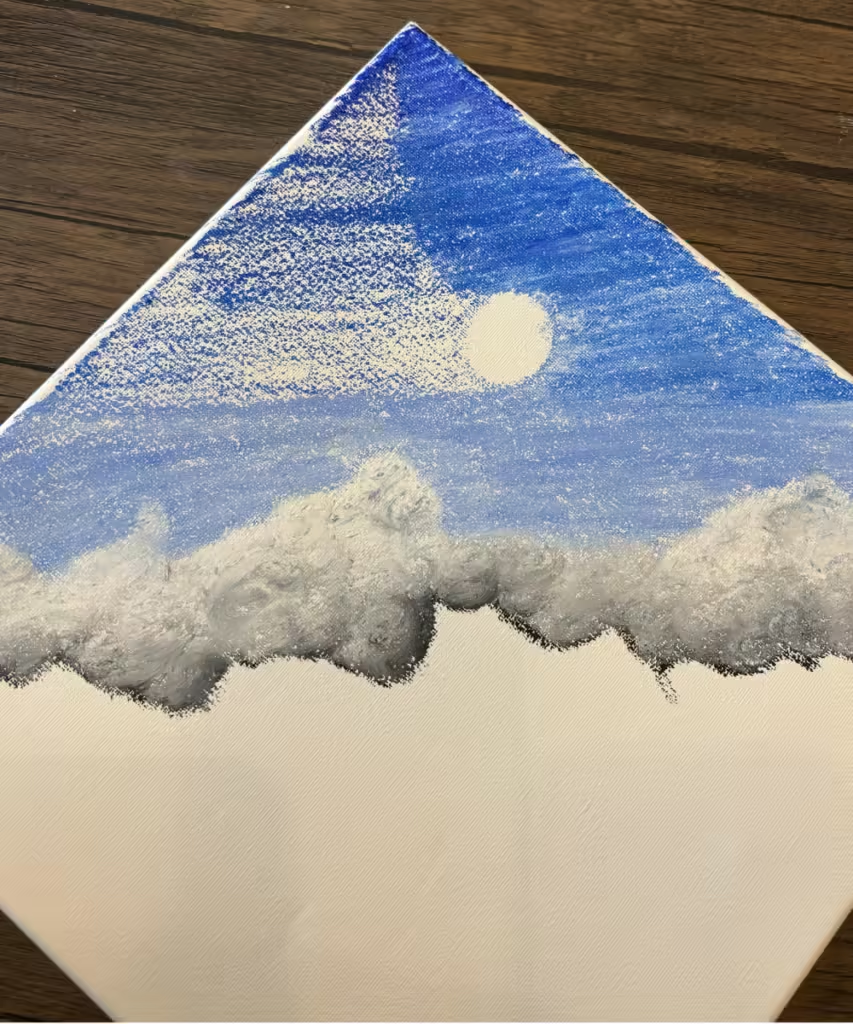
Now take the light blue oil pastel and outline the tops of the clouds (or the bottom of the sky). Use that same blue to draw the moon.
Clouds
You have already put down the black underbelly of the clouds, now it is time to add the white.
Start at the tops of the clouds and work your way downward in circular motions. It is okay if you get some blue into the cloud because it’ll add depth and color to them. Once you get to the black you will need to be aware of where you are blending the black.
Black will spread everywhere quickly if you don’t control it. Here are some tips for preventing that from happening:
- Color the tops of the clouds with white first without touching the black
- Once the white pastel has touched black, if you need more white in an area wipe the pastel tip clean. If you don’t the black will continue to spread and you won’t get white applied.
You could place the white and black where you want it and blend with your fingertips, but I like blending with the white pastel. I feel like it gives the clouds a more authentic and random look.

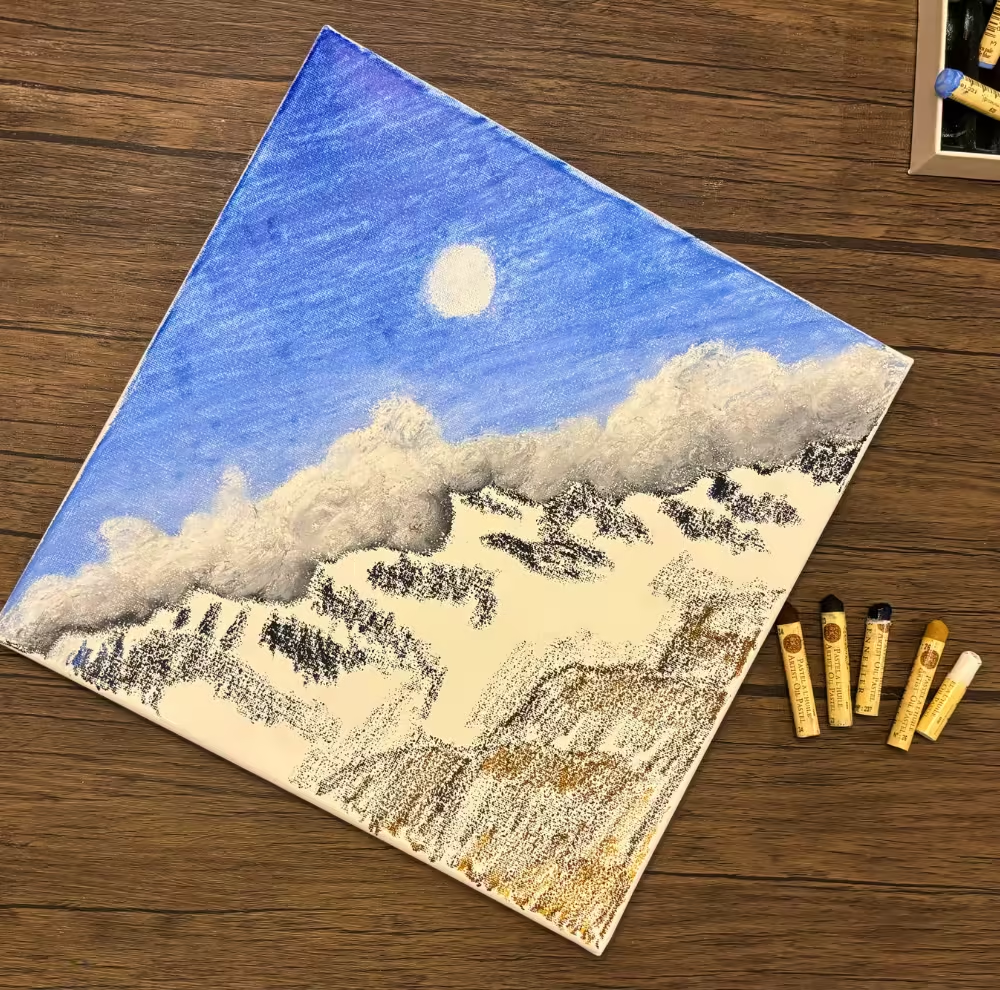
As you can see in the picture above I started the sky and the clouds at the same time. I am splitting them up into steps so it is easier to follow. You can do them simultaneously if you want. However, I don’t recommend doing the mountains at the same time.
1 Very Awesome Thanksgiving Painting Ideas

Sky
For the sky, you will want to use all three shades of blue.
The lightest shade will be next to the clouds, then the middle shade, then the darkest shade at the top. Put on a thin-ish layer of each color. You can always add more paint later on if needed.
Once you get a good layer it is time to blend the sky.
There are many oil pastel techniques for blending. The three that I used for this painting are:
- Finger Blending – This way is cheap, convenient, and effective. The biggest con is that it leaves fingerprints in the paint. If you blend all the way to the end you can usually get them out but it can be tricky.
- Paper Towel Blending – This is my least favorite way, although it does work well if there is enough paint on the canvas. The main thing I don’t like about this way is a lot of paint comes off onto the paper towel. It feels like a waste to me.
- Transparent Medium Blender – This way requires you to buy a separate pastel stick which is its main fall back. I don’t use it every time I blend but it is great for some things like the sky.
For the sky first, blend the entire thing with your finger as best as you can. Then add more color where you need it. I wanted mine to be a bit darker so I added more of the darkest blue down lower. For the second blend use the transparent medium blender. This helps give it smoother transitions between colors and you don’t need to add as much colored paint.
Moon
I did the moon canvas painting very last because I had to figure out how I wanted to do it, but it makes more sense for you to finish it after finishing the sky.
With your black pastel lightly add the moons craters. You don’t want too much black because it will smear everywhere.
With your white pastel (make sure it is clean) start coloring in the moon. Start with the white areas and then make your way to the black craters. Don’t over blend or you will have a solid gray blob. So once you feel like you might be overdoing it stop. You can always go back to it later on but less will be more.

How to Create an Easy Moon Painting in Under 1 Hour
Mountain Landscape Painting
Painting a mountain landscape is all about capturing lines. The countless valleys, ridges, and shadows make mountains look like mountains.
So how do you use oil pastels to paint the lines essential for mountains? It is all about the strokes. (I want to say brush strokes but in the case of oil pastels would it be pastel strokes?)
Using the black pastel stick, draw the ridges’ shadows using angled strokes. Add dark blue into the mix so the snow has a blue-ish tint.
With the dark brown draw where the foothills start. Apply the brown lightly above the hard edge so that the transition between mountains and foothills is smooth.
Now take the white and blend the mountains. It will be important to be conscious of your strokes now more than ever.
Add more black or blue to get the accents looking good.
Foothills
Pastel strokes for the foothills will be flatter than the mountains. Keep that in mind when applying paint and blending.
In the reference photo, the foothills didn’t have snow on them so they were a dark brown that turned into a golden color. So use the dark brown up top and the yellow ochre mainly for the bottom.
If you want them to be lighter use white to blend, or if you want them dark use the transparent medium to blend. I did a combination of both.
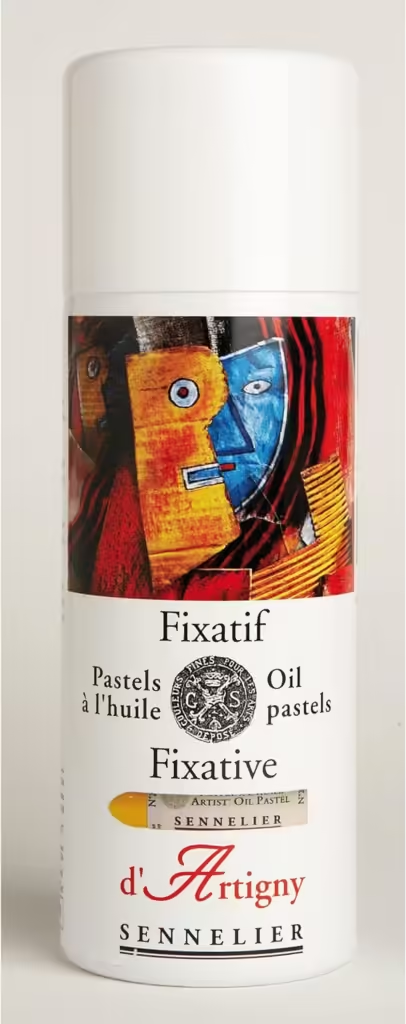
Protecting the Painting
The best way to protect your oil pastel moon canvas painting is with the Sennelier fixative spray. This is important to do because you won’t be able to put it behind glass.
It is super easy to protect your painting, but when done right you need to wait to spray it until the paint is completely dry. This can take weeks depending on how thick the pastels are.
How do you know if your painting is dry? This can be a tricky thing with pastels because they don’t usually look different wet vs dry. The easiest way I have found to gauge the wetness is to lightly touch the painting.
If it is still wet the paint will transfer onto your finger, when it’s dry it doesn’t. You will want to touch multiple areas. For example, the sky of this painting dried much quicker than the clouds.
When the entire painting is dry to the touch (meaning your finger doesn’t have paint on it after you touch it) you are ready for the fixative spray. Typically this is around 7 weeks.
Simply follow the instructions on the Sennelier fixative can. Apply in several light coats about 3 feet away from your painting. Allow the layer to dry before applying the next layer. Don’t fret though it dries real quick.
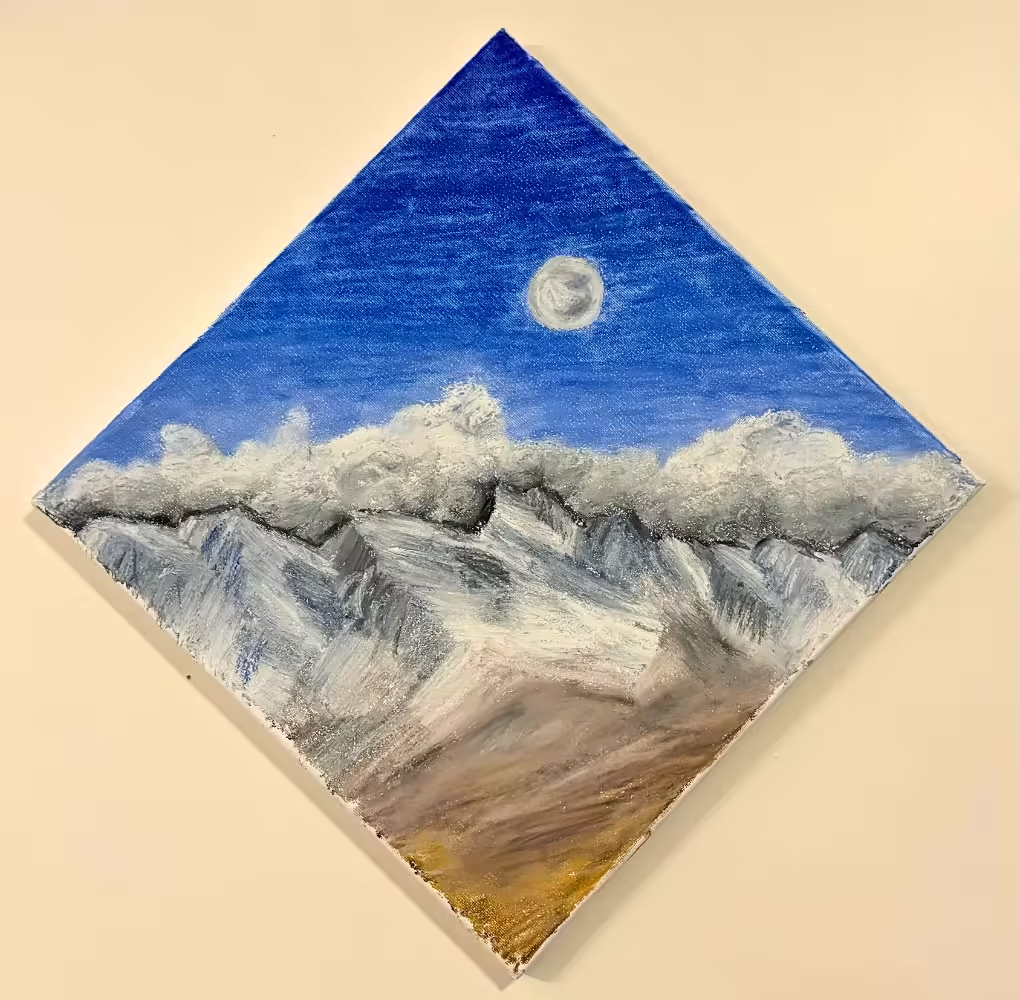
This post is all about learning how to create a mountain landscape painting that will stop the viewer in their tracks.
Other posts you will enjoy:
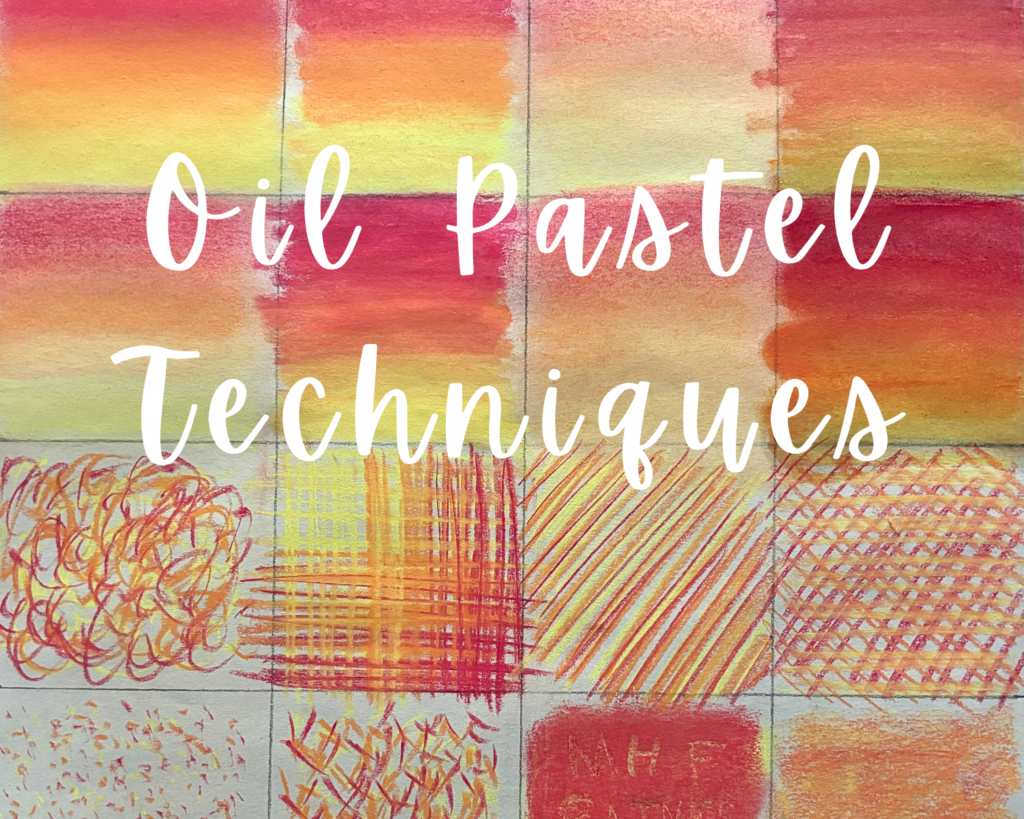
16 Essential Oil Pastel Techniques
How to Paint an Oil Pastel Day and Night Drawing Easy
What to Paint on a Black Canvas: 5 Dazzling Paintings

Oil Pastel Flowers Easy in 9 Simple Steps


Leave a Reply