This Valentine’s Day, let’s get creative and make our own adorable Valentine’s Day cards for our special someone! An easy lovebird paintings is a great idea to get started.
Disclaimer: THIS POST MAY CONTAIN AFFILIATE LINKS, MEANING I GET A COMMISSION IF YOU DECIDE TO MAKE A PURCHASE THROUGH MY LINKS, AT NO COST TO YOU. AS AN AMAZON AFFILIATE I EARN FROM QUALIFYING PURCHASES AT NO EXTRA COST TO YOU.
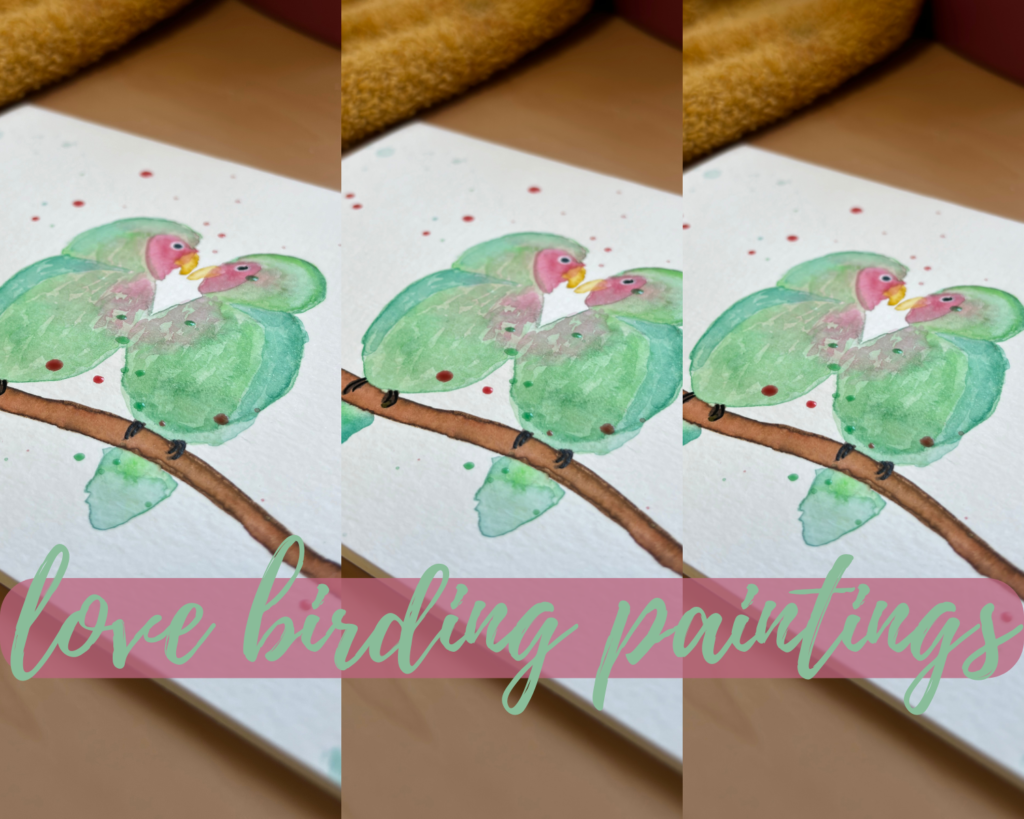
Looking for some ideas for your homemade Valentines Day cards this year? My husband grew up with a pet bird, so I thought it would be adorable to make a love bird paintings card. Don’t worry, though – birds aren’t as tricky to paint as you might think. With the secrets to brush watercolor pens that you’re about to learn, you’ll be able to create the perfect card!
You will not only learn about love bird paintings, but also brush watercolor pens, watercolor bird painting, handmade Valentines Day cards, watercolor techniques, and more!
After reading the step-by-step approach to love bird paintings you will be empowered to paint it yourself!
Love Bird Paintings for a Sweet Valentine’s Day Card
Supplies Used:


Step 1: Watercolor Sketch
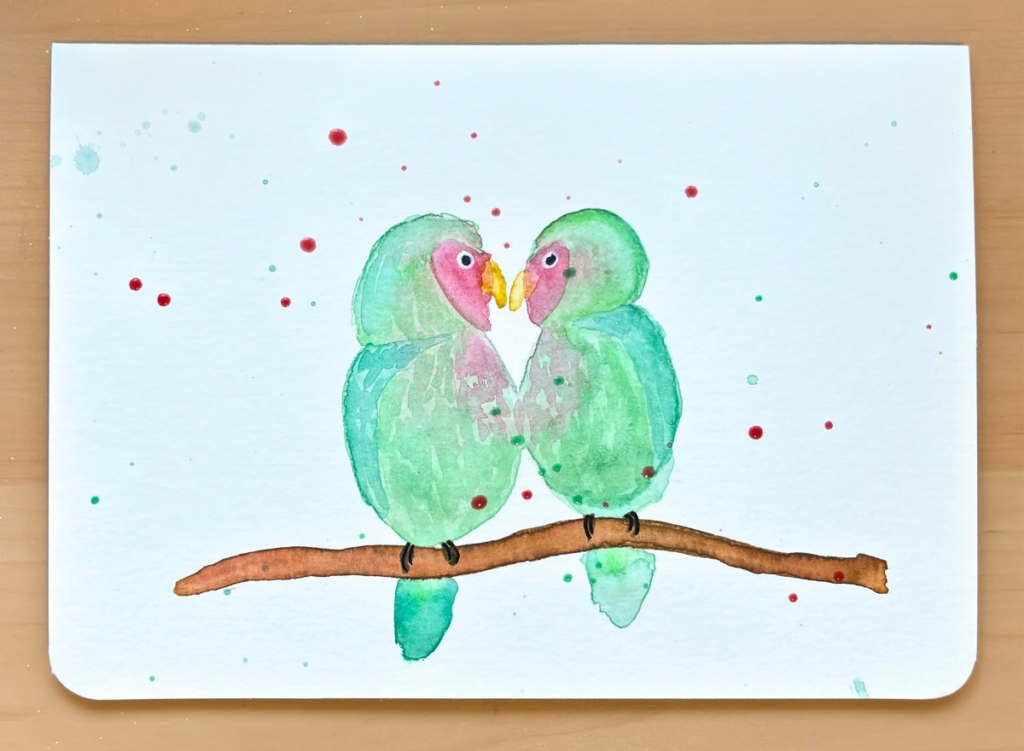
For this love bird paintings, two birds are sitting on a branch looking at each other on your Funto watercolor card. To prevent one being huge and the other tiny or the eyes in the wrong spot or them not in the middle of the page you will want to do a quick sketch.
The goal of this sketch is to get a rough idea of where things will be before we start painting. Since this is a simple painting, don’t go overboard with the details. Just sketch the basic shapes of each bird, their faces, and the branch. I added their talons, but honestly, that was probably a bit too much.

Once you’ve drawn a nice sketch, it’s time to erase it. Before you wipe away the lines completely, I recommend taking a picture of the sketch. This way, you’ll have a reference sketch even if the lines aren’t super visible.
You may be asking “Why on Earth would I sketch my cute birdies just to erase them?”. It might seem strange, but it is actually super important.
Drawing from reference is a great way to improve your skills and build muscle memory. It’s especially helpful when you’re starting out, as it can be tough to capture the essence of a subject without prior experience. Trust me, you’ll likely be disappointed with your first attempt, but with practice, you’ll see your skills improve dramatically.
Another super important reason to erase lines is that you don’t want to see pencil marks peeking out in your watercolor bird painting. You just can’t erase them well enough once you have applied the watercolor paint. I know I don’t ever sketch light enough to not see the lines so I have stopped worrying about doing that and will just erase them.
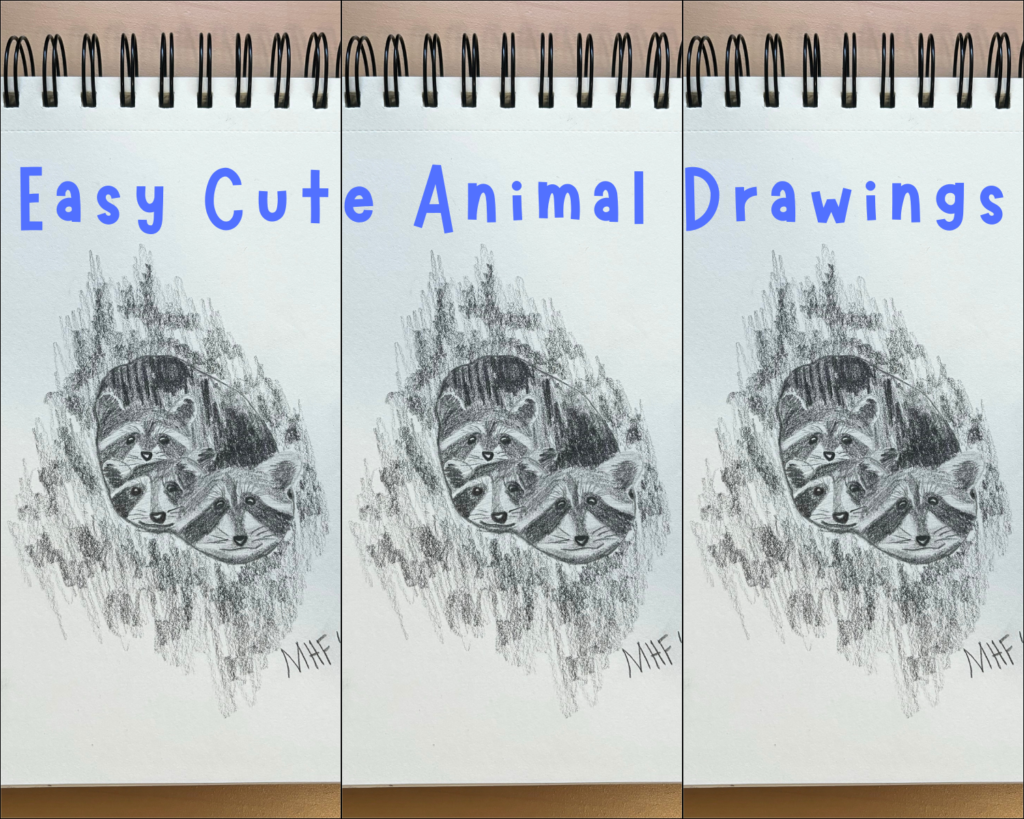
Want some extra practice drawing? Check out Beginners Guide: Easy Cute Animal Drawings for inspiration.
Step 2: Easy Watercolor Bird Painting
Now is the fun part: watercolor painting.
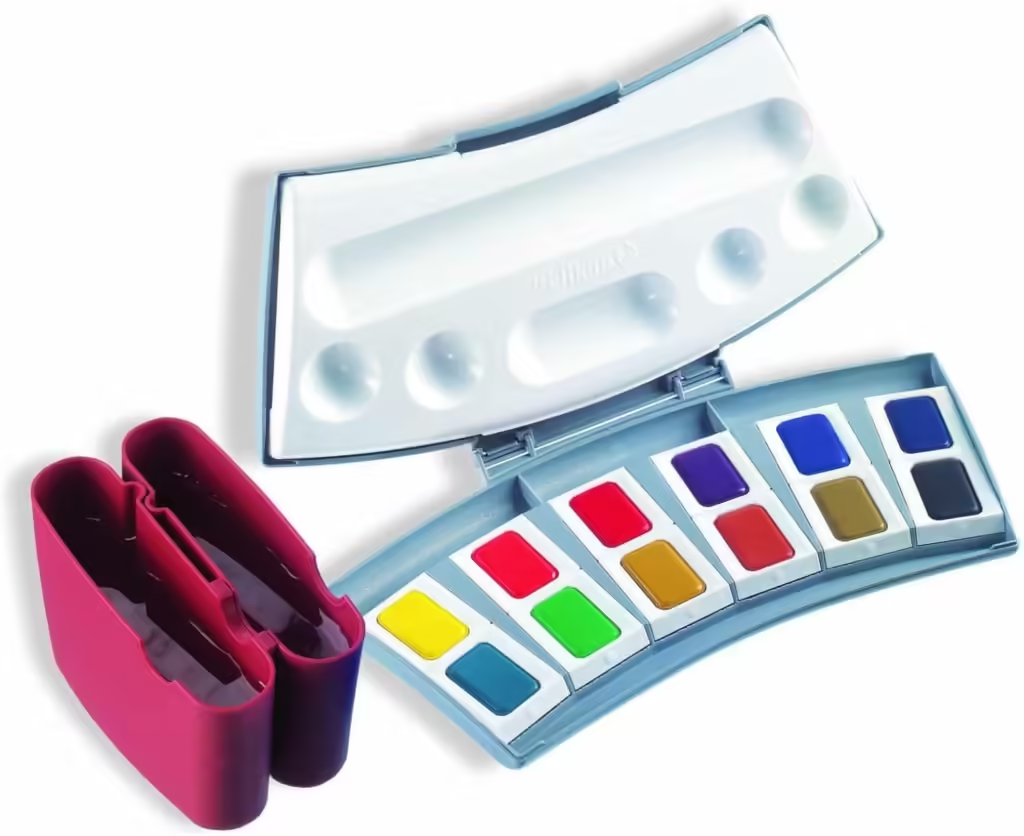
Start by mixing up your Pelikan watercolors. The green was created with dark green (Blaugrun) and a little bit of light green (Gelbgrun). The pink was red (Karminrot) with a little hint of yellow (Echtgelb).
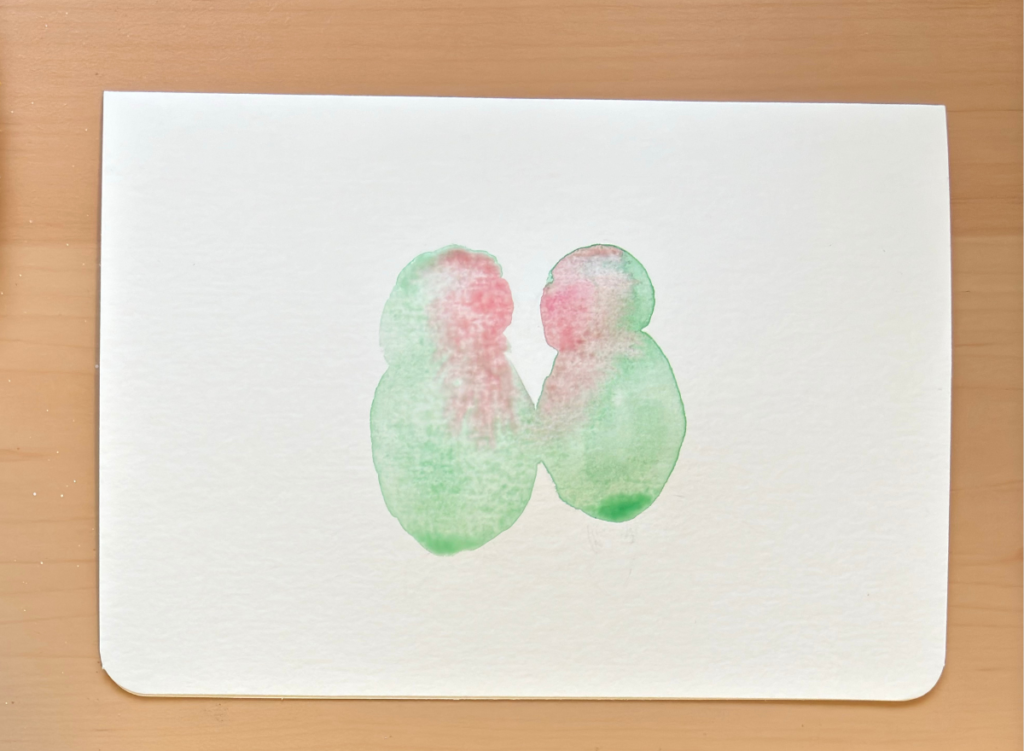
You will want to paint the green part of the birds first. Don’t paint in the area of the face that is red yet.
If you want the colors to blend, like in the photo below, paint the red when the green is still slightly wet. If you don’t want the colors to bleed, wait to paint the red face until the green is dry.
After everything is dry, use a dry-on-dry watercolor techniques to create the wings. This is done by taking a damp brush and getting a little bit of pure color (in this case the dark green watercolor paint) on the brush and applying it on the dry painting. Add some light green to the tops of the birds’ heads using the same technique.
Step 3: Brush Watercolor Pens
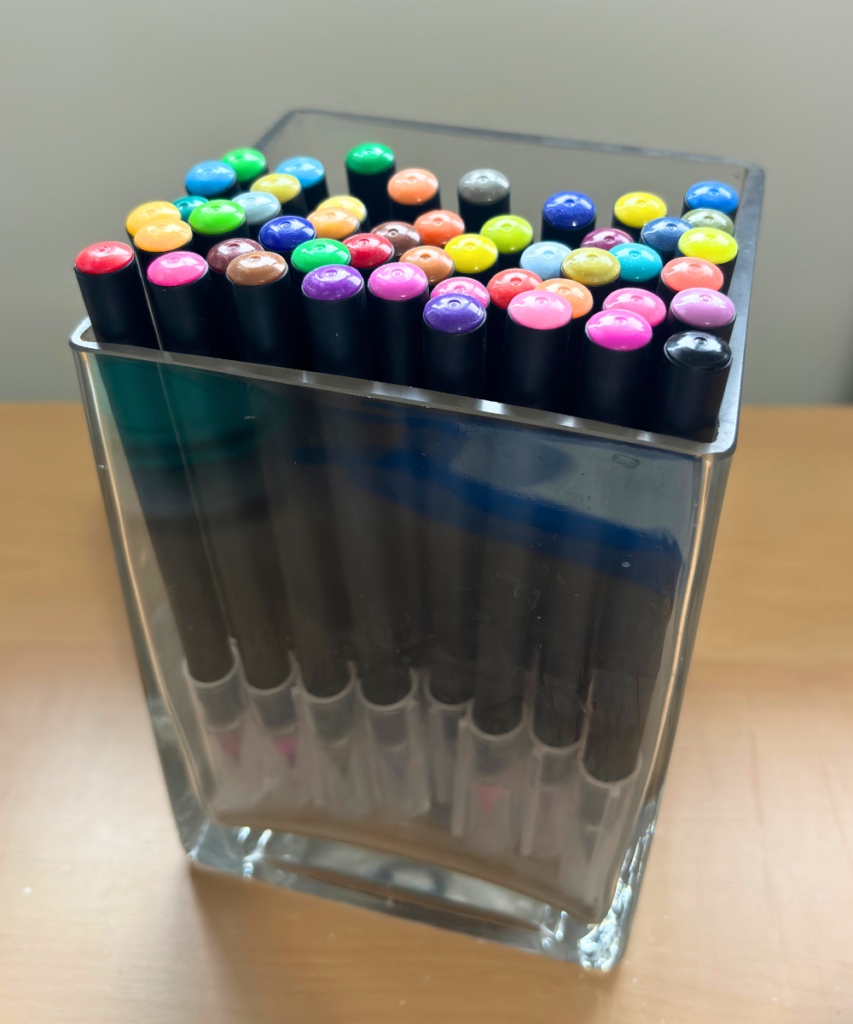
It is now time to use the brush watercolor pens.
Take a yellow color and trace the top of the beaks. Now with your mostly dry round watercolor brush move the paint to fill in the rest of the beak. If you want the beak darker just add some more paint once the beak is slightly wet.
If you don’t apply water to your brush watercolor pens then they look a lot like markers on the Funto card.
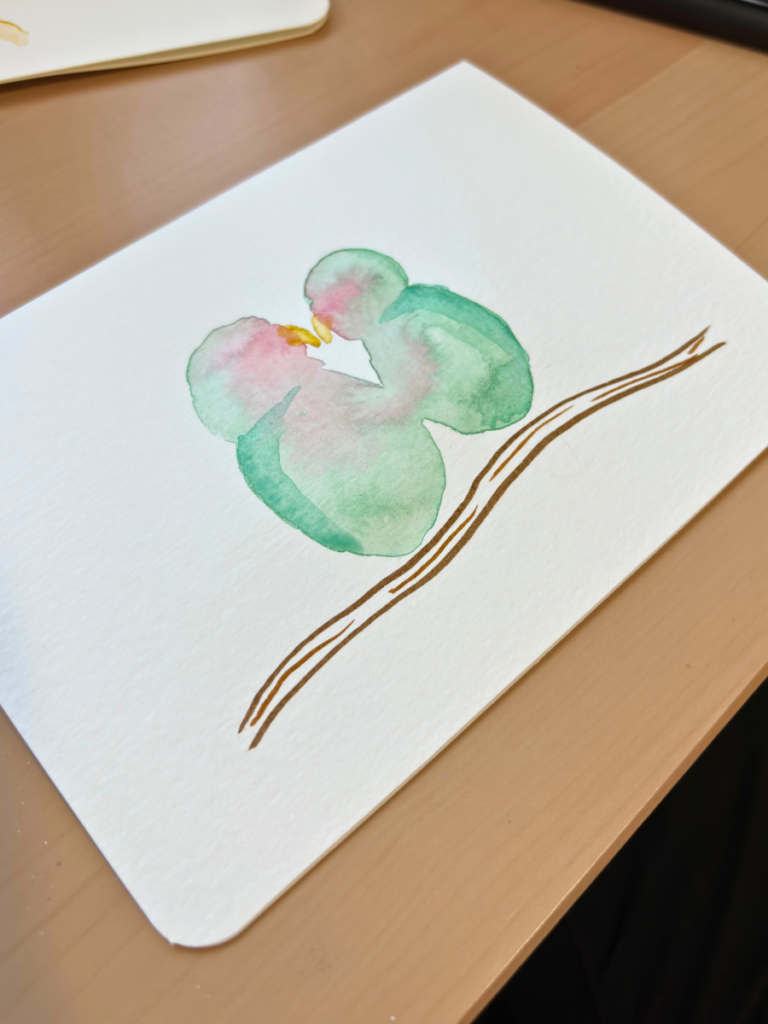
The twig on which these two love birds are sitting is also painted with brush watercolor pens. I decided to add two brown colors to the twig to add some variety to the color.
Paint over the pens and move the paint around like you did with the beak.
Learn more about how to use brush watercolor pens in Valentines Paintings in 3 Easy Steps.

Step 4: Details
Face Details
To make the face stand out from the head, you will want to use a wet-on-dry watercolor techniques with pink color. It is okay to paint over the base of the beak. The Pelikan watercolors are more translucent than the brush watercolor pens, so you’ll still be able to see the beak’s base.
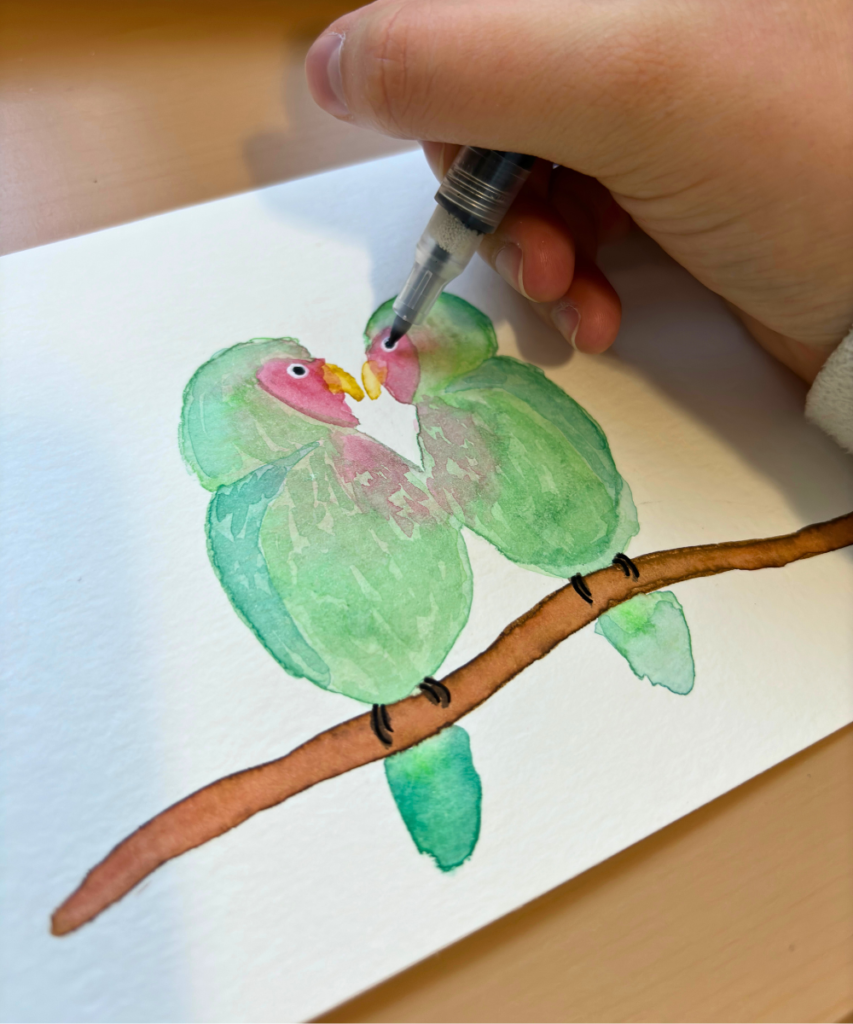
For the eyeballs themselves, you will be using the acrylic paint pens. Take the white pen and outline a small circle and then taking the black pen add the eyeball in the white circle.
Feathers
For the feathers, you will use the same colors used to paint the bird’s bodies, but with short brush strokes.
It is okay to layer the same color because it will just cause it to look darker when applied.
Don’t overthink the feathers or you will end up overpainting. You want to see individual brush strokes so don’t let them overlap too much.
While the green feathers are still damp paint in the pink chest feathers. It is okay if the pink touches damp green paint because it will help the transition between chest and body.
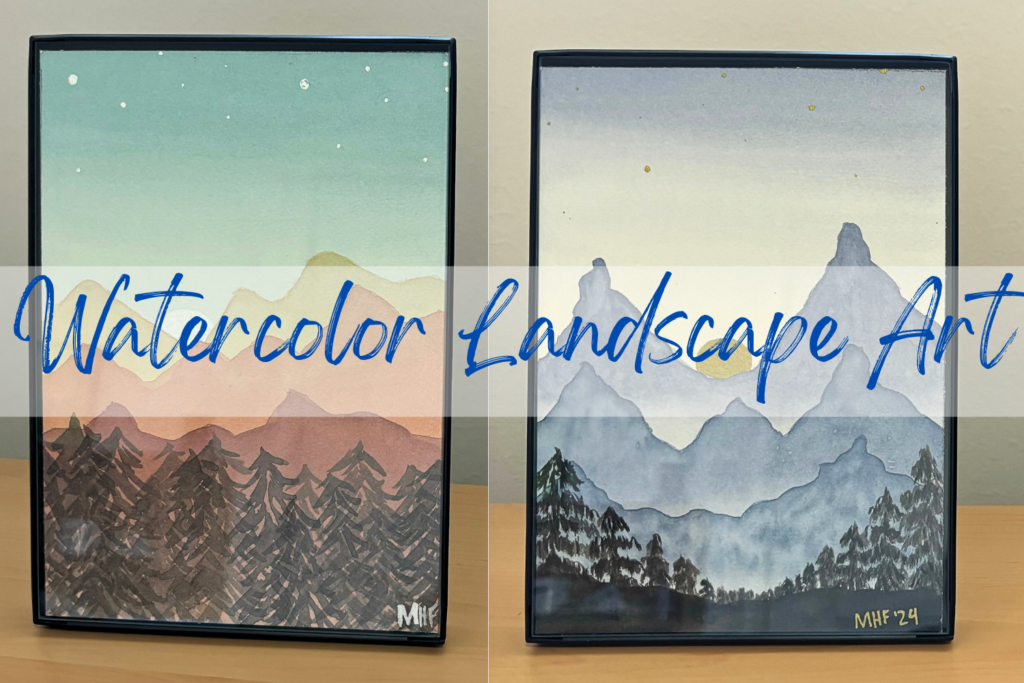
Learn more about the watercolor techniques of layering in Amazingly Easy Watercolor Landscape Art.
Tail and Feet
The tails were painted in two different ways.
LEFT BIRD: Using dark green (Blaugrun) from the Pelikan palette, paint the shape of the tail. Then add pure light green (Gelbgrun) to the top of the tail.
RIGHT BRID: Using a clean wet brush draw the tail. Then drop the premixed green color into the tail. To add contrast, drop in pure light green (Gelbgrun) to the top of the tail.
For the feet use the black or a dark brown brush watercolor pen to draw curves on the twig.
Step 5: Splatters
This step is perhaps the most enjoyable one.
Get the green watercolor on your brush. Then while holding it over your handmade Valentines Day cards take another brush or pencil and use it to tap the watercolor brush. This will cause the watercolor paint to splatter onto your painting.
Repeat this step with all of the mixed watercolors. If you want larger splatters get more watercolor on your brush, if you want smaller get less watercolor paint.
This post was all about lovebird paintings on handmade Valentines Day cards. I hope you and your loved ones have a fantastic Valentine’s Day!
Look at these other posts that you will love:
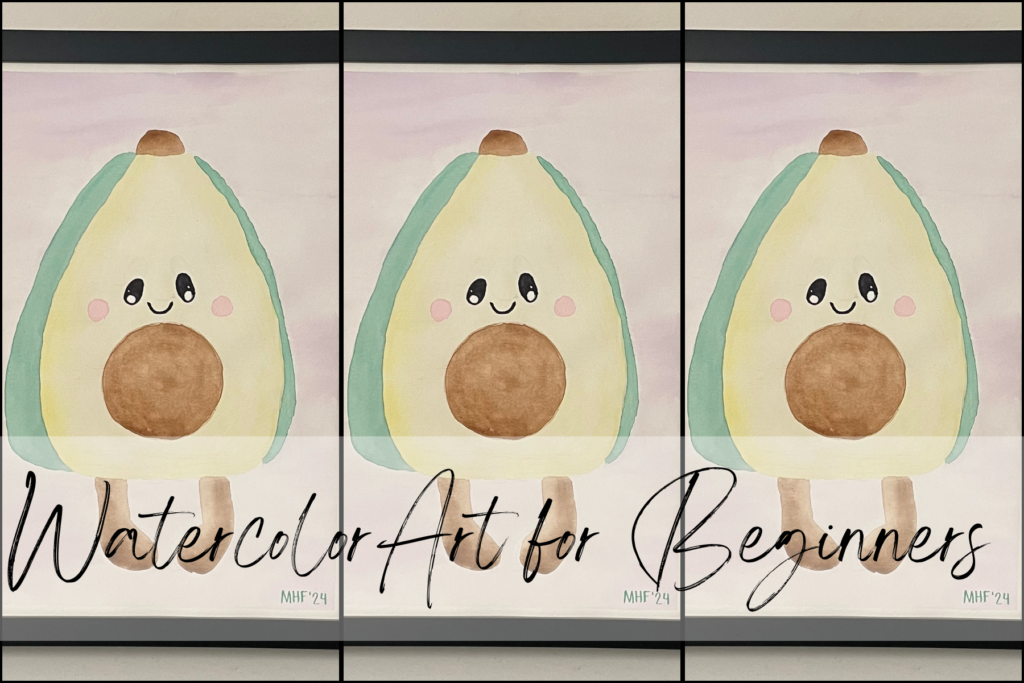
Watercolor Art for Beginners – Cute and Easy Avocado Painting
Oil Pastel Flowers Easy in 9 Simple Steps

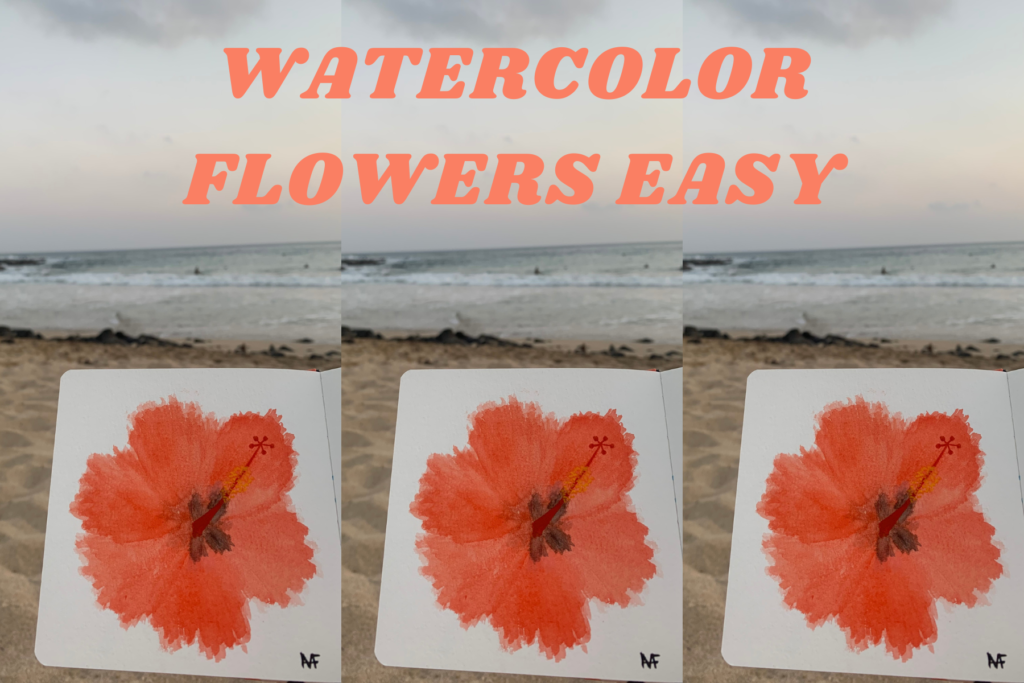
5 Gorgeous Watercolor Flowers Easy Ideas
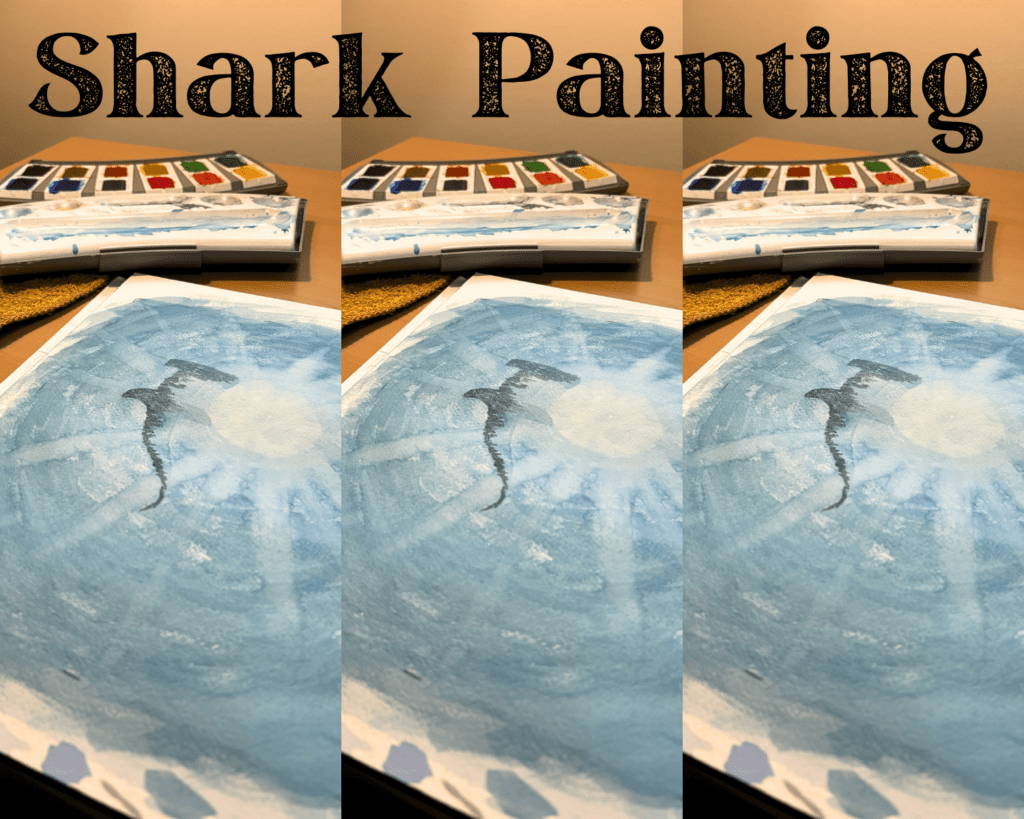
3 Easy Steps for a Shark Painting


Leave a Reply