Don’t know how to use Procreate but have heard that it is amazing? Here are important things to know before choosing and while using Procreate.
Disclaimer: THIS POST MAY CONTAIN AFFILIATE LINKS, MEANING I GET A COMMISSION IF YOU DECIDE TO MAKE A PURCHASE THROUGH MY LINKS, AT NO COST TO YOU. AS AN AMAZON AFFILIATE I EARN FROM QUALIFYING PURCHASES.
If you have never done much with digital art it can be intimidating at first. Let me help you learn how to use Procreate. I have been using it for over a year and it is very convenient and has some awesome features that will take your art to a whole new level.
You will learn about what electronics you can use with Procreate, how much it costs, Procreate brushes, the blending and eraser tools, how layers can change your art for the better, tricks with the colors, and where to find Procreate tutorials.
After reading this article you will have a basic understanding of the features Procreate offers and, more importantly, how to find tools specific for your own art on your own.
This post is all about how to use Procreate.
How to use Procreate: 9 Essential and Great Things for Procreate
1. Is Procreate only for Apple Products?
Yes, Procreate is only available on Apple products. It doesn’t look like there are plans to create a Procreate-like system for any other electronics at this time.
With the Procreate Pocket, you can use the app on an iPhone. Procreate and Procreate Dreams need an iPad.
I use the iPad Pro 12.9-inch 3rd generation. If you are looking for an iPad I highly suggest getting the large one if you plan on using Procreate. The big screen makes it easier to make larger creations and it feels more like traditional art.
2. Procreate Terms & Conditions
There are a few things you should be aware of when using Procreate. Most of us don’t read the terms and conditions of the things that we use. So here are some of the things that I found most important. (These are just 3 of the 39 points that they have listed as of January 2024. If you would like to read them yourself you can go to procreate.com/terms-conditions)
The first part of this reassures users that any content in Procreate belongs to the user and that they do not have any ownership over it. However, you do agree to allow them to feature and display your artwork on their Procreate Folio page. They can also contact you to ask permission to feature your artwork in other ways not outlined in their terms and conditions.
Using, creating, and uploading your artwork to Procreate doesn’t give them any ownership of that artwork. Meaning whatever you make on the app is yours and they don’t have any claim on it, which is a good thing. You don’t need to worry that they will take credit for anything you do.
Heads up, if you don’t log into your Procreate account for 365 days in a row they can deactivate, suspend, or terminate your account.
3. How much does Procreate Cost?
The Procreate app costs a one-time amount of $12.99 in the app store.
Procreate Dreams is a one-time purchase of $19.99.
Procreate Pockets is a one-time amount of $5.99
*Prices as of 08/30/2025
How to use Procreate
4. Procreate Brushes
Tap the brush icon in the upper right to access the brush library. Once you get Procreate you will have access to over 200 brushes. You also can create your own brushes or modify the existing ones. You can do that by double-tapping on a brush. This opens up the brush studio. There are a lot of customizable pieces.
If you are modifying a brush I would suggest duplicating it first. You can do that by swiping left and choosing duplicate.
If you don’t want to create a specific brush then you can download a brush set someone else has created. There are plenty of free options out there if you don’t want to spend extra money. You can simply google “free Procreate brushes” or if you are looking for a specific type search for that. I have downloaded watercolor brushes from Brushes for Procreate which work great.
Change the size and opacity of the brush with the sidebar tool. Use this with the paint brushes, blending tool, and eraser.
5. The Blending Tool
If you tap on the little finger tool you can blend the colors. I really enjoy using this tool for pastel artwork. It makes it feel like I am using pastels without the mess of real life.
When using the blending tool you don’t add more paint to the canvas, you just move it around. You can also change the Procreate brush of the smudging tool by clicking on it or if you want to use the same brush you have been painting with tap and hold for a few seconds. A drop-down will show up at the top of the screen that says “smudge with current brush”.
6. Eraser
You can use the same tricks as the smudge Procreate brush for the eraser. If you need to erase along edges I find it easier to zoom in. This way you get the closest, most precise edge that you can.
There are also cool things that you can do within the layers tool so if you color over the “edge” it gets rid of them for you so you don’t need to do any erasing at all.
There is also the back option. You can either tap the back arrow on the size/opacity sidebar or tap the iPad with two fingers. This will undo your last stroke. If you hold the screen with two fingers it will undo the last strokes quickly. If you go back too much, no need to worry, simply tap the forward arrow or tap/hold with three fingers.
7. Procreate Layers
There are a lot of cool things that you can do within Procreate layers. I will not go over them all, mostly because I am still learning them myself. Honestly going from tangible art to using layers sometimes feels like cheating because they are so convenient. But here are a few things that I find most helpful.
While painting with pastels it was nice to not have to worry about mixing colors I didn’t want to mix because I couldn’t get into the tiny corners with my fingers. Instead, you can add a new layer blend the colors you want then use the clipping mask or eraser to get rid of the excess paint.
You can upload a picture using the actions tool (wrench), choose add, and upload a photo. By adding another layer before you trace the photo you can get rid of the photo when you’re done.
If you have a lot of layers you are to group them together. Select a layer, then swipe right on all the other layers you want in the group, and tap group on the right to create a group. This allows you to stay organized while painting.
Unchecking the box will hide that layer from view. That can help with details or see if you like the piece better without it.
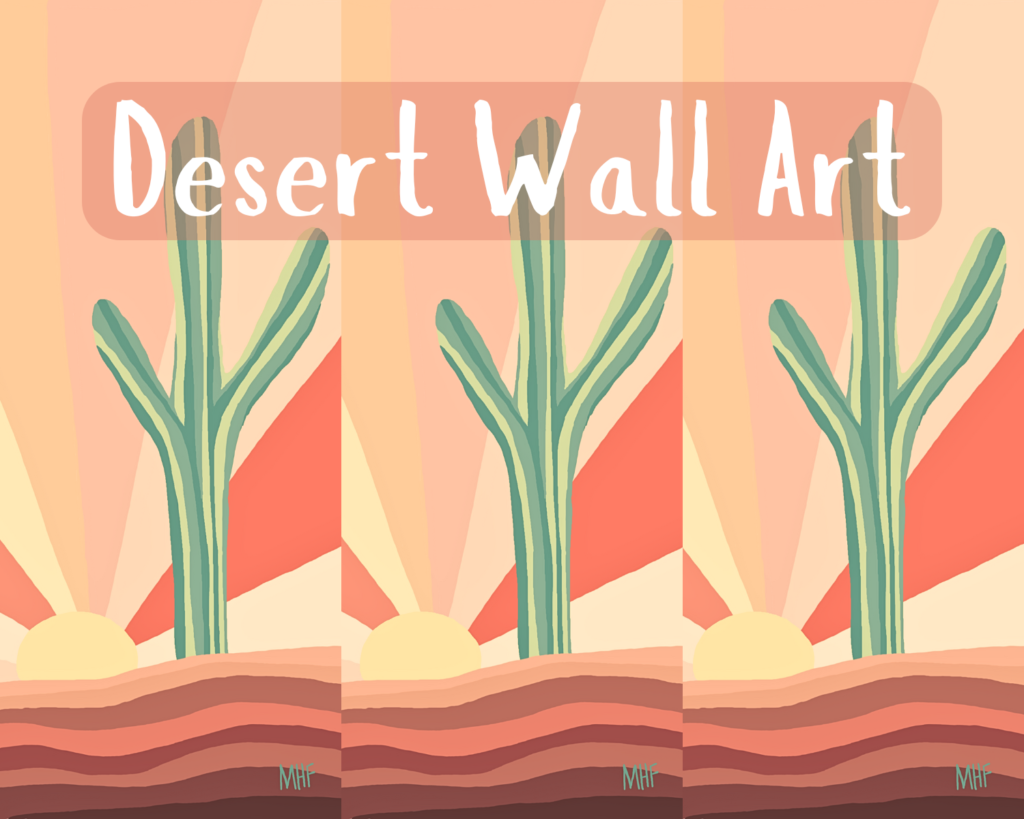
Learn more about layers in the Desert Wall Art lesson.
8. Colors
There are many different ways for you to find and save colors. If you click on the color tool up top there are 5 different ways to choose and modify colors. It also comes with its own color palettes. Like brushes, you can find free color palettes to add to your Procreate or you can create palettes.
One of my favorite features with the colors is if you hover over a color it will choose that color for you. So if you are switching between projects and forget which color you were using you don’t need to guess. All you do is hover and then you have that exact color again.
9. Procreate Tutorials
If you want to learn about the basics of Procreate you will want to watch the Beginners Series from Procreate. 4 videos walk you through the features of the app by creating a piece of art. These videos show the basic functions that come with the app.
I highly suggest doing these videos, even if you have been using the app for a while. There may be things that they go over that you have yet to discover on your own.
If you are looking for something specific you can search for it on YouTube and you will find a tutorial on it.
If you just want to get more comfortable with the features that are provided I suggest looking at 40+ Free Procreate Tutorials for Digital Artists. There are a ton of different videos linked to this post. From shading to calligraphy to neon effects to creating cartoons, you will find something useful.
This post was all about how to use Procreate.
Similar posts you will learn from:


Leave a Reply