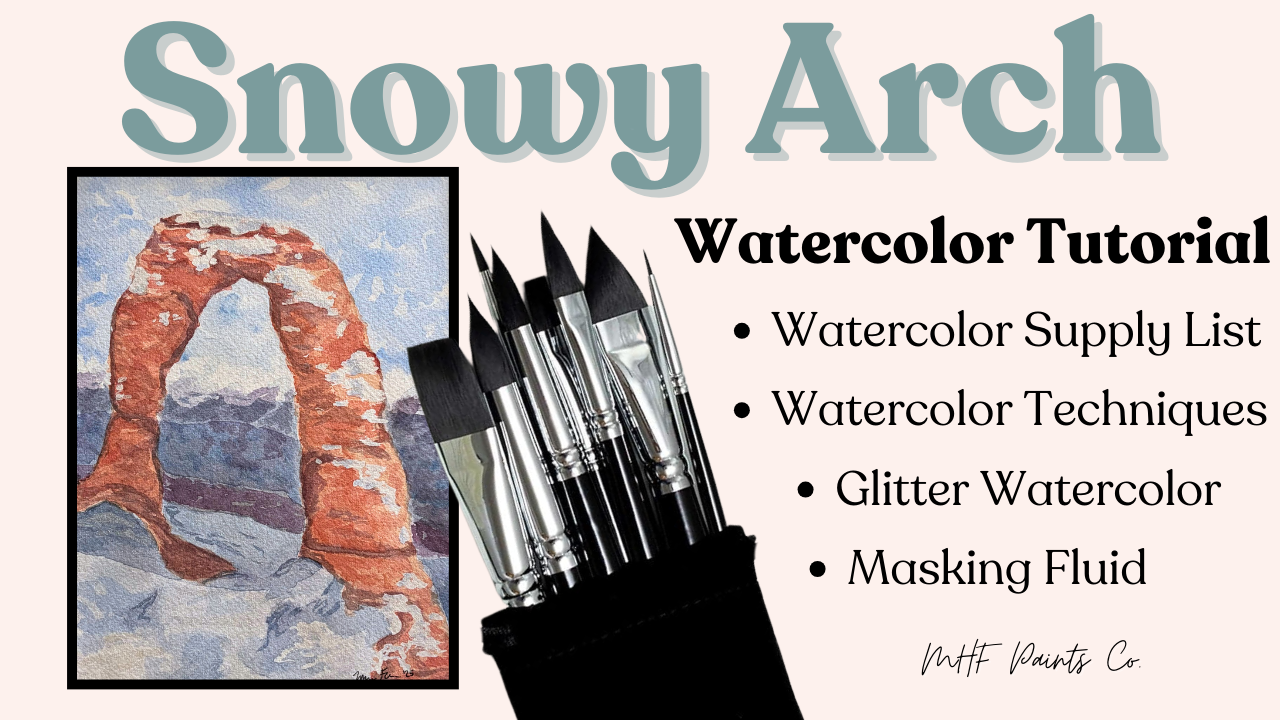
Learn how to do nine essential watercolor techniques in this beautiful, snowy Delicate Arch painting. This blog post will describe the techniques in more detail, and you can watch how to do them in the YouTube video. Switch back and forth for a better understanding while you follow along! If you have any questions, reach out to me in the comments, and I’ll be sure to answer 😊
Table of Contents
Watercolor Supplies Used
ARTEGRIA Watercolor Brush Set
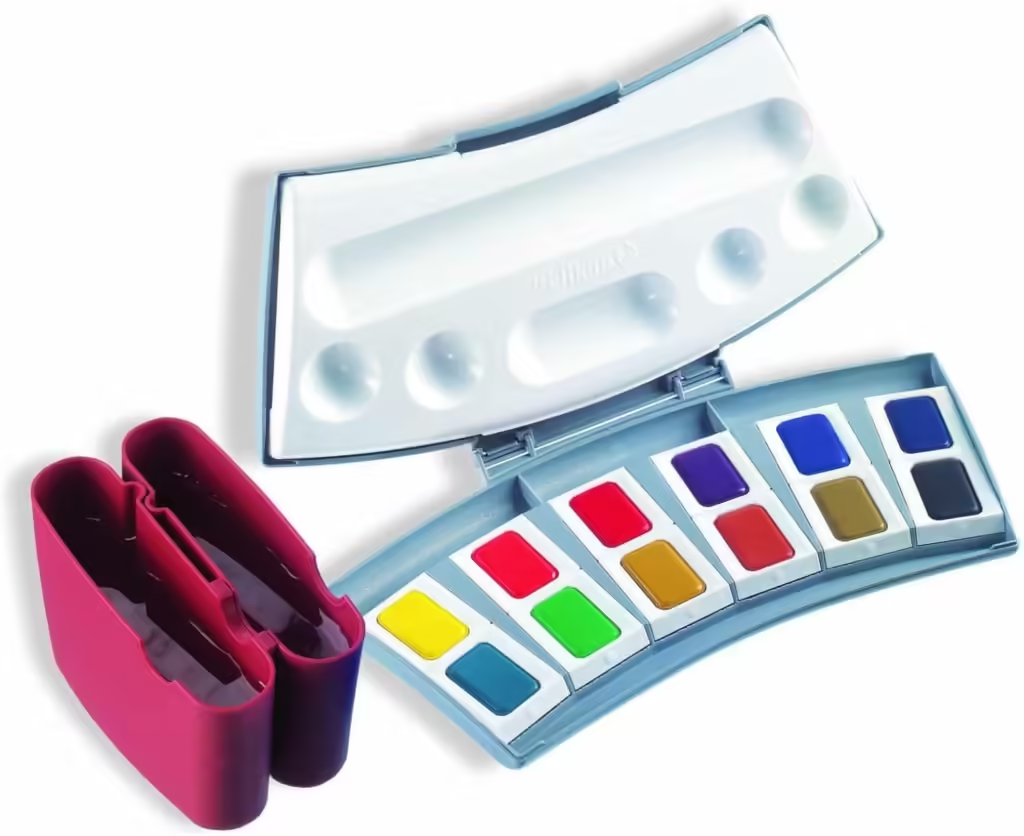
Pelikan Watercolor Paint Set
Gansai Tambi Starry Colors: Glitter Watercolor Paints

Winsor & Newton Watercolor Art Masking Fluid

Art Eraising Kneaded Eraser
Arches Watercolor Paper
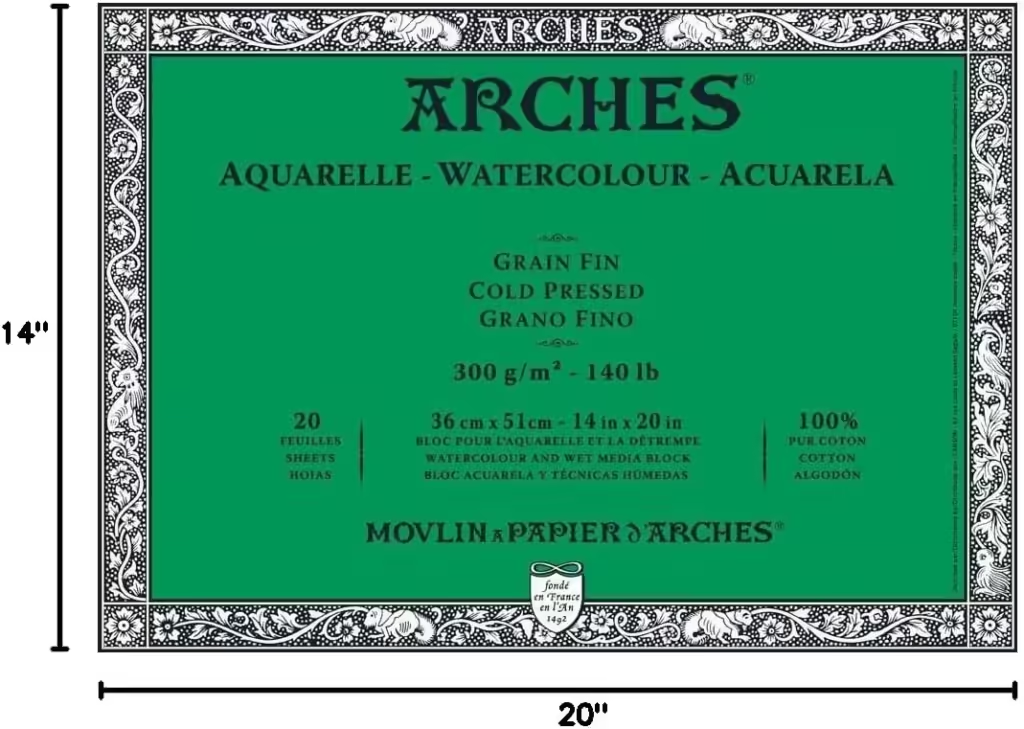
This pad of paper is quite large. The Snowy Arch painting is only 5.5 inches by 7.5 inches. You can make it bigger if you’d like. There’s a smaller pad that’s 9 in x 12 in that is cheaper if you want to go with that one. I recommend a watercolor paper that is 100% cotton. There are cheaper papers out there, but they don’t work nearly as well.
Brown Matted Frame
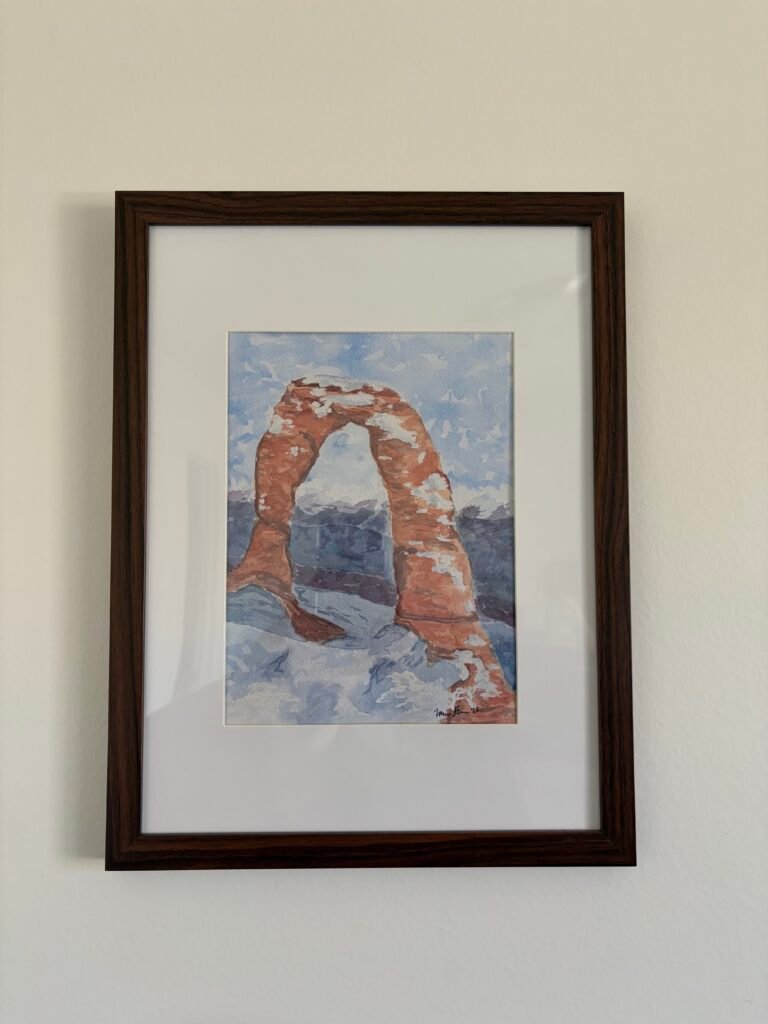
Watercolor Tutorial – Visual step-by-step of a snowy arch
Watercolor Techniques
1. Watercolor Sketch
Because watercolor paints are translucent, if you paint over pencil markings, you can still see them. Unfortunately, you can’t erase them after painting over them. This makes it tricky to sketch your painting. The best way around this is to make your pencil sketches VERY light. But if you are like me and struggle to do that there is a simple way around that problem. What you do is sketch it out (still try to do it lightly because if you indent the paper with the pencil there’s nothing you can do to fix that) and then when you are ready take the kneaded eraser and erase all of it until you can barely see the sketch.
Now you may be wondering why do the sketch in the first place if you erase it in the end. That is an excellent question! The truth is the more you do something the better you get at it and the first attempt is never as good as the second. Think about the last time you did a sketch. How many times did you get the subject in the right spot on the first try? And what did you do when you had to fix it? You erased and redrew. Now with watercolor once it dries it is VERY difficult to remove it and you can’t remove it all. So essentially the sketch of the Delicate Arch is practice before you paint it.
With all of that in mind here are a few tricks to sketching the Snowy Arch: (~0:06 minutes)
- On the outside of the border, mark each side in thirds. This will help you not only have reference points between sketch and reference photo, but also help with proportions.
- Sketch the snowy patches on the Delicate Arch so you know where to apply the masking fluid
- Take a picture of the sketch when you’re done drawing but BEFORE you erase. This way if you erase super well and can’t see the markings you will be able to look back at the picture when painting.
Top 15+ Gifts for Artists Who Draw

2. Flat Wash
Like I said in the video a Flat Wash = Angled Paper + Drip (~1:16 minutes)
But what is a flat wash? It’s a layer that is one consistent color. This is done with the angle of the paper and the drip. You need to angle the paper (about 30-45 degrees) so that gravity will pool the watercolor paint to create the drip. With the drip (or pooled watercolor paint), it keeps the paper wet so you get the smooth finish. If you lose the drip, the paper will dry and cause lines of concentrated color.
When doing a flat wash for the Delicate Arch, you want to do both sides at the same time. You start out doing the same thing you did for the background flat wash. Once you get the split in the arch, do a little drip outline for each “leg” of the arch, and then paint the wash like normal. Repeat this until the arch is completely painted. (~7:07 minutes)
It’s hard to explain this technique with just words, so go watch the video to see how it is done.
3. Layering
Watercolor painting is all about layering! The cool and unique thing about watercolors is that they are translucent (see through). Which means that with each layer the color darkens. So you could do an entire painting using the same color and yet have areas be darker shades.
Tips for layering:
- The important thing about layers is that they need to dry completely before and another one. If you don’t allow it to dry, the paint will bleed into each other (wet-on-wet technique). Which is useful at times but not always.
- Paint lightest to darkest. Because of the translucent nature of watercolors, if you paint a yellow on top of a brown, you won’t see the yellow. So you have to paint the lightest colors first and then work your way to the darkest colors.
Layers are how you create beautiful paintings.
39 Amazing Christmas Gifts for Artists

4. Mixing Paint
Mixing colors may just be my favorite thing about painting. I love how I can make any color I want with only a 12-color palette. It takes time and lots of trial and error but once you find that perfect color it’s so satisfying. If you haven’t tried mixing your own colors before I challenge you to do it this time. You won’t regret it!
I am using the Pelikan 12-Color Watercolor Palette, if you use a different palette all of these tips will be just as helpful.
- Have a piece of watercolor paper to test colors. This way you can adjust them before committing them to your painting.
- Instead of adding black to darken colors, try adding their complementary color. For example, in this painting, I needed my blue to be darker so I added orange, its complementary color. (~4 minutes)
- Adding purple makes great shadow colors. (~8:12 minutes)
- Mixing colors makes your painting look more natural and realistic
5. Watercolor Masking Fluid
Masking fluid is used to cover areas of watercolor paintings so that you can paint over the area without painting the area. This is a way around the watercolor rule to always paint lightest to darkest. It’s also a way to ensure you don’t lose the light areas while adding darker colors.
In this case, we use it to protect the areas of snow so we can paint them after painting the arch. (~2:18 minutes and ~6:57 minutes).
Applying it is super easy. Just use an old brush and apply it where you want it. Just a heads up, it does smell a little fishy, but once it dries, that goes away. To remove it, gently rub it off. (~10:20 minutes). Make sure your hands are clean though. The last thing you want is to ruin your hard work because you have salt or chocolate on your fingers.
With the Arches watercolor paper, there is no problem removing the masking fluid. However, with cheaper paper it can rip the paper when you rub it off.
6. Wet-on-Wet Technique
These next three watercolor techniques, the first word refers to the paint and the second word refers to the paper. So for a wet-on-wet technique means wet paint-on-wet paper.
In this watercolor tutorial, the first time wet-on-wet is used is for the sky. (~1:40 minutes). Since the paper is dry after doing the flat wash for the background, I like to wet it with clean water. Then you drop the watercolor paint onto the wet paper. You can see the paint spread onto the paper. Which is pretty cool, I like watching it.
This technique is also used on the snow to create the subtle spread of colors. (~10:46 minutes).
At the end, it is one of the techniques I use for the background. (~9:14 minutes). Although if I were to do this painting again, I would have used the wet-on-wet watercolor technique on the background in the first place.
50 Simple Watercolor Painting Ideas

7. Wet-on-Dry Technique
Wet paint-on-dry paper.
This watercolor technique will add paint to wherever you paint it. Because the paper is dry the paint won’t move around if the paper is lying flat. However, if you have it at an angle, then you could do a flat wash.
With the initial layer of the snow in the foreground, a wet-on-dry technique is used. (~3:22 minutes). This helps establish where the mounds of snow are at, the shadows, and the highlights on the snow.
The initial layers of the Delicate Arch are also created with this technique. (~7:33 minutes). Once the shadow layer is added, the techniques tend to blend together. The highlights will use a wet-on-dry technique, where you paint on the dry paper. But a wet-on-wet technique, where the highlighted (yellow-ish) paint touches the shadow color.
The main reason to use this painting technique is to get color on the page.
8. Dry-on-Wet Technique
Dry paint-on-wet paper.
The confusing thing about dry paint is that it isn’t technically dry. You still need the brush to be damp, or it won’t be able to pick up the paint. It’s called “dry” because you use significantly less water than you usually would.
Whenever you put watercolor paint on wet paper, the color disperses into the wet paper. The same thing happens in this technique, but where you apply the dry paint will be darker. This helps you soften the edges of the paint. We can see this happen when the background is being painted. (~4:41 minutes)
The dry-on-wet technique also helps give a more realistic look to the shadows on the snowy arch by adding randomness to the painting. (~8:15 minutes).
9. Dry-on-Dry Technique
Dry paint-on-dry paper.
The beauty of this watercolor technique lies in its ability to create bold lines with concentrated colors. It’s usually used to add small details and refined lines to finish your painting. Sometimes it can be scary to add those dark bold lines, but be brave because they really make a painting pop.
Like we see painting the snow (~6:13 minutes), if you add the dry lines, you can soften them afterwards by adding water. So don’t freak out too much if you add a line that is way too much.
We really see the popping magic with the dry-on-dry technique when finishing the arch. (~8:15 minutes). Without the purple shadows, it looked okay, but with them, it really creates the 3D look and brings it to life.
If using watercolor to do your signature, you will want to use this technique to do it. Or you can use a pen/sharpie. But whichever way you do it, make sure the paper is completely dry!
The Empty Tomb: A guide to an easy yet meaningful Easter painting

Bonus Tip
Apply masking fluid to the arch outline while painting the sky and to the sky outline while painting the Delicate Arch for crisp lines. This way, you won’t have to worry about painting into an area you’re not ready for yet.
You use the glitter watercolor the same way as normal paint. You can mix it into your colors or use it straight from the palette as I did. (~11:09 minutes) But if you don’t want to get your other colors glittery, rinse your brush in a separate, designated glitter water. Like any other type of glitter, it will get everywhere.
Hope this helps you understand what I am doing in the video more! If you have any other questions or if you want to see any specific watercolor techniques, let me know in the comments!
More posts you will enjoy!
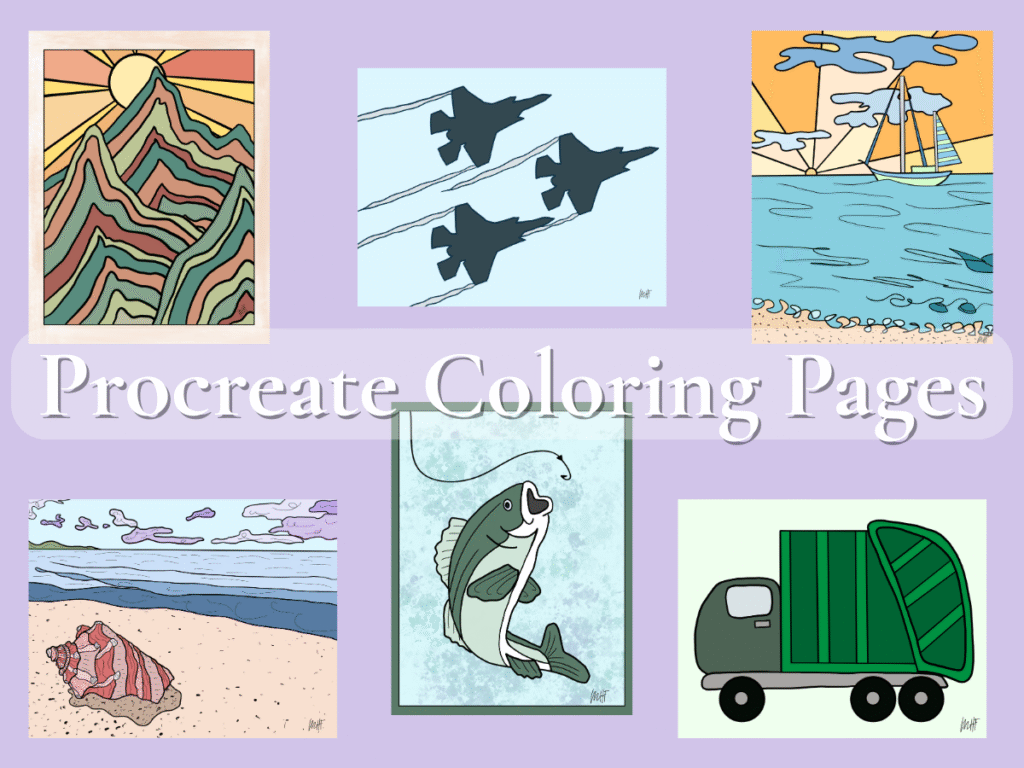
5 Creative (and Easy) Ways to Design Procreate Coloring Pages
39 Things to Sketch when Bored: Ideas Easy to Hard

15 Best Watercolor Christmas Cards Ideas


Leave a Reply