Are you looking for inspiration for an oil pastel painting? Do you want something that will boost your confidence and reignite your passion? Learn how to do this day and night drawing easy!
Disclaimer: THIS POST MAY CONTAIN AFFILIATE LINKS, MEANING I GET A COMMISSION IF YOU DECIDE TO MAKE A PURCHASE THROUGH MY LINKS, AT NO COST TO YOU. AS AN AMAZON AFFILIATE I EARN FROM QUALIFYING PURCHASES.
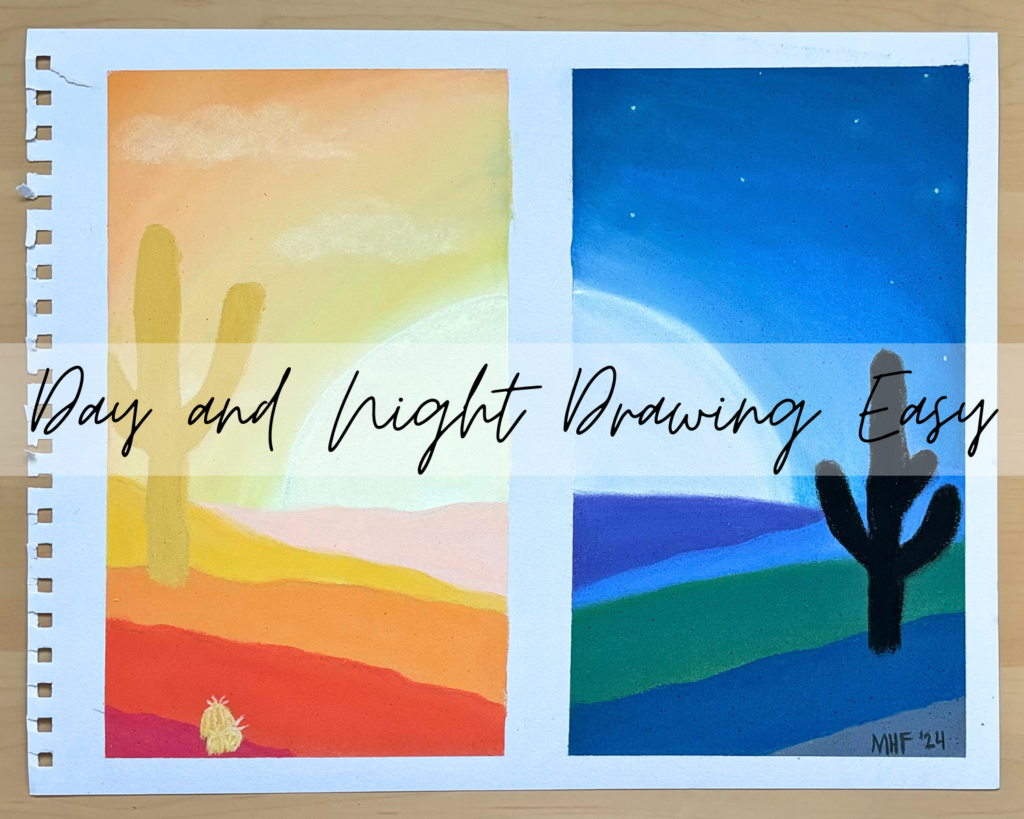
Oil pastel is one of my favorite mediums to work with because the colors are so bold. That holds true for this day and night drawing easy oil pastel painting that you are about to learn about. Not only is it fun but it is perfect for beginners who are looking to create something that they are proud of.
You will learn about how to create a day and night drawing easy, easy oil pastel landscape, oil pastel night sky, oil pastel clouds, cactus oil pastel, and more!
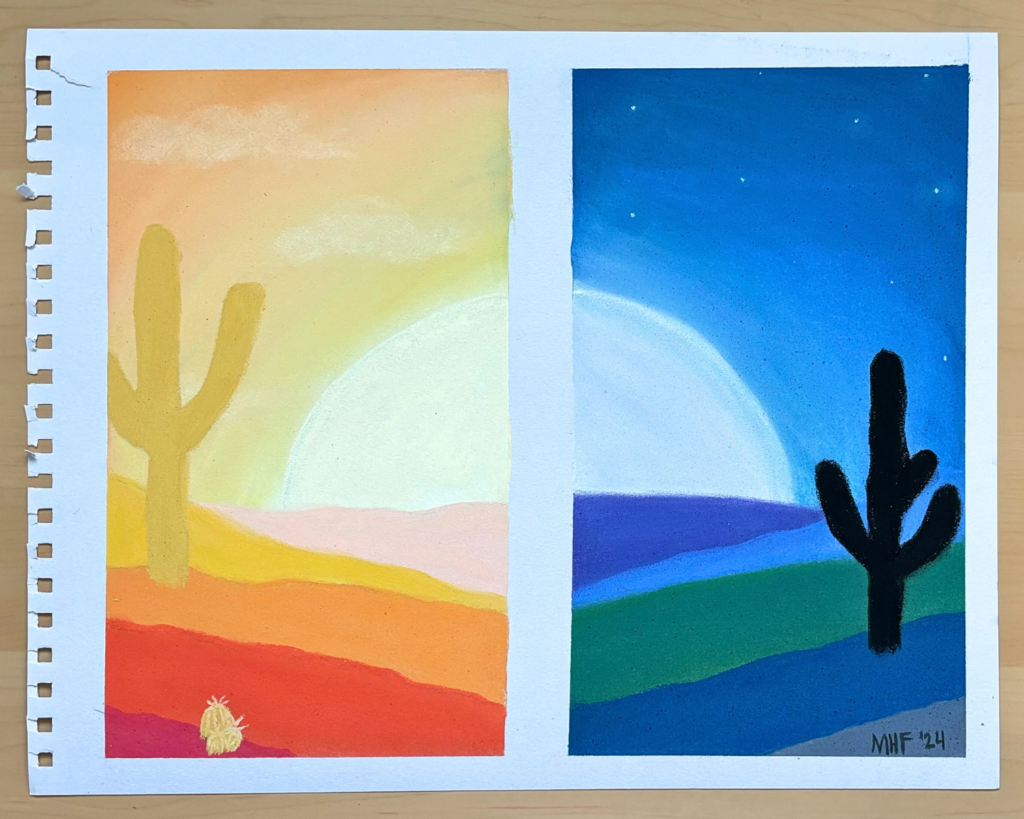
After following these seven steps to a day and night drawing easy you will have a stunning oil pastel painting worth bragging about.
How to Paint an Oil Pastel Day and Night Drawing Easy in 7 Steps
Supplies needed: oil pastel paints, paper, hairspray, and tape.
Step One: Oil Pastel Sketch
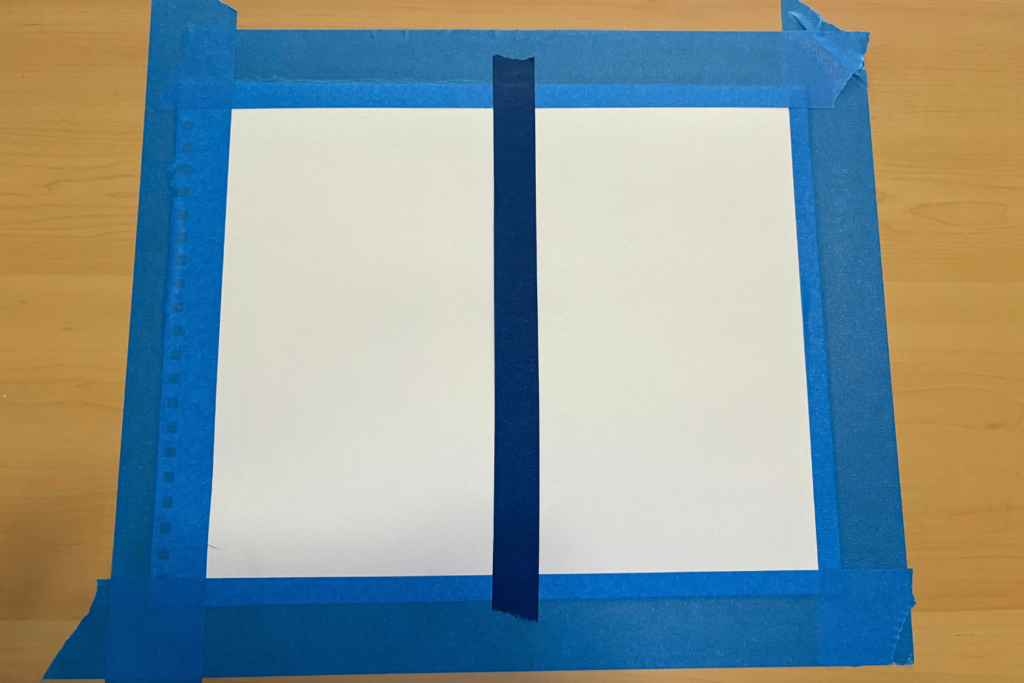
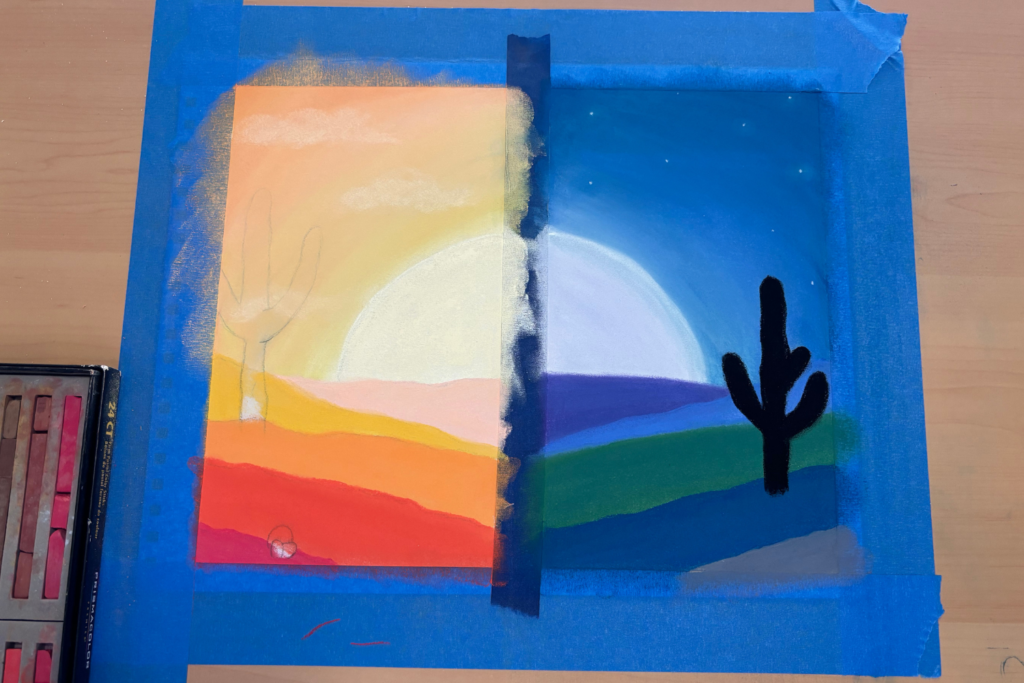
The first thing you need to do is set up your oil pastel sketch and painting. Because this is a day and night drawing easy you will need to separate the paper into two equal sections. If you have loose paper you will want to tape it to a hard surface.
I used the thinnest painting tape I had, but after I finished I realized that I needed to get thinner tape. The middle piece of tape didn’t look that thick when prepping and painting, but when it was removed the space between the day and night scenes was larger than I expected.
If you have yet to gather supplies I would suggest getting 1/2 inch tape for this project. I used 1 inch tape.
Now that you have your paper taped you can start your oil pastel sketch. The idea is to take a desert landscape and make one side day and the other side night. So you will want to draw the sides very similar, almost mirrored images.
Give yourself a horizon line to work off of. You will want it about one-third of the way up the page.
Add your sun and moon. It will be unrealistically large because it is the focus of your oil pastel painting.
For the landscape, draw about five lines for the hills. Don’t make the angles dramatic. You don’t want them to look like mountains. If you don’t want it to look as hilly make the lines more flat.
If you need help sketching the cacti look up images of them. The iconic cactus (Saguaro Cactus) was the inspiration behind the two large cacti. I decided to add three small round cacti on the day side of the painting to add more differences between the two sides.
You can add as many and whatever kind of cacti as you want to your painting.

The pencil markings on the day side will need to be lightened so they don’t show through the oil pastel paint. The night side isn’t as important because the colors you will use are darker and will cover the pencil.
Step 2: Oil Pastel Night Sky and Oil Pastel Sunrise
(I did the night sky before the sunrise sky but I would suggest doing the sunrise first. I say this because some of the blue pastels got onto the sunrise side and when I started adding yellow it turned green. It was very difficult to correct, so to save you the hassle do the light side first.)
If you are using the Prismacolor Nupastel 24 CT oil pastel paints for the oil pastel sunrise use bright yellow (257-P), light pink (286-P), and orange (296-P). I like to apply the colors to the areas I want to and then blend them with my fingers.

Once blended you can add more of any color to make it lighter or darker according to your taste.
Do your best to not cover other areas of the sketch, especially the sun, with the oil pastels, but it is inevitable due to the nature of pastels.

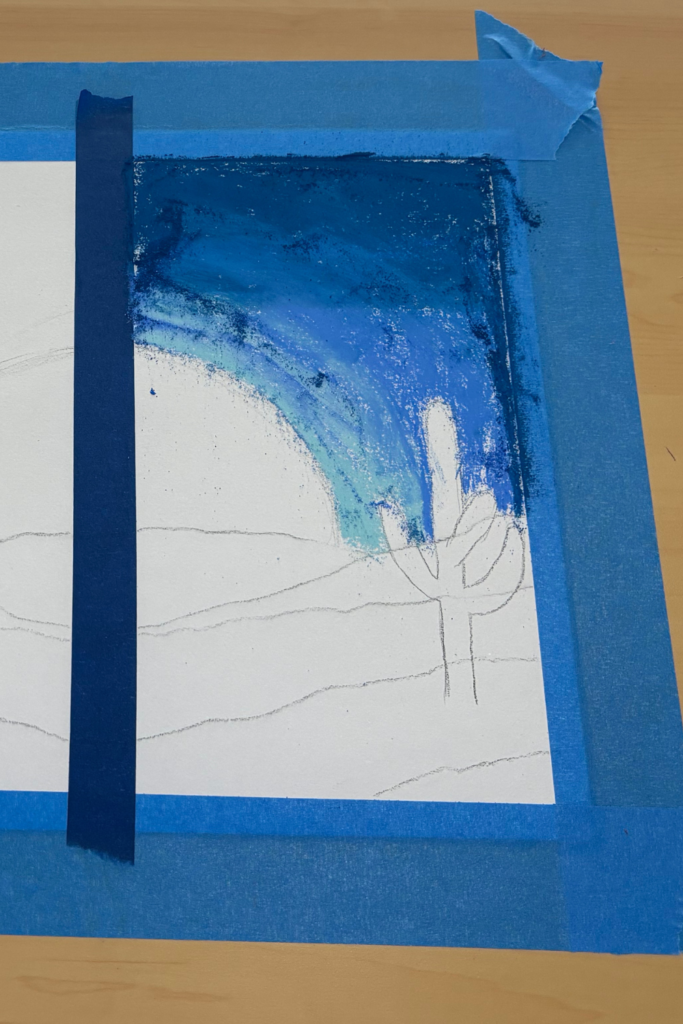
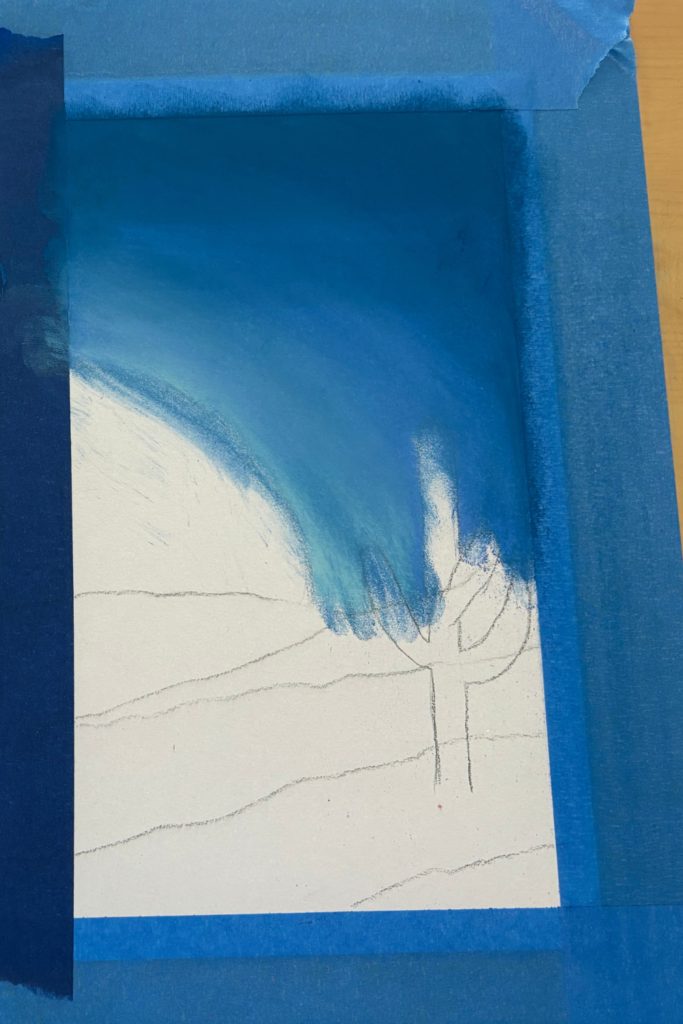
For the oil pastel night sky use light blue (235-P), medium blue (265-P), and dark blue (225-P).
Repeat the steps for the night sky.
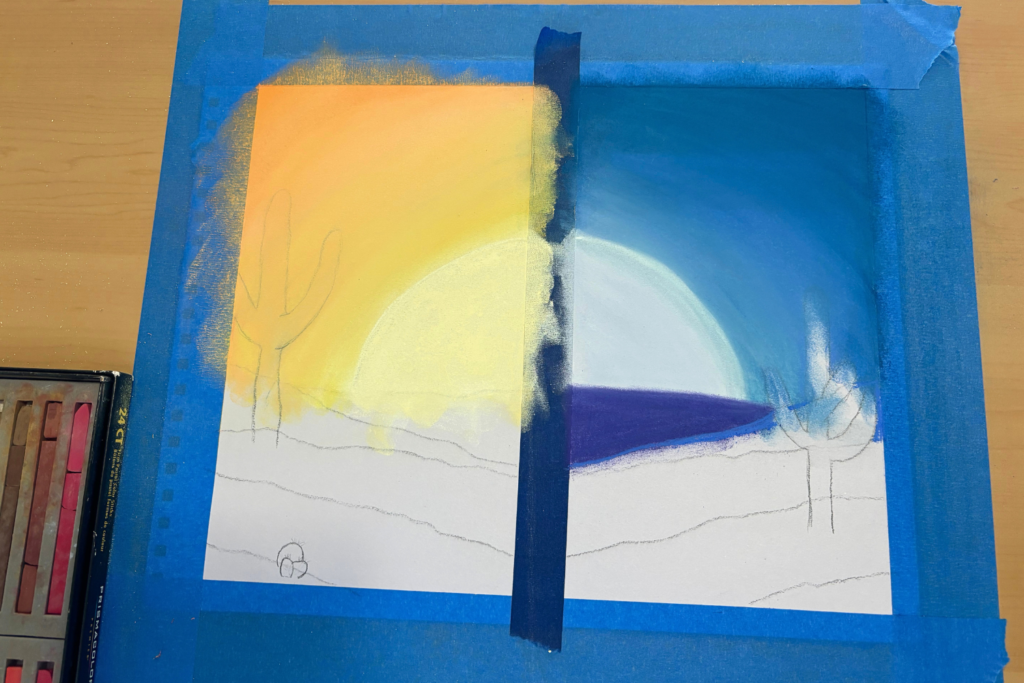
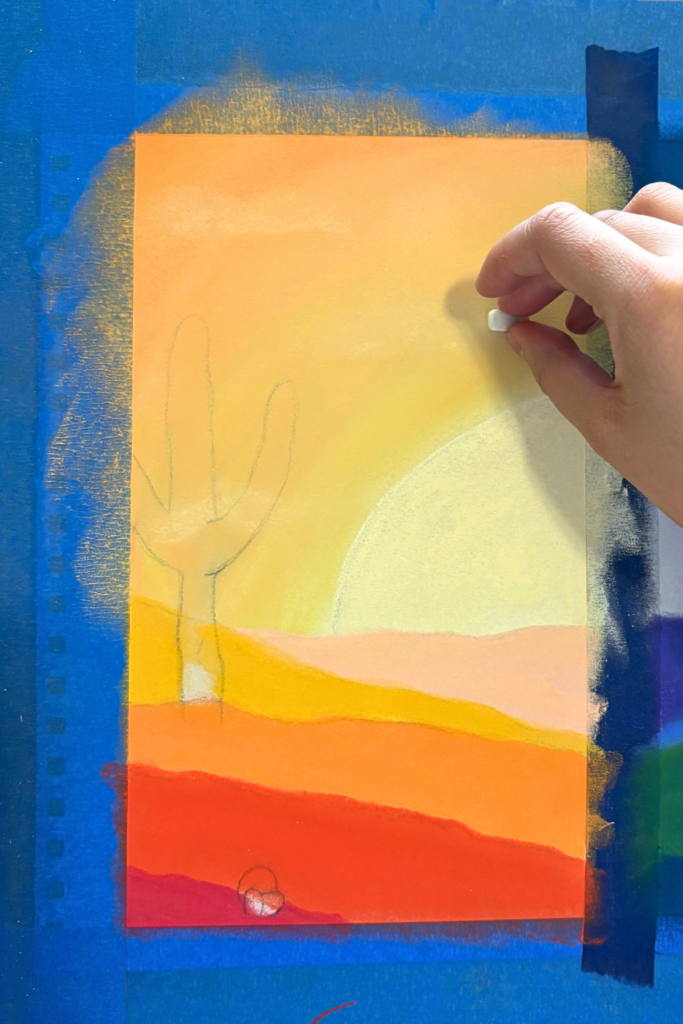
Step Three: Oil Pastel Sun and Oil Pastel Moon
To paint both the sun and moon add a layer of white (211-P) oil pastel to the sketch. Before you blend add lemon yellow (217-P) to the sun and a small amount of purple (224-P) to the moon. Now blend the colors to create the sun and moon.
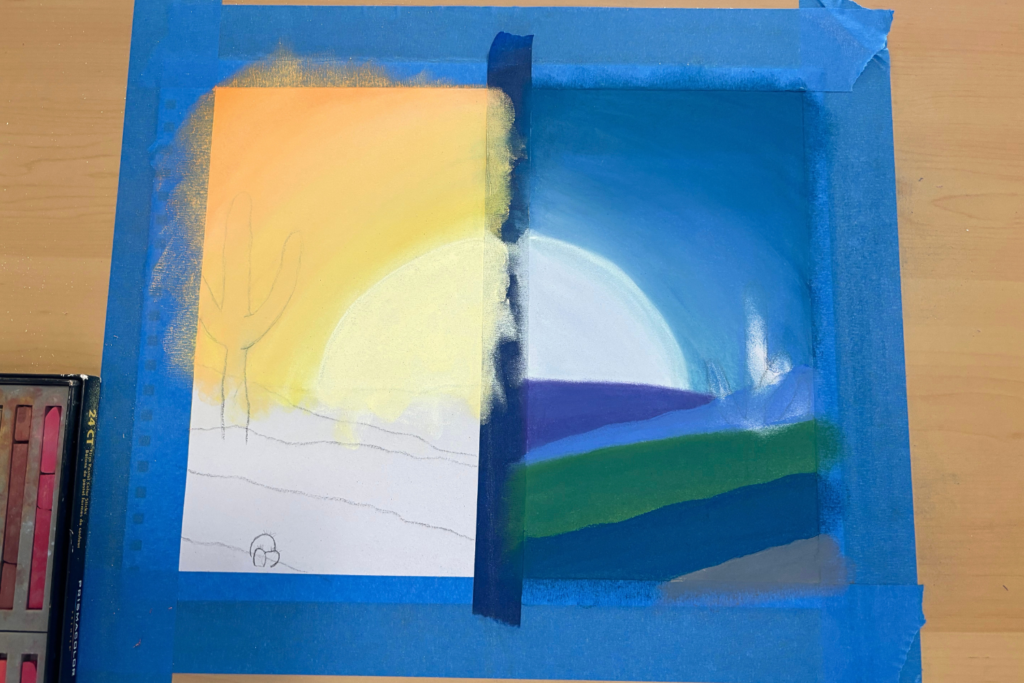
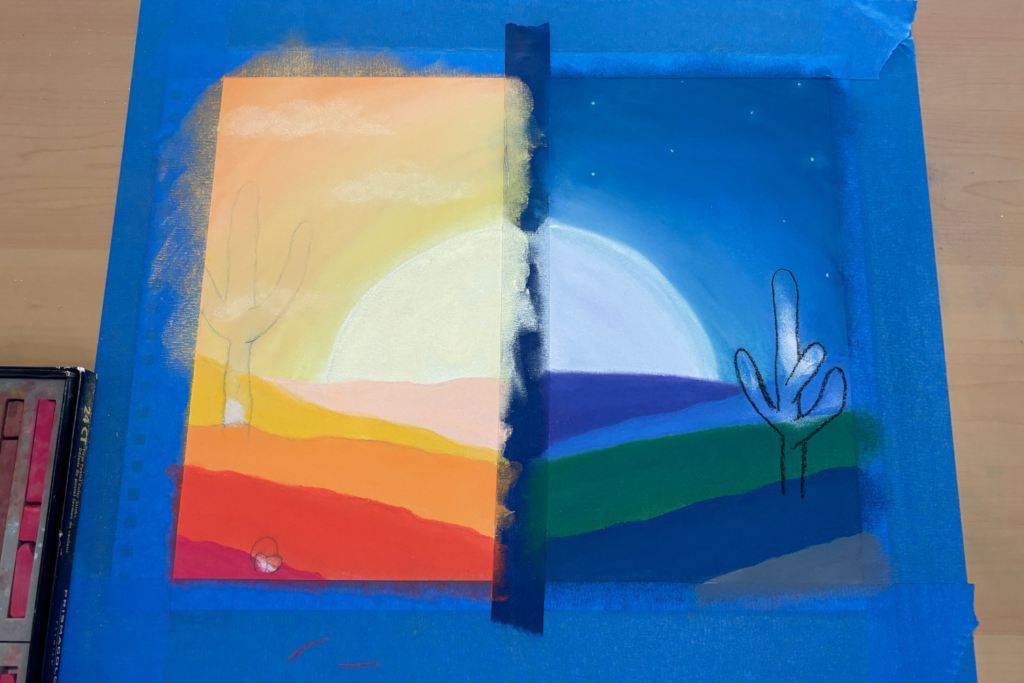
Step Four: Easy Oil Pastel Landscape
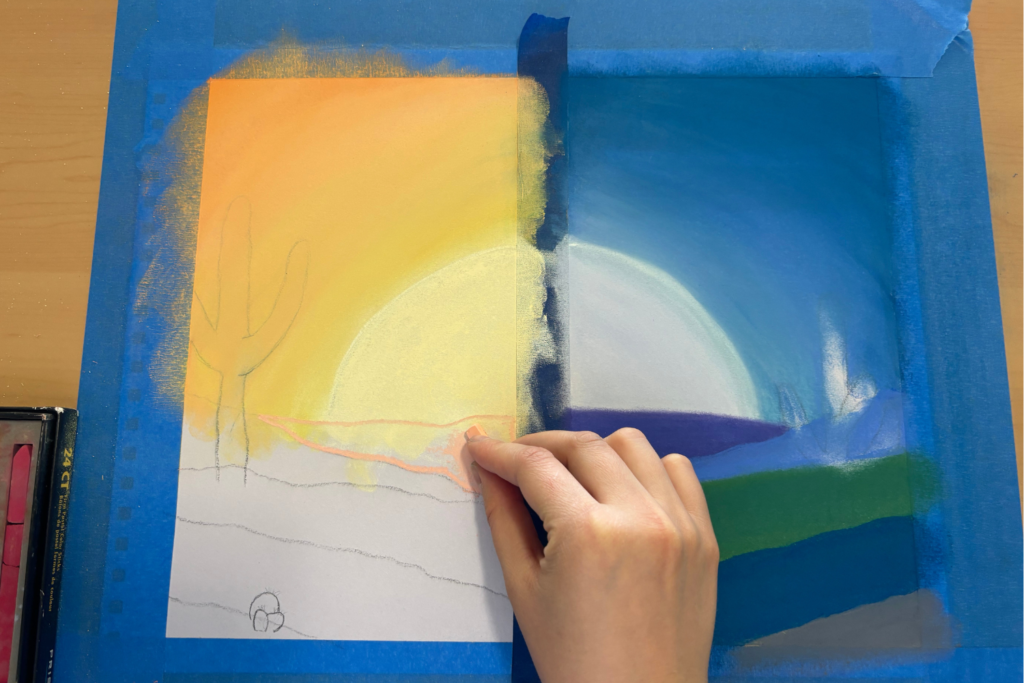
Each hill of the landscape will be a different color. For the night side use cool colors such as blue, purple, dark green, or gray. For the day side use warm colors such as yellow, orange, pink, or red.
Choose your colors and then fill in a section of the landscape. Finish it before moving on to the next section so you have crisp clean edges.
Again I would suggest doing the light side first and then the dark side.
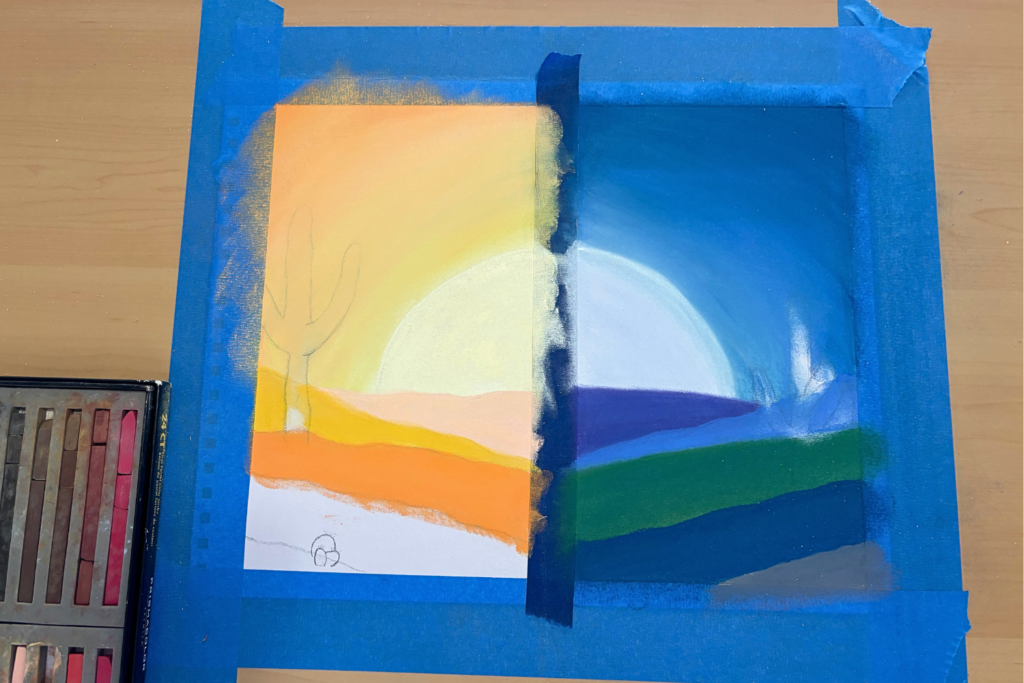
Do this for all of the landscape sections.
You can try not to paint over the cactus sketches, but I find it more work than it’s worth to sweat over it. As long as you know where to go when you paint the cactus it shouldn’t matter.
It doesn’t matter in this painting because the cactus colors will show over the landscape colors. The night sky cactus is black and the day sky cactus is tan/beige.
Once you are done with one side repeat the process for the other side.
Do you like this step by step approach to oil pastel painting? Check out Oil Pastel Flowers in 7 Easy Steps
Step Five: Oil Pastel Stars and Oil Pastel Clouds
Make sure your fingers are clean for this next step because you will be using white and going back to the sky that you made so beautiful.
Oil pastel stars are very simple to create.
To get the glow around them apply a small dot of white pastel paint and then use your finger to smear it in a small circle. Then add another dot of white for the star. That’s it!
You can make the glow and the stars as small or large as you want.
Clean your hands again before starting the oil pastel clouds. They are almost as easy as stars.
Use a small piece of white pastel paint and gently rub the side of it where you want the cloud to be. Gently blend the white and then add another layer of pastel. That’s it.
You can repeat the process a few more times if you want the cloud more prominent, but don’t overwork it.
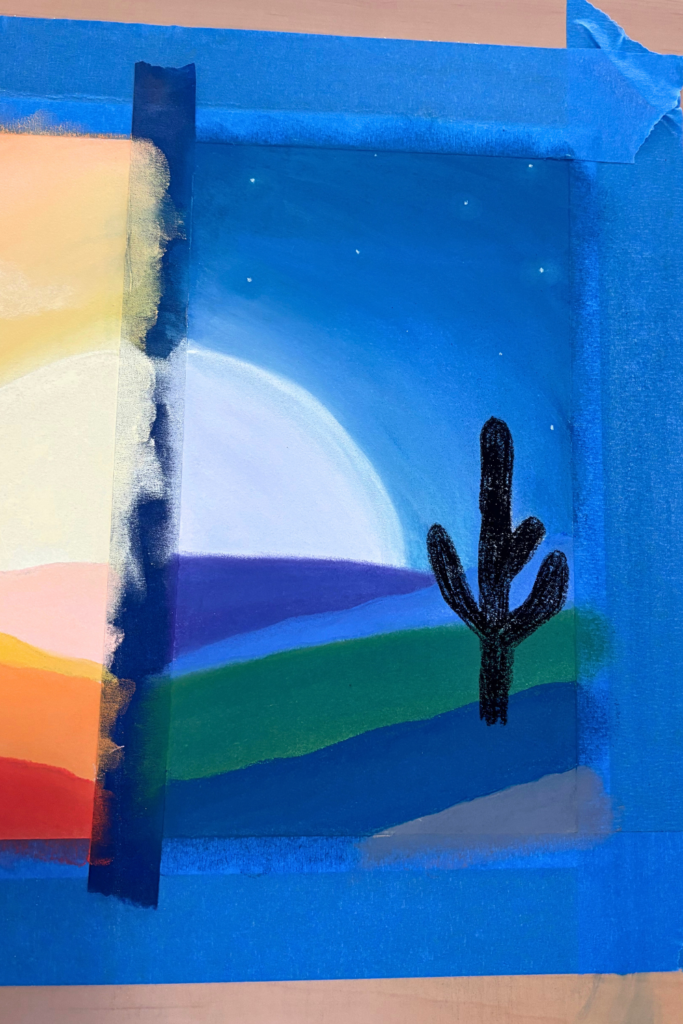
Step Six: Cactus Oil Pastel
It doesn’t matter which side you start with this time as long as you wash your hands between sides.
Outline the cactus on the night side in black. I like to outline objects that I need to fill in because then it is like coloring within the lines.
Once you get it filled in with black you can blend it to make it smooth or you could leave it how it is.
I debated between the two options for a while. I liked the texture of the cactus after I applied the paint. However, I ultimately decided to blend it so it would match the smoothness of the rest of the painting.
Either way, though I think it would look great. Decide what you want to do.
If you decide to blend the black pastel do it now.
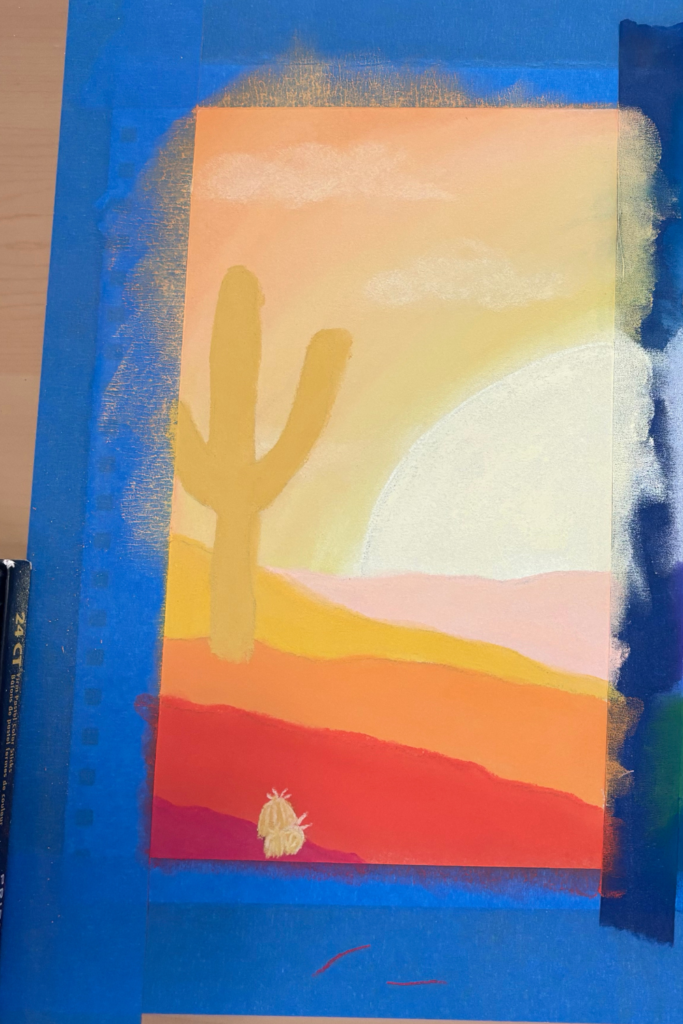
For the daytime cacti, I used a tan/beige color (243-P). You could use black or even another color though.
Do the same thing for the cacti: outline, color in, and blend if that is what you decide to do.
After applying the paint to the three small cacti there needed to be some distinction between them. Using the corner of white pastel paint add details to them so it doesn’t look like one big blob.
Step Seven: Oil Pastel Setting
Once you have finished your day and night drawing easy oil pastel painting it is time to protect it. There are a lot of different products out there, but I use hairspray.
Clean the nozzle of the can before spraying so that it comes out smoothly. Then spray your painting 5-6 inches away in a continuous motion. Let it dry and then add a couple more layers.
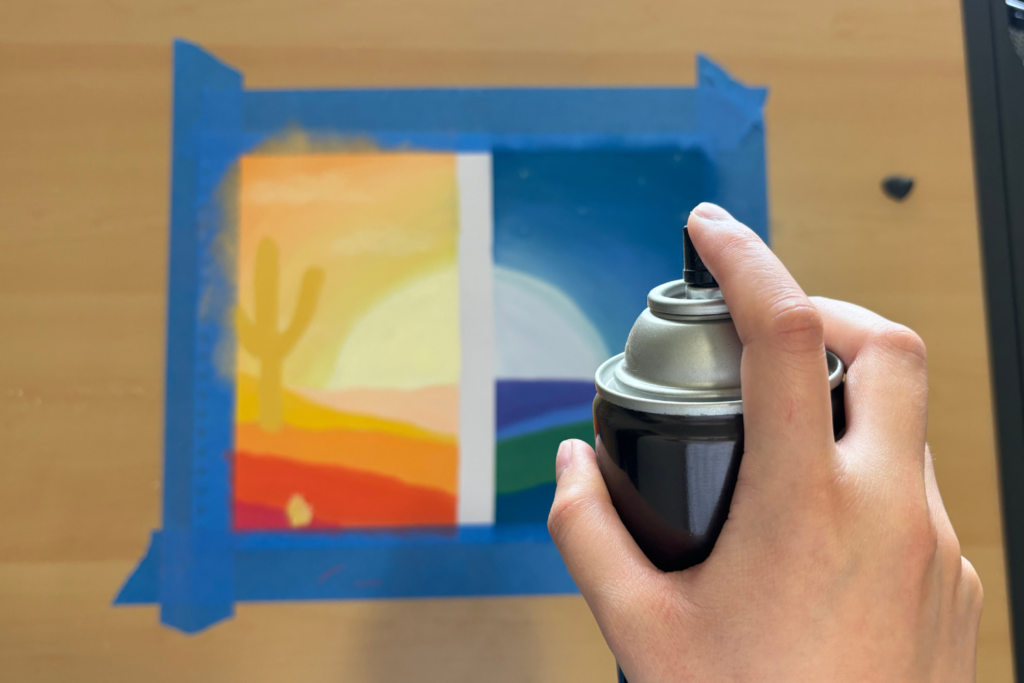
Remove the tape, sign your name, and you are ready to frame that puppy!
Bonus Step: Reflection
During this blog post, there were a few sections where I suggested doing a different process than I did while painting this day and night drawing easy oil pastel painting. I realized those things while I was painting and after I was finished with the painting. But because I was thinking about how to improve my painting skills I was able to tell you not to make the same mistake and in my next project, I won’t make the mistake again.
That is why I added the reflection bonus step so that you can also improve your artistic abilities by learning from your painting.
Use these questions as a guide to stimulate your learning:
i. What is your favorite part of this easy oil pastel landscape painting?
ii. What is your least favorite part?
iii. What will you do differently with your next oil pastel painting?
iv. How have you improved since your last piece?
I hope that you found this guide to day and night drawing easy oil pastel painting helpful!
Similar posts you might like:


Leave a Reply