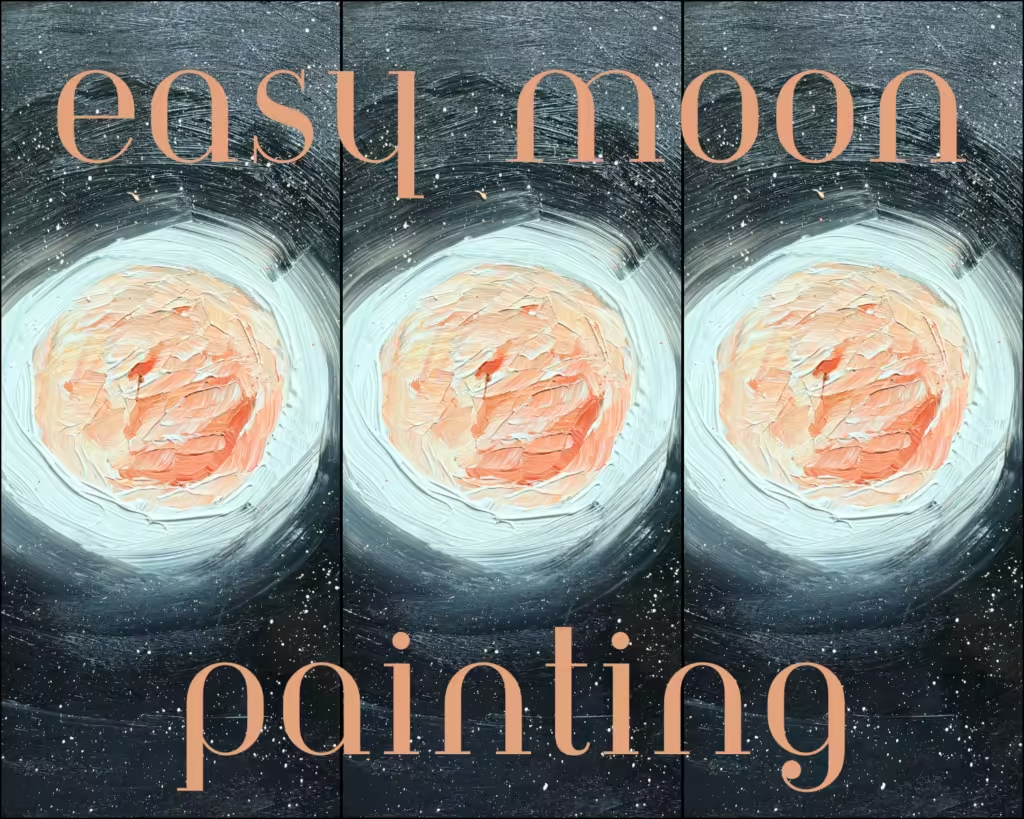
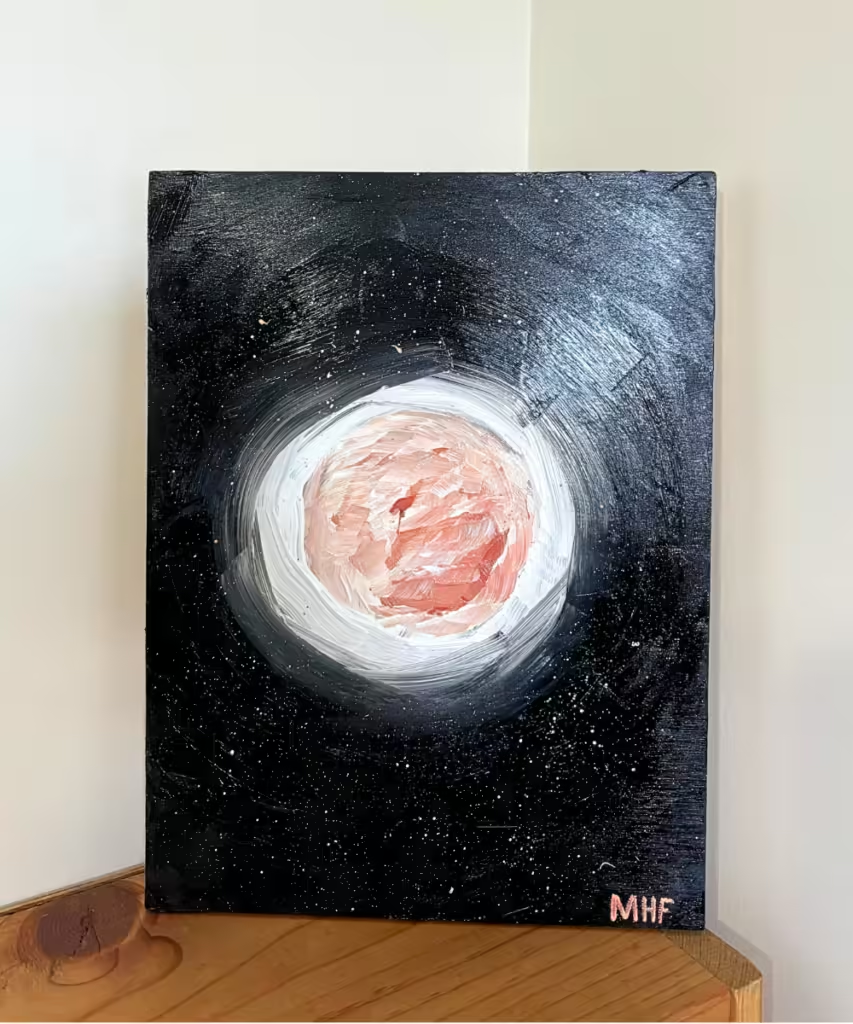
In this busy world of ours, it can be difficult to find time to be creative. This easy moon painting can replace just one hour of TV time. Do yourself a favor and take that time for yourself.
Disclaimer: THIS POST MAY CONTAIN AFFILIATE LINKS, MEANING I GET A COMMISSION IF YOU DECIDE TO MAKE A PURCHASE THROUGH MY LINKS, AT NO COST TO YOU. AS AN AMAZON AFFILIATE I EARN FROM QUALIFYING PURCHASES AT NO EXTRA COST TO YOU.
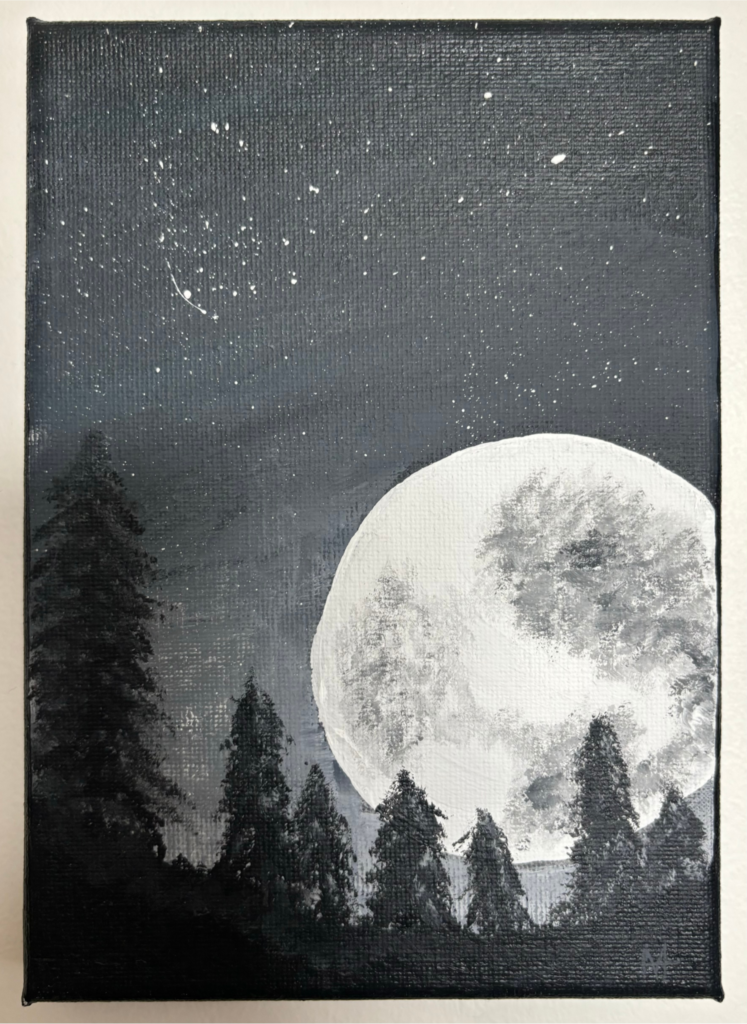
This easy moon painting is the perfect acrylic project for any artist beginner to professional. Not only is it easy but it’s also relaxing. It has been a stressful and busy week for me so to take one hour out of my day and unwind was just what I needed! I hope it is what you need too.
In this post, you will learn all about easy moon painting, acrylic painting ideas for beginners, how to mix colors in paint, how to paint stars, how to clean paint brushes acrylic, and more!
After reading this post you will be able to paint a beautiful and easy moon painting.
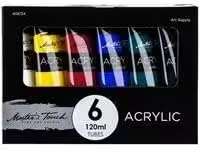
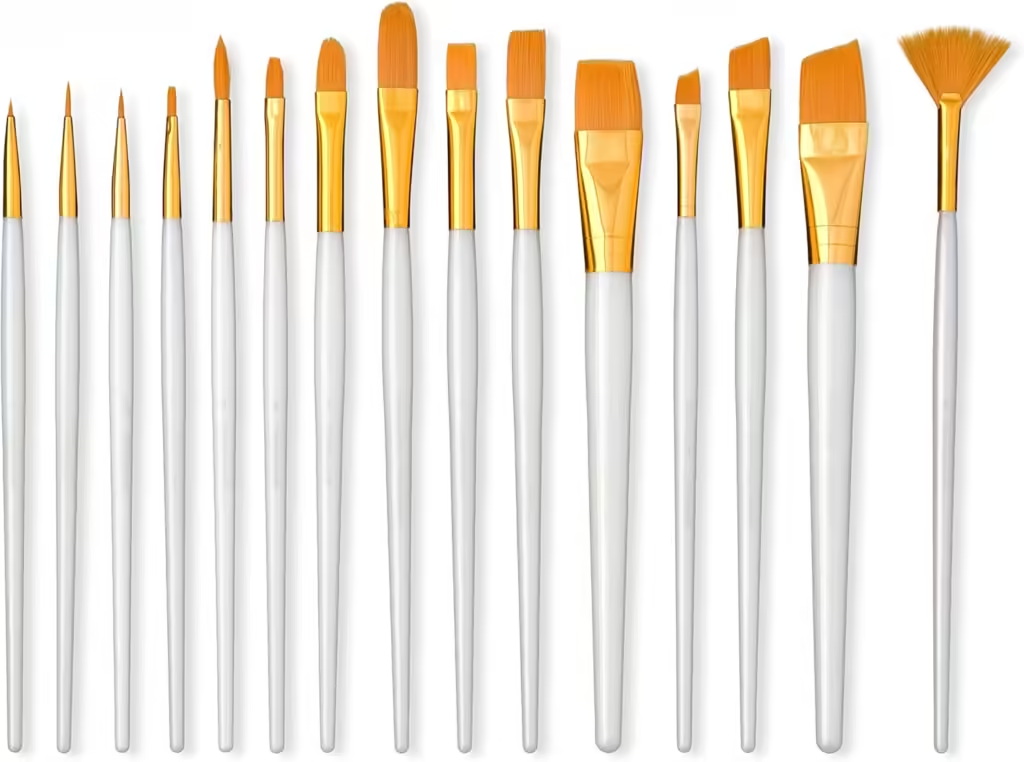
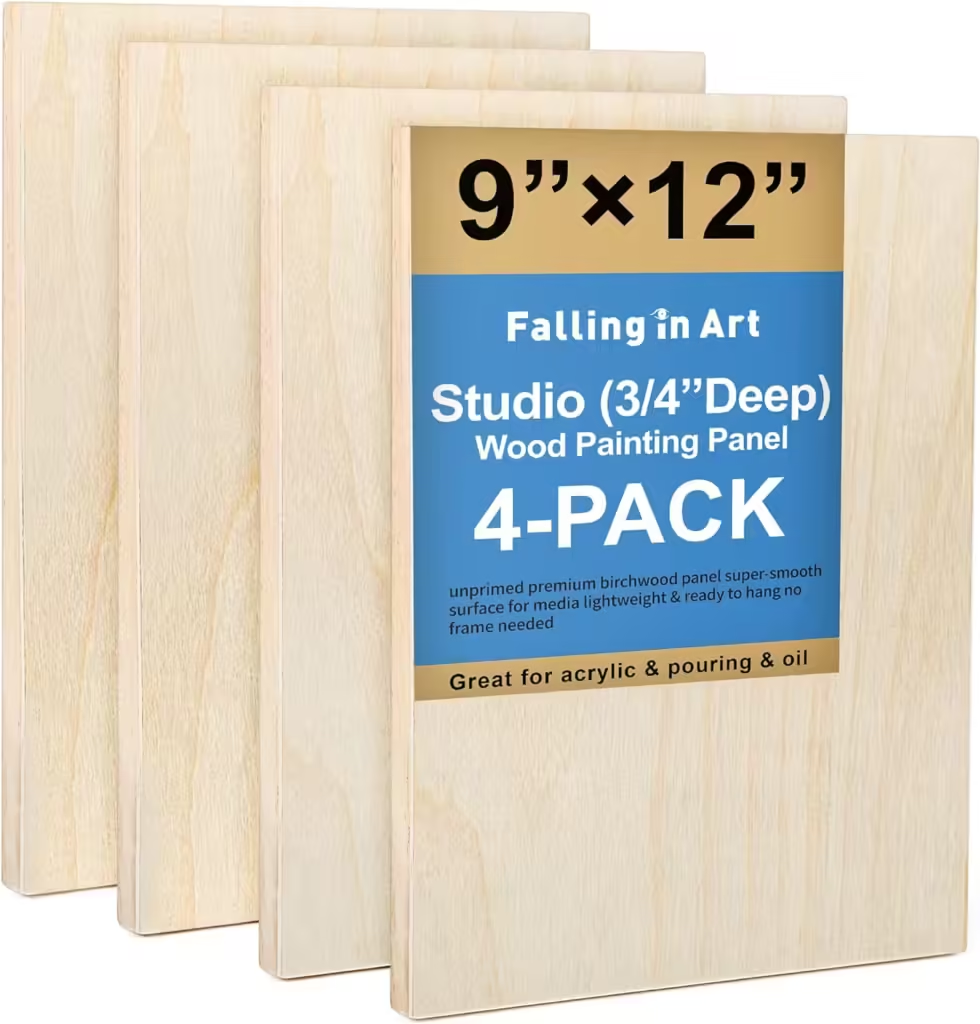
Acrylic Supplies Used:
How to Create an Easy Moon Painting in Under 1 Hour
Step 1: Easy Moon Acrylic Painting Ideas for Beginners
This first step should take less than 15 minutes to complete.
Start your easy moon painting with the night sky.
To save time, apply the paint directly onto your birchwood canvas or a regular canvas.
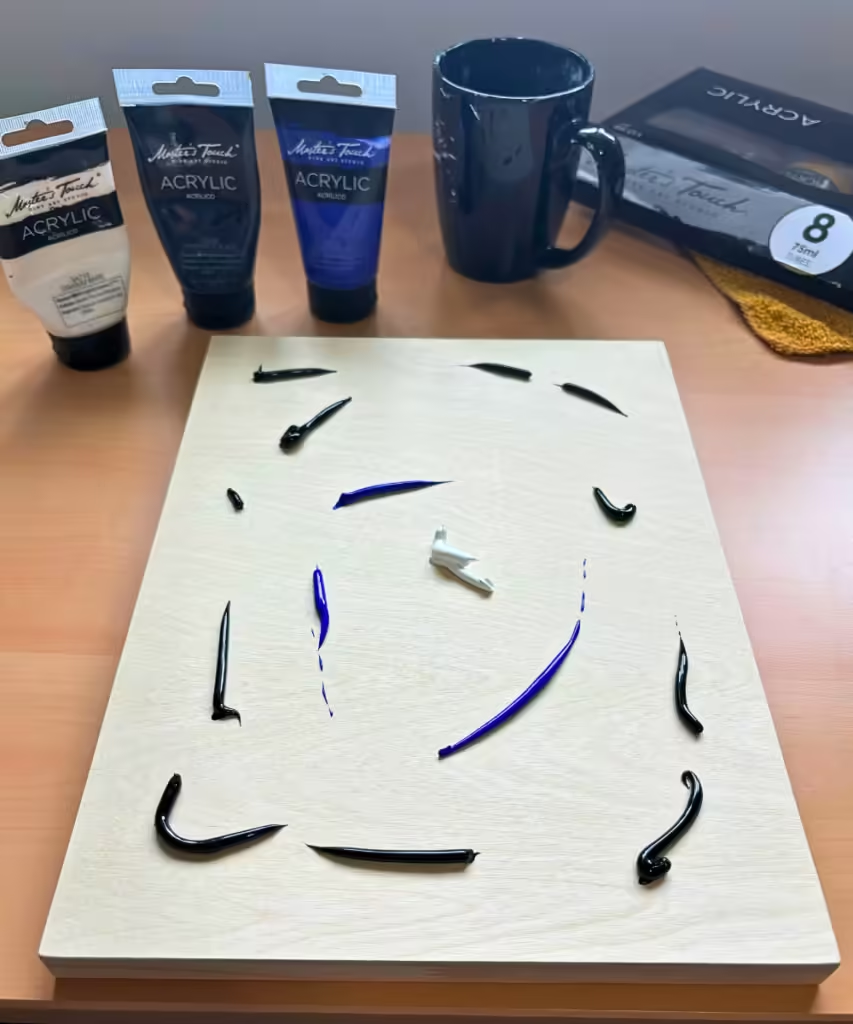
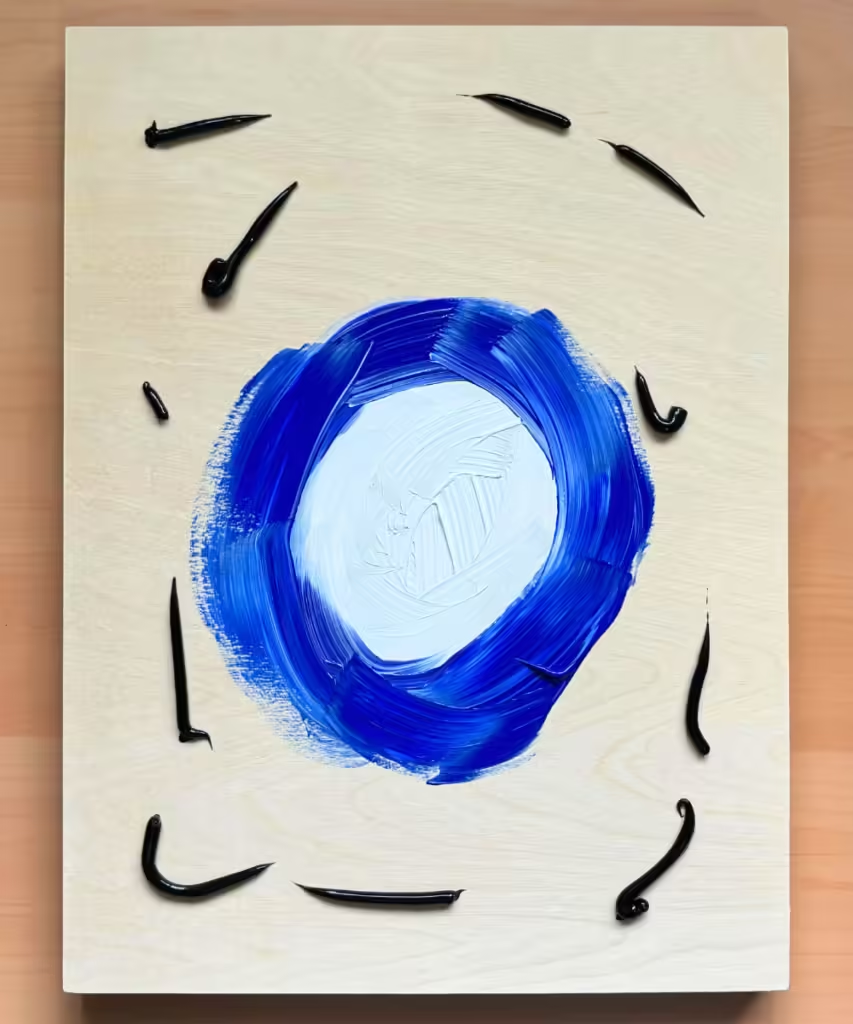
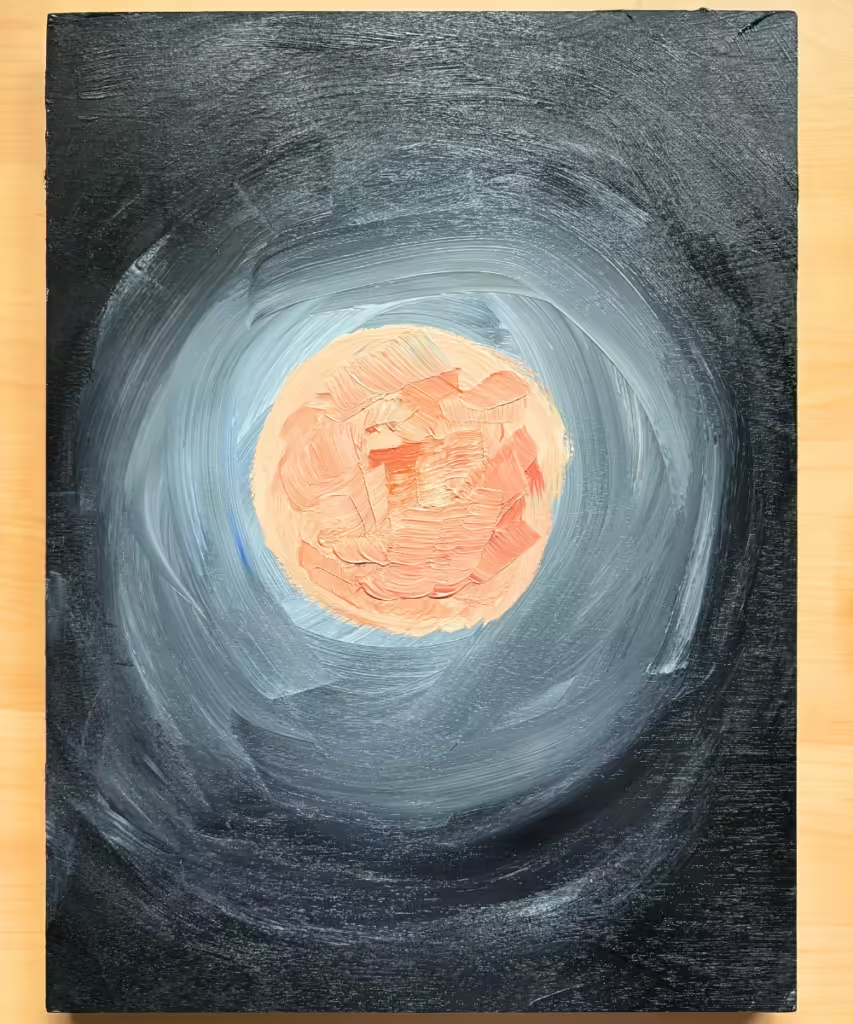
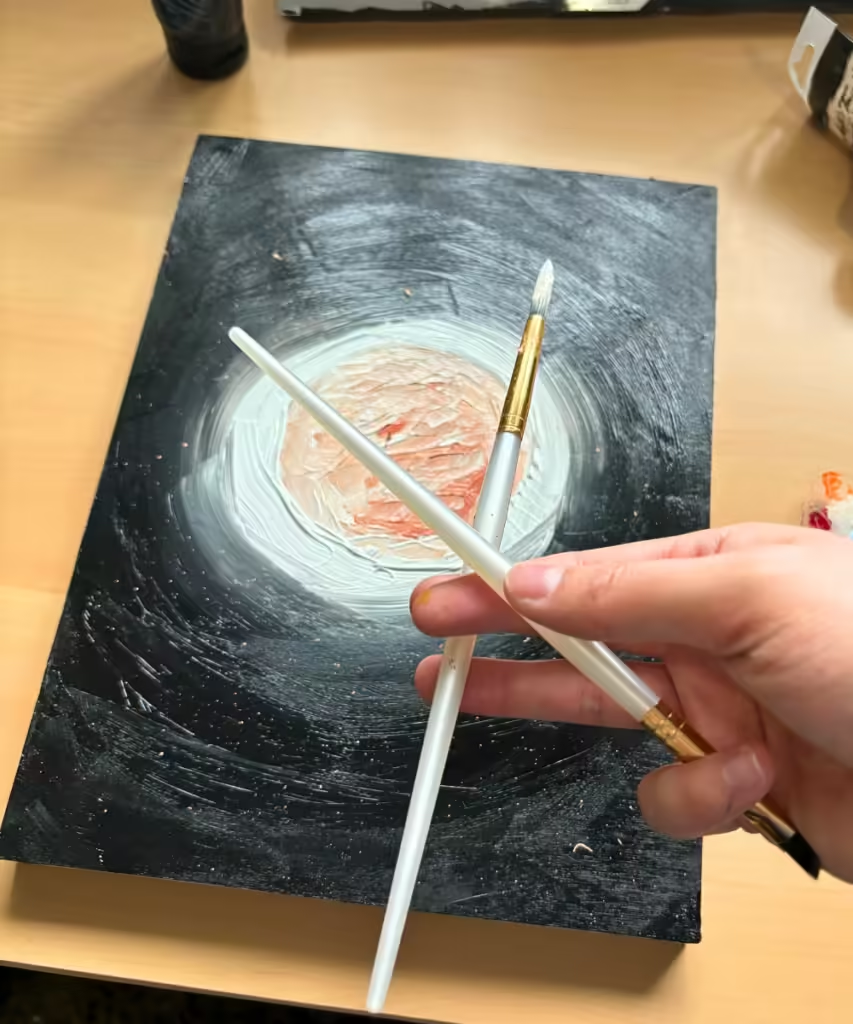
Using the Master’s Touch acrylic paint, apply a generous amount of titanium white to the middle, ultramarine blue around that, and permanent black around the edges of the canvas.
Black is overpowering in every medium that I know of, including acrylic paint. So you will want to spread the white paint first, working your way to the black paint. I used the 1-inch Craftsmart paintbrush.
Add more paint as needed for complete coverage.
To get a slight textured finish don’t thin the acrylic paints with water.
If you want to use less paint and are okay without the extra texture you can thin the paint with water.
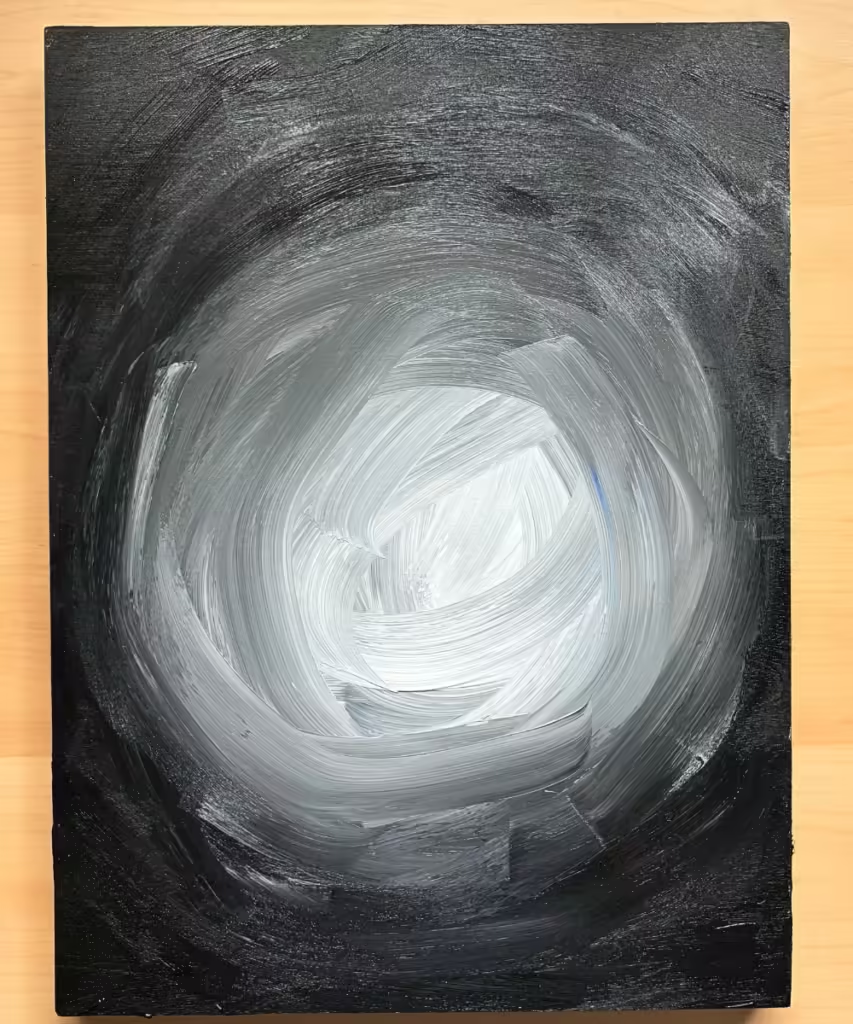
Once you work the paint to the edges you may find that the white/blue area is too large or not blended well. This was how it was when I did it.
If the moon is too large, use the brush and slowly work your way from the outer edge inward. Stop where you want the moon to start. Rinse your brush and then blend middle to edge. Repeat as needed.
If it isn’t blended well, rinse your brush of the black paint. Then blend the paint from the middle to the outer edge. Repeat this until you are happy. You may need to add some more paint.
Check out how to paint another easy moon painting: What to Paint on a Black Canvas: 5 Dazzling Paintings.
Step 2: How to Mix Colors in Paint
Mixing the acrylic colors shouldn’t take more than 5 minutes and then painting should take no more than 10 minutes.
Call me crazy, but my favorite thing about painting is mixing colors. I think it is so cool that by adding colors together I can create a brand new color. It’s awesome!
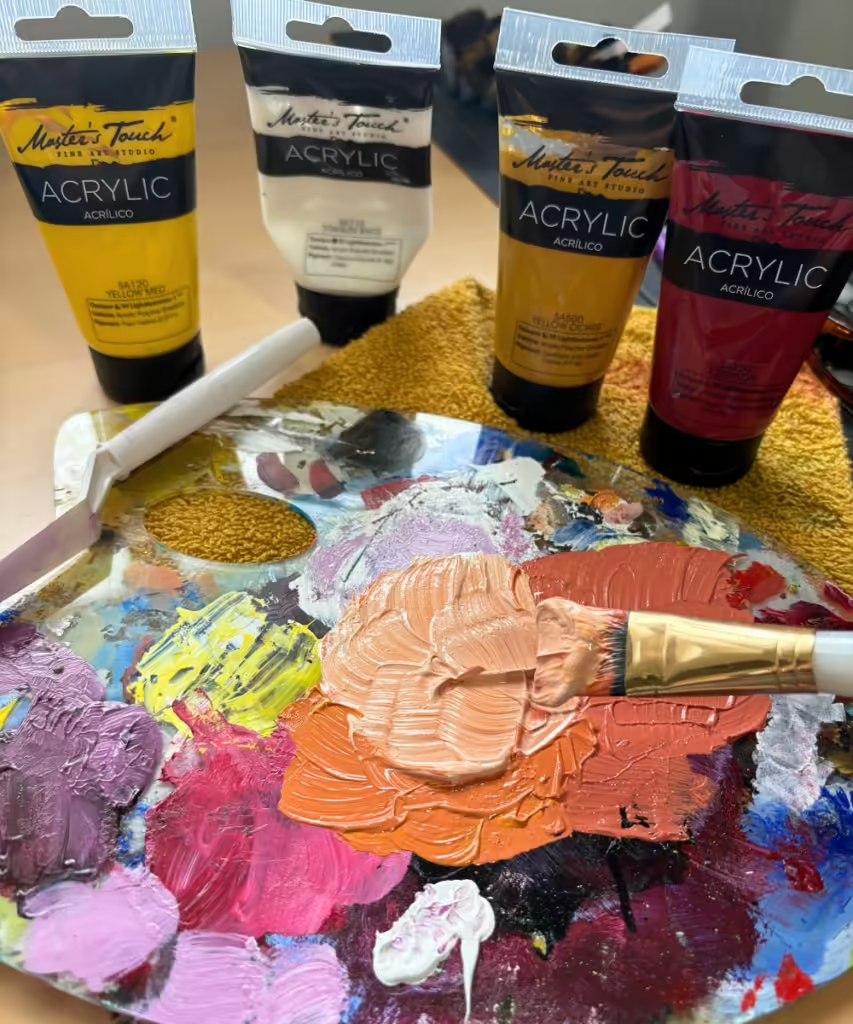
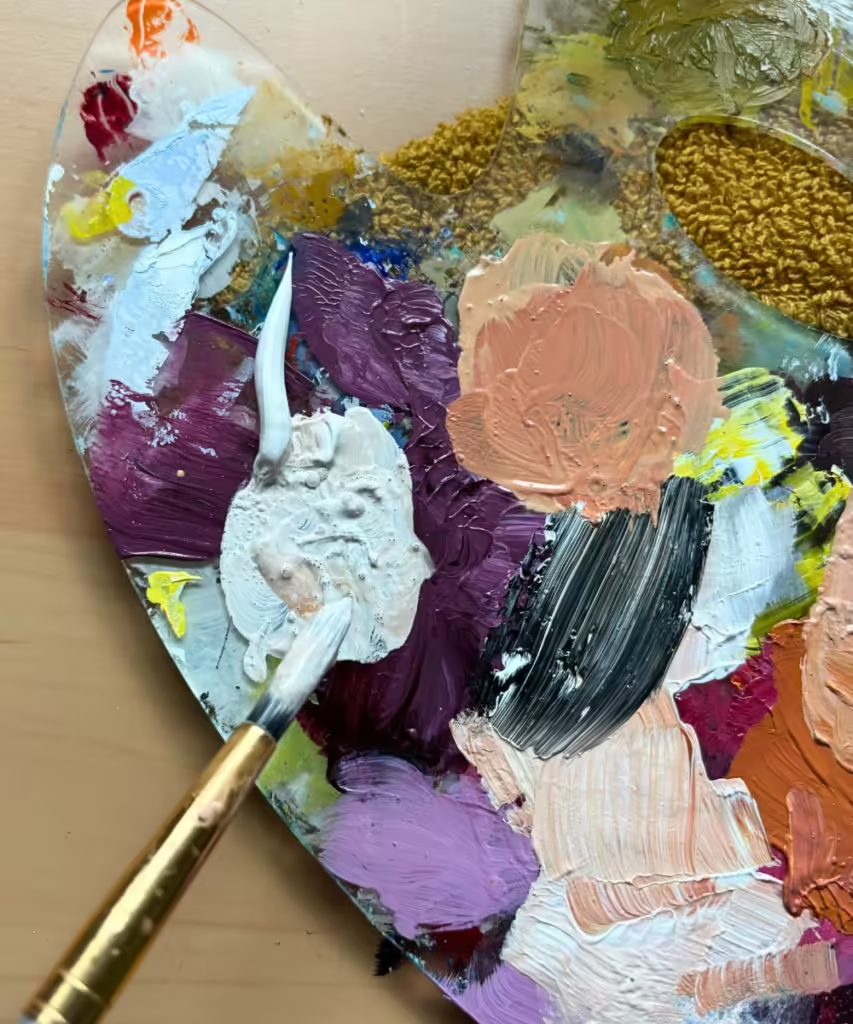
For the orange-based moon, we will be using yellow ochre, crimson red, yellow medium, and titanium white.
The trick to mixing paints is to do it in sections so that you can get multiple shades of color.
In this case start with yellow ochre, titanium white, and a dab of crimson red. Mix that together.
Then off to one side add a dab of yellow. This will get it more orange and less red (because yellow+red=orange).
Then you will want to add more white to the side of the orange and blend that together.
Now that you have your moon color mixed, you can start painting the moon.
Use the lightest color as the base of the moon. Once you have that applied take small amounts of the orange and reddish colors and place them in the moon. The differing colors of shades will give the perception of shadows of craters.
This is a more abstract painting of the moon so once the paint is on the canvas don’t move it too much or it will blend, losing the contrasting colors.
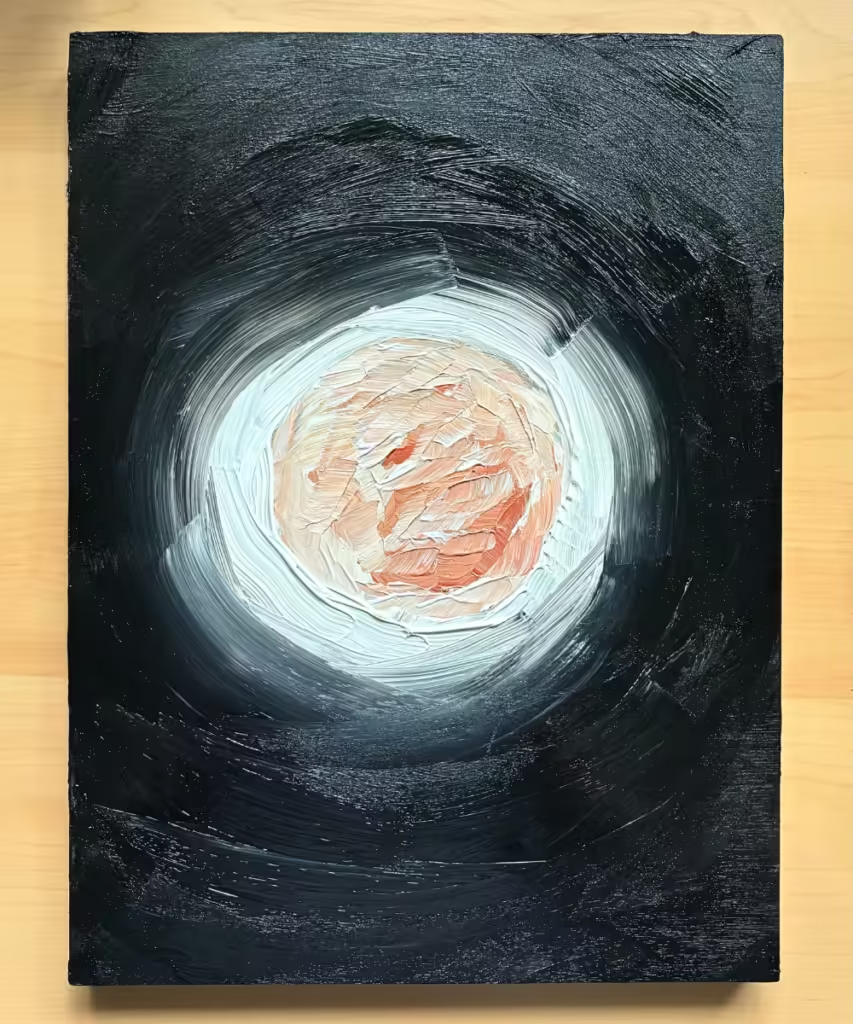
You can leave it like this or you can add more glow around the moon.
I wanted more of a glow and I didn’t like the blue hint around the moon so I added pure white around the moon. Not in the moon but directly around it.
I also added a little more black to blend with the white to give it a more subtle fade.
This is your painting so if you feel inspired to do something different do it! Acrylic is a very forgiving medium because if you “mess up” you can wait for it to dry and paint over it.
25 Best Gifts for Artists Who Paint
Step 3: How to Paint Stars
Painting the stars takes about 5 minutes.
I know I just said mixing paint was my favorite thing about painting, but painting stars is definitely in the running.
Using a smaller round brush, thin the paint with water. I like to use the colors of the moon to have colored stars along with pure titanium white stars.
You want the paint thin enough so that it can come off your brush.
Before you do this you may want to cover your table and apply an apron so you don’t get paint all over everything. If you forget (like I did) don’t fret too much. Most acrylic paint can be washed out of clothes and off of hard surfaces.
Take the brush with the star color and with another brush hit the two bases together. This will knock the paint off and splatter it onto your painting in an organic random manner.
Easy Mixed Media Art Project for Beginners
Step 4: Add Your Signature
This step takes less than 5 minutes.
Now is the time for you to own your work!
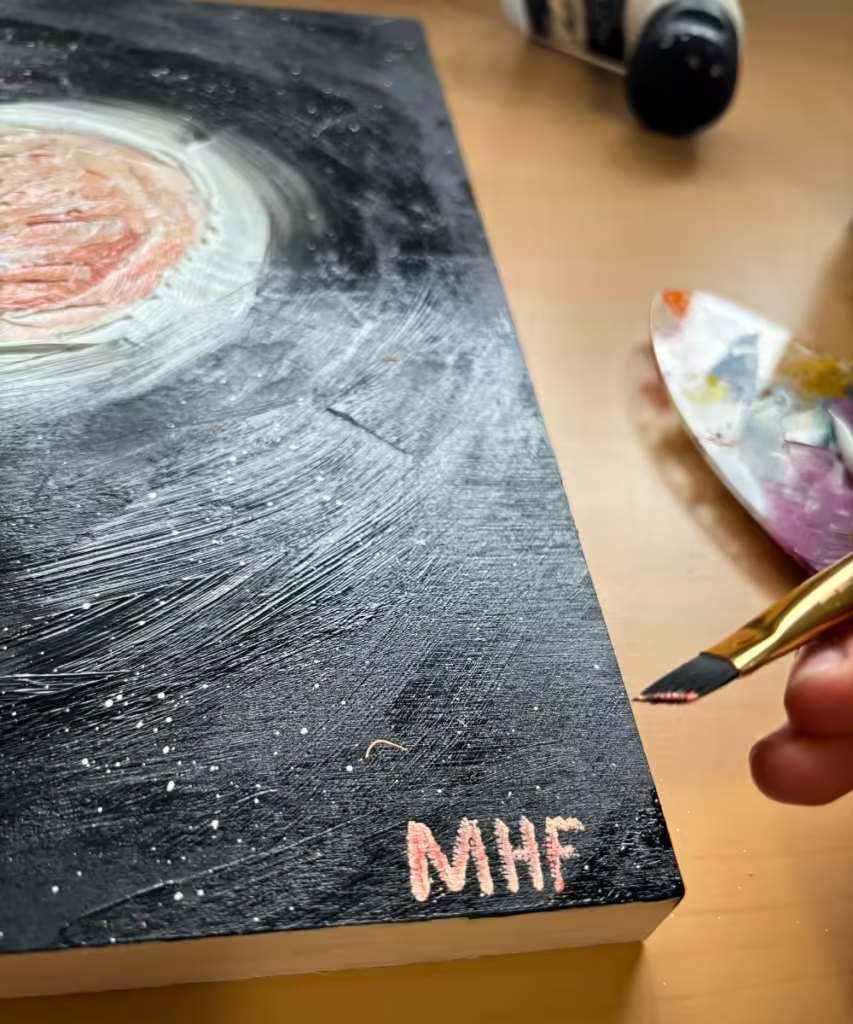
Take whatever color you want and sign your signature.
It can be your full name in caps or cursive or your initials or a symbol that you’ve created. Truly, it doesn’t matter so don’t overthink it.
Step 5: How to Clean Paint Brushes Acrylic
Cleaning up takes about 10 minutes.
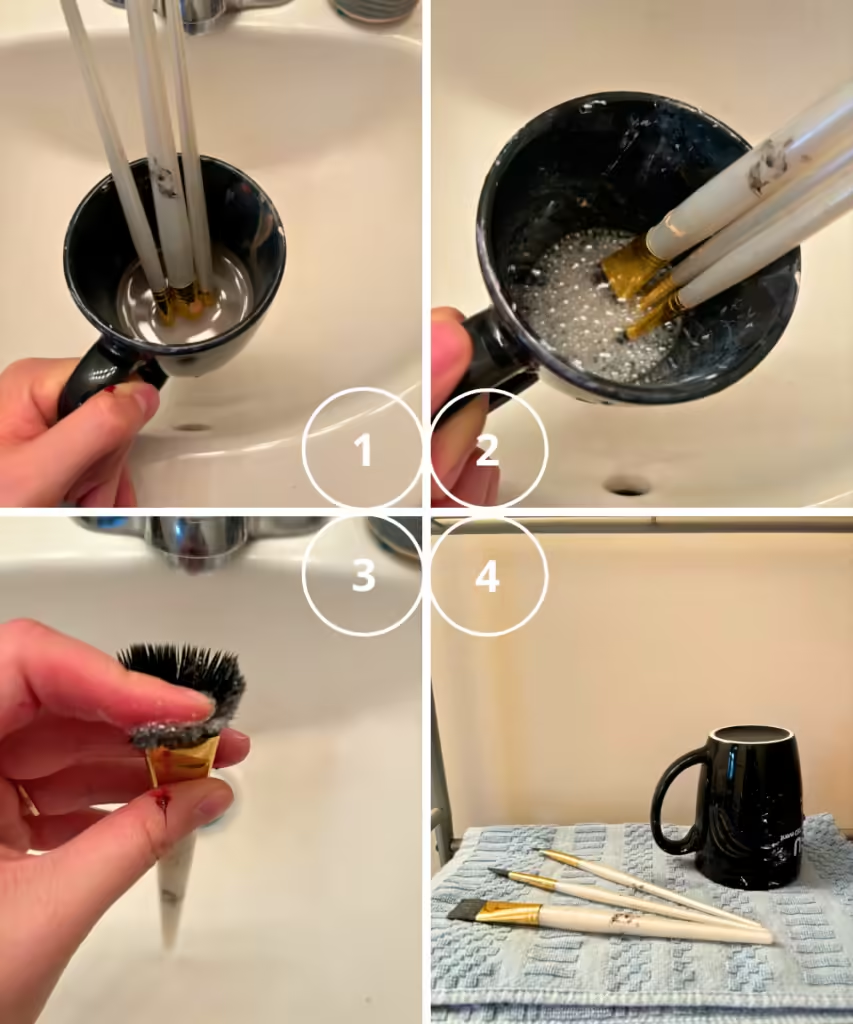
Cleaning up doesn’t need to take a long time. Here is my four-step process to cleaning acrylic brushes.
- In circular motions rinse your brushes in the water cup. Dump out the water and keep rinsing until the water is clear. Keep the water line beneath the insertion point of the handle so you don’t ruin the glue.
- Add a drop of Dawn dishwashing soap and swirl your brushes in it.
- Take each brush one by one and give them a “scalp treatment” – split the bristles and rub your finger in the middle. This feels invasive and you may worry that it will ruin your brush, but what will ruin your brush faster is NOT getting the paint from the middle of it. Once you see that the paint is cleared, rinse the soap out.
- Lay your brushes on horizontally to dry.







Leave a Reply